| "Show Off Your Plates" Tote Tutorial |
| We are excited to welcome our newest blog contributor Kris Thompson! Kris has been collecting Row-By-Row Experience fabric license plates and she has designed a fun tote tutorial, just for you. |
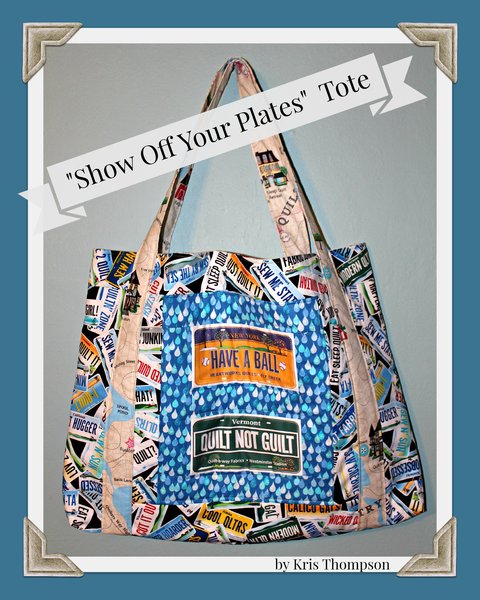 |
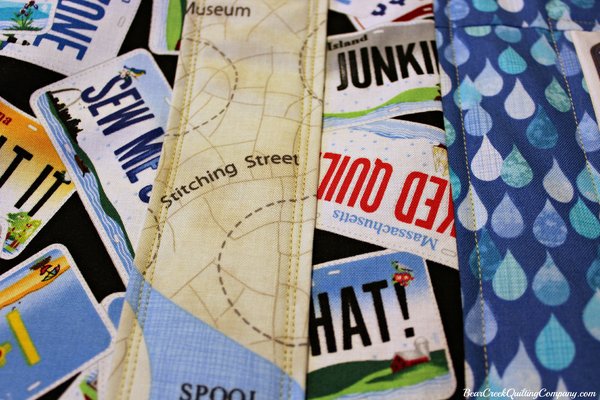
| So now you have your Row-By-Row Experience license plates. What are you going to do with them? Well, after you find all the plates you have stashed away (I still don’t know what I did with 2013 and I know I saw them recently), you can make a roomy tote bag. What better way to carry home all the goodies you bought while tracking down patterns and license plates? The tote is also the perfect size for lugging your quilts to show & tell. "Show Off Your Plates" Tote measures approximately 18 inches tall by 24 inches wide. |
| Supplies Needed: |
Here we go…… |
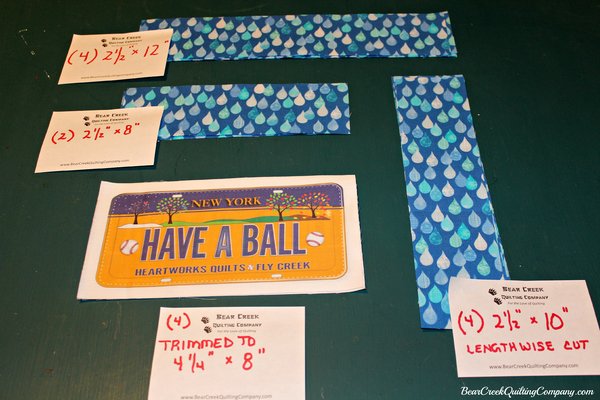 |
| Trim your license plates evenly to 4 ¼ inches x 8 inches, leaving a 3/8 inch white border around the edge. This allows for a ¼ inch seam allowance and a narrow border between your fabric and the license plate. |
| From the raindrop fabric, cut the following: |
|
| NOTE: If you cut these crosswise, your cute little raindrops will be going in the wrong direction. |
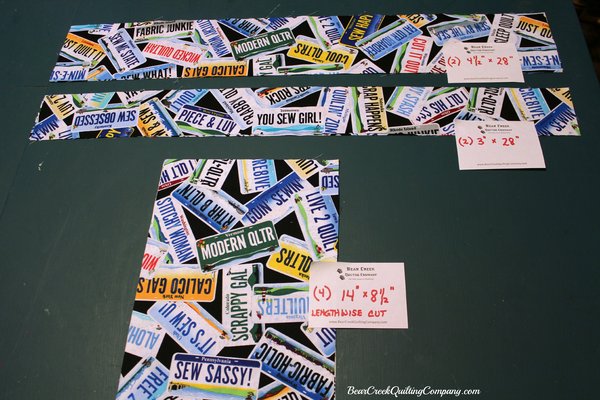 |
| From the license plate fabric, cut the following: |
|
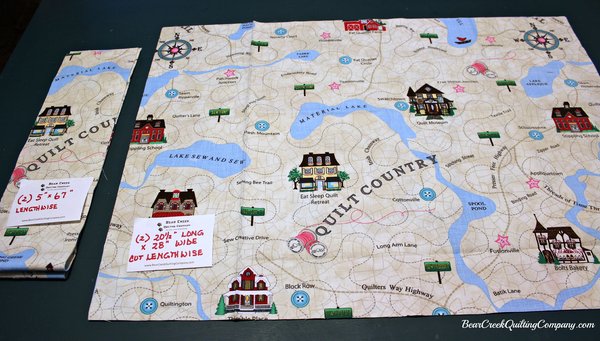 |
| From the map fabric, cut the following: (map fabric is cut lengthwise) |
|
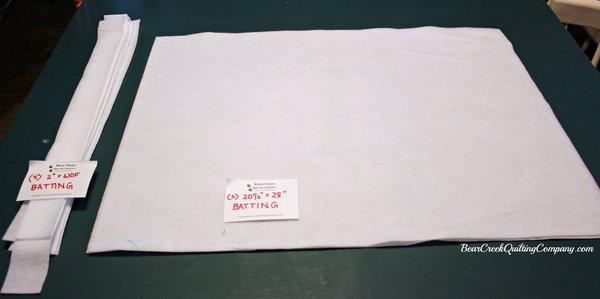 |
| From the fusible batting, cut the following: |
|
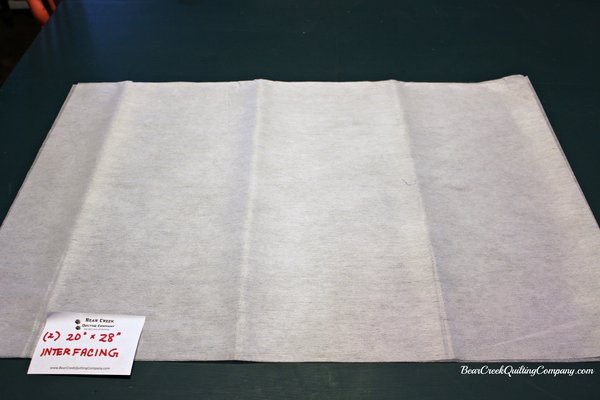 |
| From the fusible interfacing, cut the following: |
|
| Tote Sections: |
| You will be making two tote sections. One for the front and one for the back. They are exactly the same. |
| ***Use a ¼” seam allowance throughout, unless noted*** |
| ***Press seams for each step, pressing away from license plates and towards darker fabrics*** |
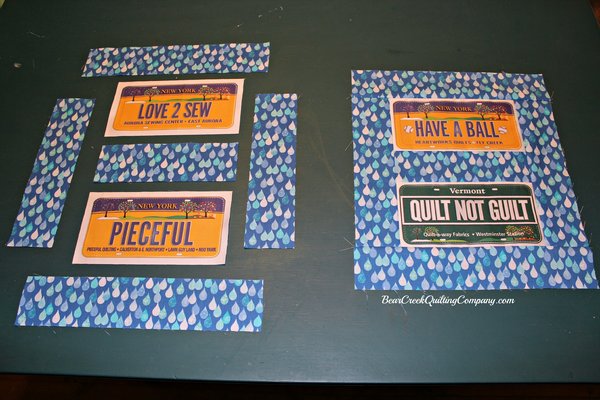 |
| Sew two of the plates together, with a 2 ½” x 8” strip in between. |
|
Sew a 2 ½” x 10” strip to each side, and a 2 ½” x 12” strip to the top and bottom. |
| Repeat for the back. |
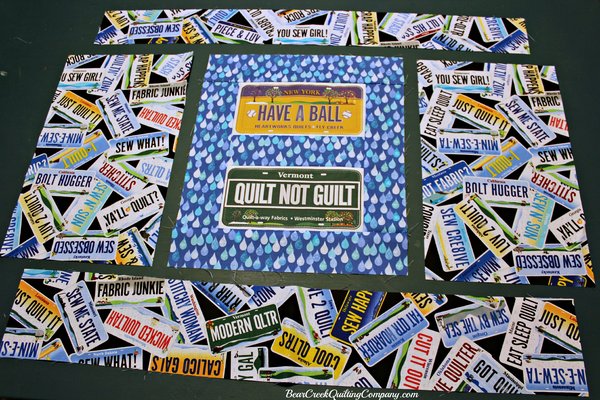 |
| Sew a 14” x 8 ½” piece of license plate fabric to each side. |
| Sew the 3” x 28” strip to the top, and the 4 ½” x 28” strip to the bottom. |
| Repeat for the back. |
| Your piece will measure 20 ½” x 28“. |
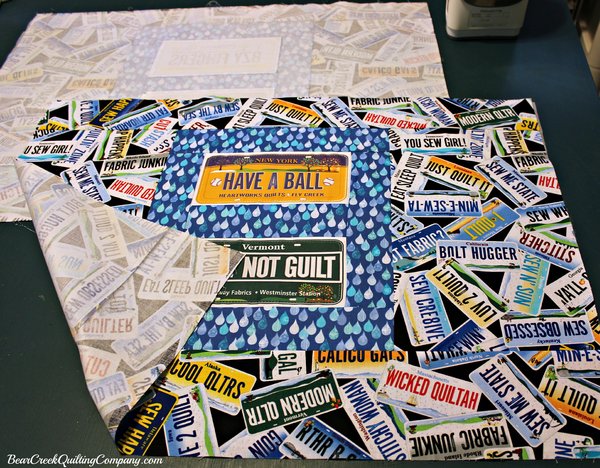 |
| Following manufacturers directions, adhere interfacing to the wrong side of the front and back pieces. |
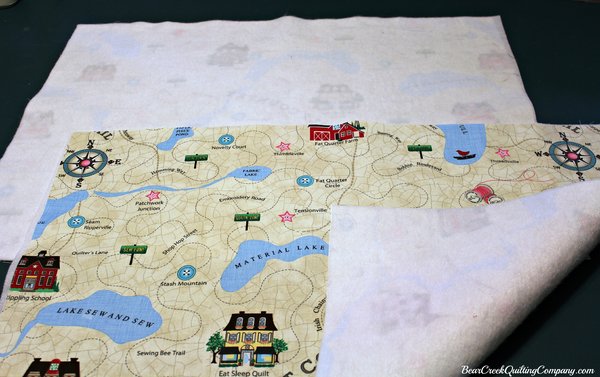 |
| Repeat the last step, using the lining pieces and fusible batting. |
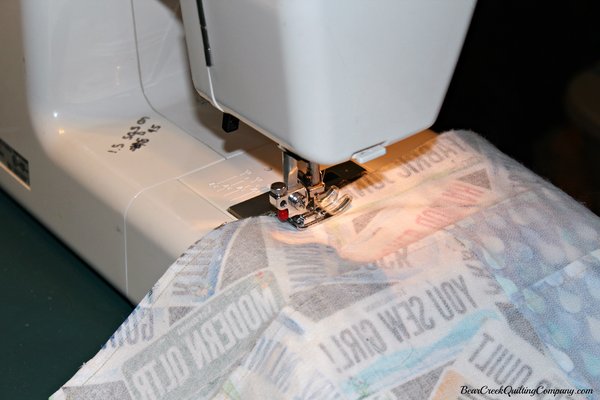 |
| Right sides together, sew the front to a lining piece at the top edge. |
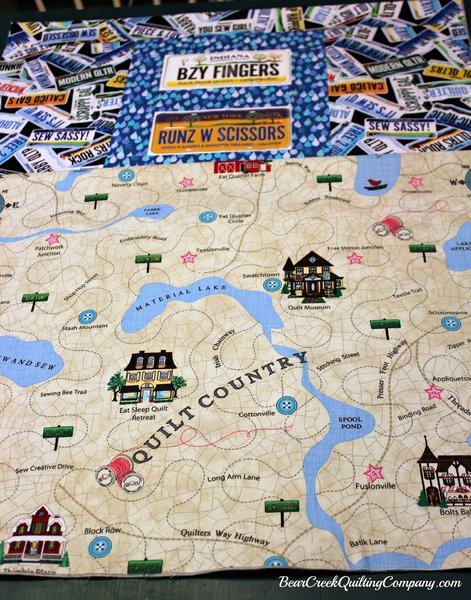 |
| Repeat for the back. |
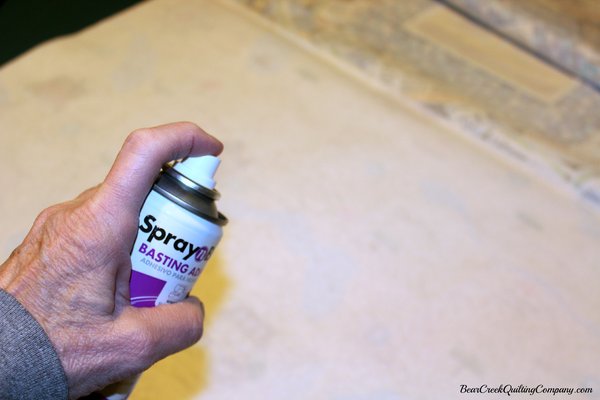 |
| Turn right side out. Lift up lining, and using basting spray, adhere front to lining. Make sure each piece is nice and smooth. I always press both sides. Repeat for back. |
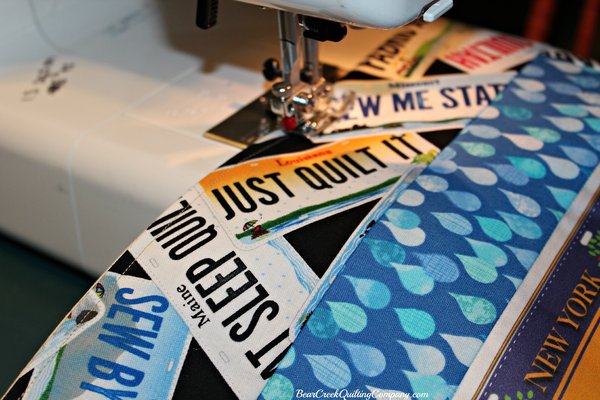 |
| Topstitch ¼” from top edge on both front and back pieces. |
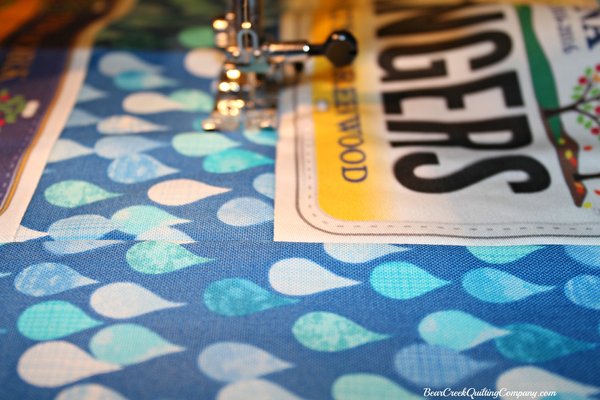 |
| Stitching on raindrop fabric, stitch ¼” around outer edges of each license plate. |
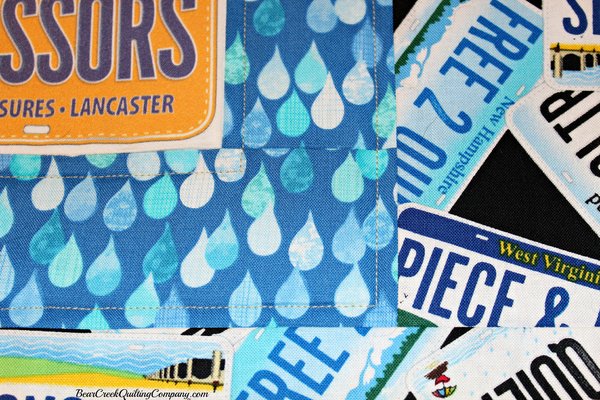 |
| Then stitch ¼” around inner edges of raindrop fabric. |
| Handle Sections: |
| On to the handles, and I have to admit, for some reason this is always my least favorite part. Don’t know why - just is! |
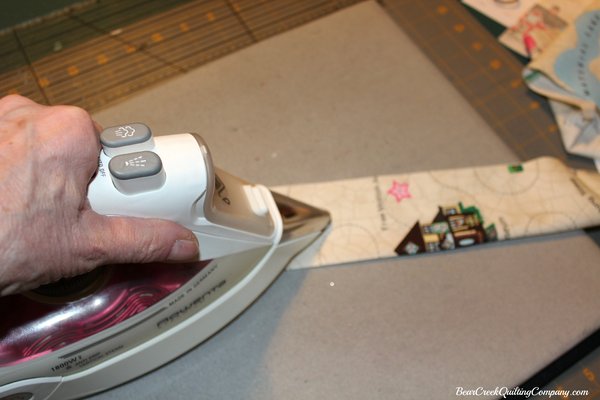 |
| Fold each strip in half lengthwise, and press. |
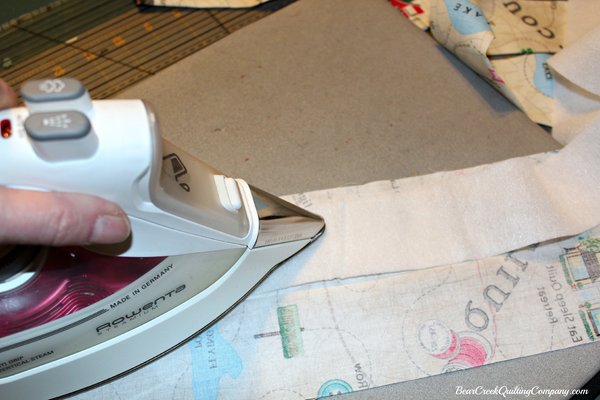 |
| Place fusible batting close to the fold and adhere, following manufacturer’s directions. |
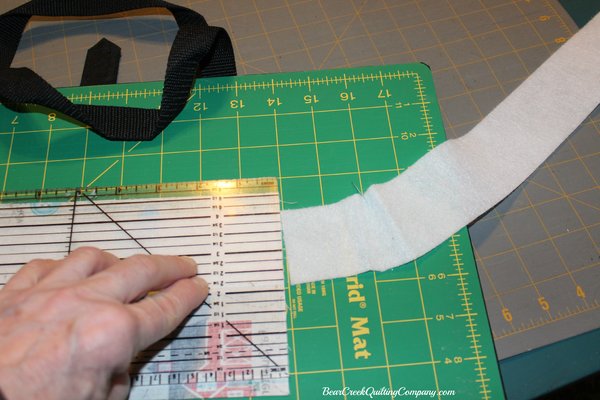 |
| Trim any uneven edges sparingly. |
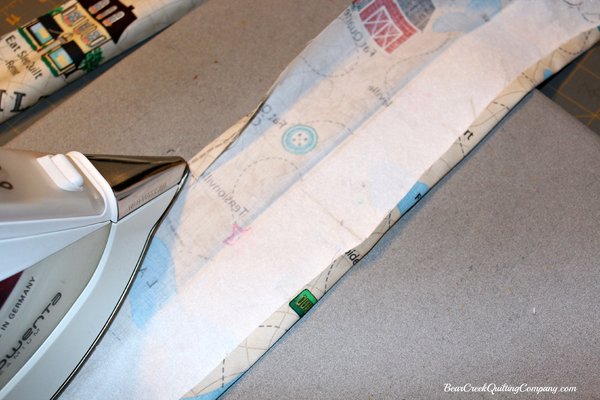 |
| Fold edge of handle strip over the batting, and press. Fold remaining edge over 3/8“, pressing as you go. Fold strip and press. |
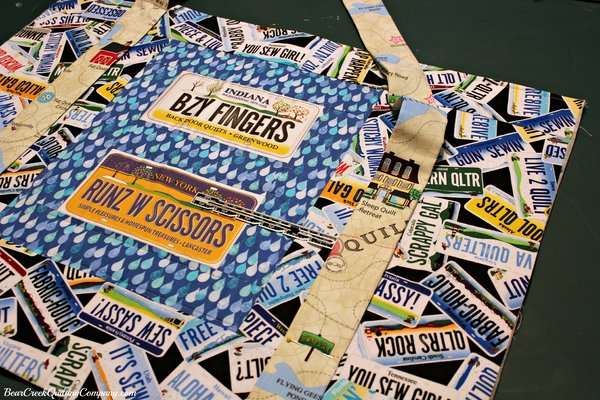 |
| Starting at bottom edge of front, pin one handle strip to the front, 1 ½” from raindrop border. Make sure piece does not get twisted. Pin opposite end of handle strip on the other side of the front, 1 ½” from raindrop border. Repeat for the back. |
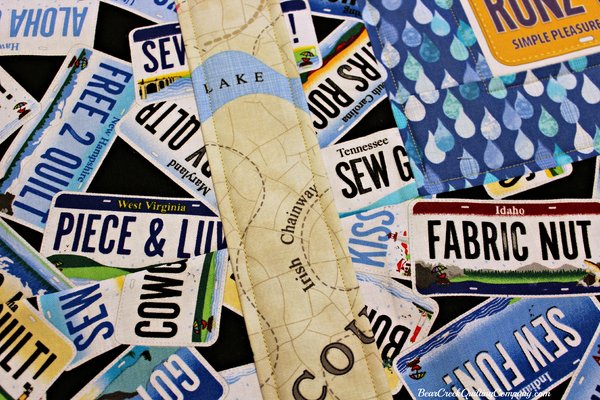 |
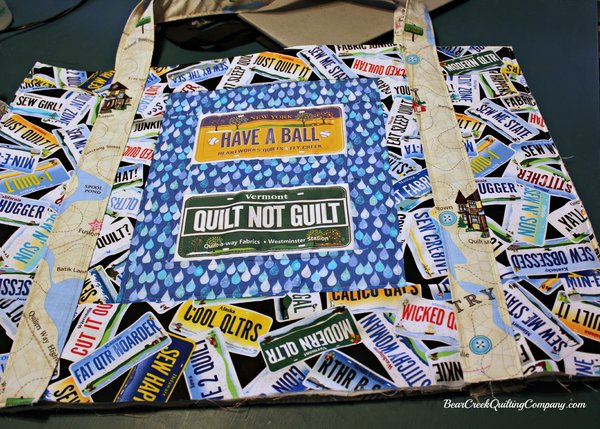
| Starting at bottom of tote, sew ¼” from handle edge. Sew entire length of strip, including the “in between” portion that forms the handle loop, and continuing to bottom edge. Repeat on the opposite edge. |
|
|
| To reinforce, sew 1/8” from outer edge of each side of the handle. |
| Repeat handle instructions for back of tote. |
 |
| Place the front and back together, lining pieces facing each other. Yes, it looks like this is wrong, but trust me! It will work! |
| At this point, I switched to a heavy-duty jeans needle in my machine. You’re going to be sewing through several layers. |
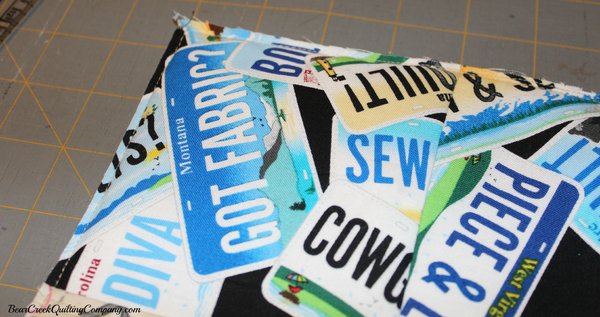 |
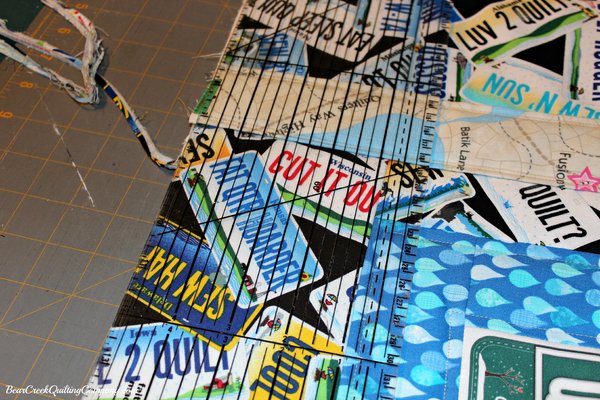
| Using a ¼” seam, sew down both sides. Then, using ¼” seam, sew across bottom. |
 |
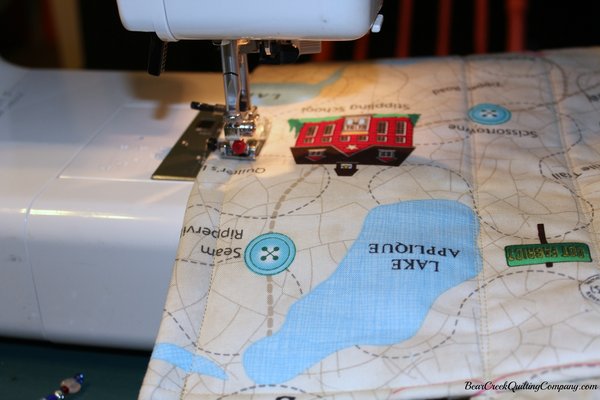
| Trim seams to 1/8”. |
 |
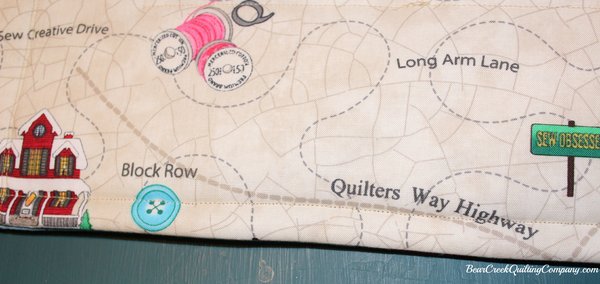
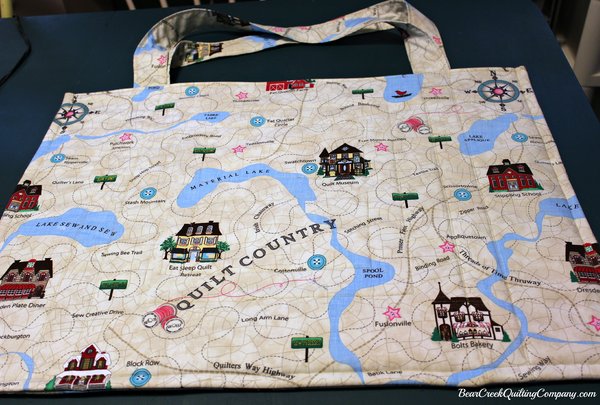
| Turn the bag inside out. Smooth it out and press along seams. Sew down the first side, across the bottom, and up the second side, using a ½” seam, backstitching at the beginning and ending edges. Take a peek and make sure all looks well on the right side of the tote. |
 |
 |
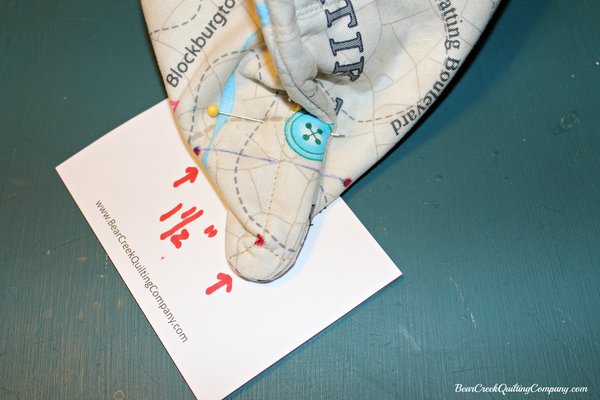 |
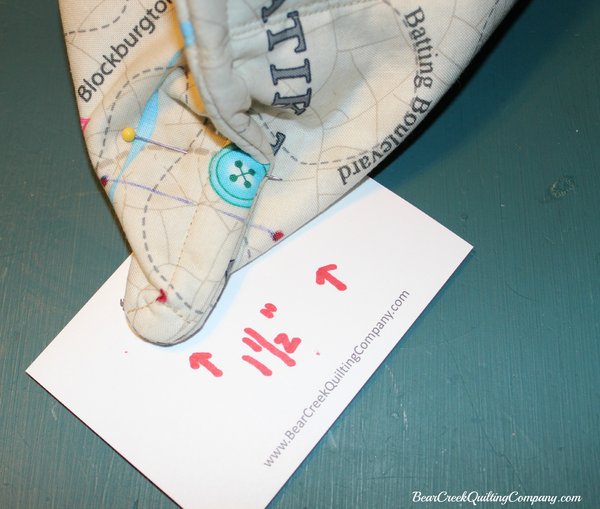
| Keeping the tote inside out, form a triangle at the bottom corners of the tote. Measure 1 ½” from where you turned the corner on each edge. |
 |
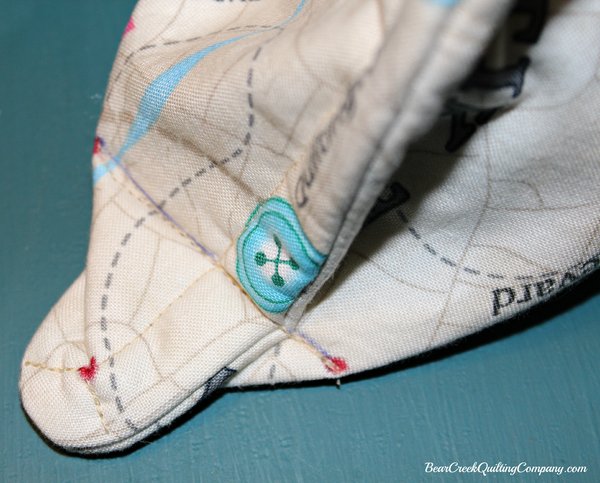 |
| Draw a line from mark to mark. Sew along line, with the side seam and bottom seam facing opposite each other. Lots of layers here, so go slow! |
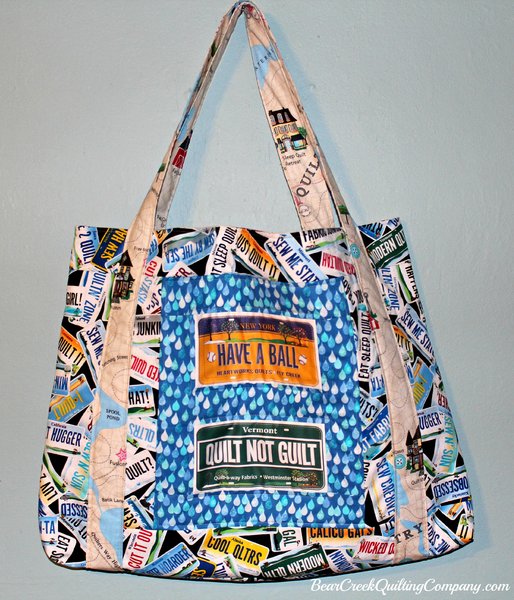 |
| Turn your tote right side out, stuff it full of goodies, and ENJOY!!! |
 |
| "Show Off Your Plates" Tote Tutorial instructions can be printed here. |
| You can learn more about the upcoming 2015 Row-by-Row H20 Experience here. |
| "Show Off Your Plates" Tote Tutorial was designed and created for Bear Creek Quilting Company by Kris Thompson. |
| Fabric used in this tutorial is from Row by Row H20 by Timeless Treasures. |
| Do you love free fabric? Do you love to teach? Want to be a contributor on our blog? Send us an email at web@bearcreekquiltingcompany.com to get started! |


Comments