Blessings Quilt Tutorial


Article Archive

+  2024 (31)
+  2023 (37)
+  2022 (27)
+  2021 (16)
+  2020 (16)
+  2019 (32)
+  2018 (15)
+  2017 (9)
+  2016 (3)
-  2015 (23)
+  2014 (37)
+  2013 (2)


Welcome!

Hello and thank you for stopping by. We hope you will find this blog site full of great tutorials and creative ideas for your upcoming projects.

Bear Creek Quilting Company

2023 Maywood Studio Maker
I am a 2023 Maywood Studio Maker!
Posted by Shari on August 8th, 2015

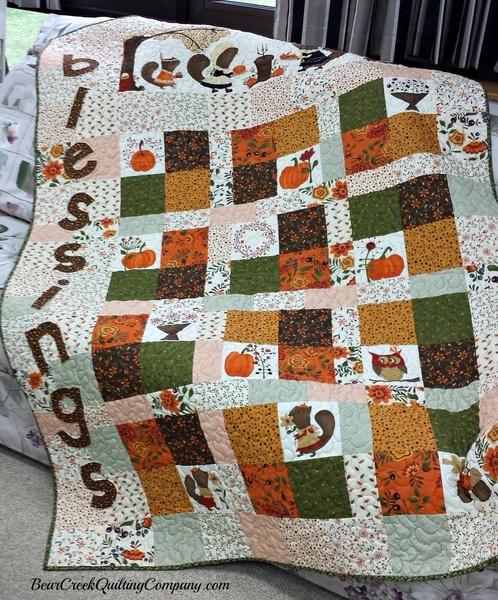
Blessings Quilt Tutorial
Hi everyone!

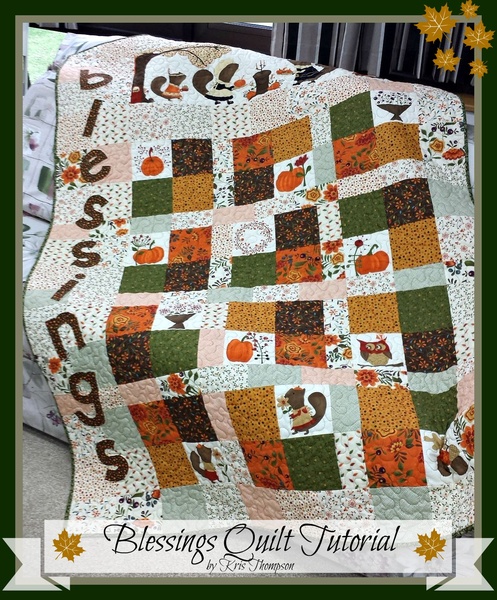
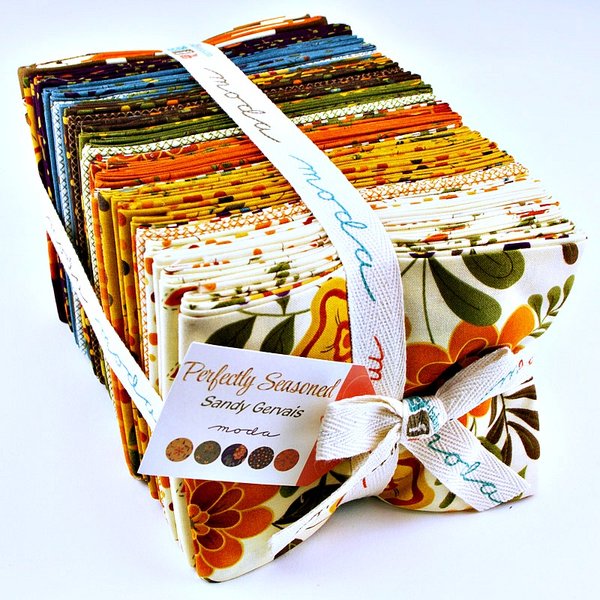
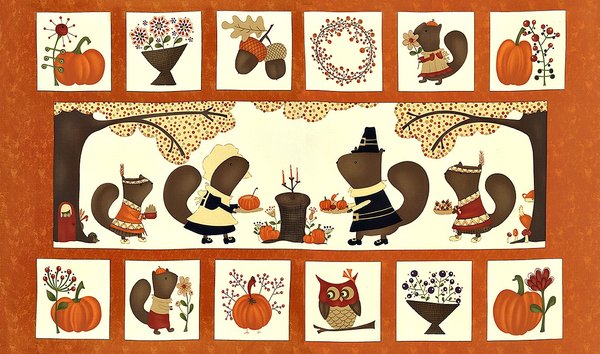
I love fall (even though I know what follows), and when I saw the cute little critters on Perfectly Seasoned  by Sandy Gervais for Moda, I had to have them!  And the collection of fat quarters is beautiful!

Okay, but like so many panels and fat quarters in my stash, now that I have them, what do I do with them?  I hate to cut them up!  What if I need them for something in the future?  Sound familiar?

Well, start cutting, ‘cause we’re going to use this one!!!

Blessings Quilt Tutorial
First of all, let’s go over the tips:

  • The seams are all ¼ inch.
  • I laid out all the 4-patches, squares and rectangles before piecing, just to make sure I liked the layout and that I didn’t have two of the same print together.  If you look closely, you’ll see that I wasn’t real particular.  This is a scrappy sort of quilt and doesn’t take a lot of thinking.
Mark the row number on each row as you go.  Makes it a lot easier at the end.

Press your seams when the each row is ready to be added, and alternate them so they fit together nicely when the actual rows are sewn together.

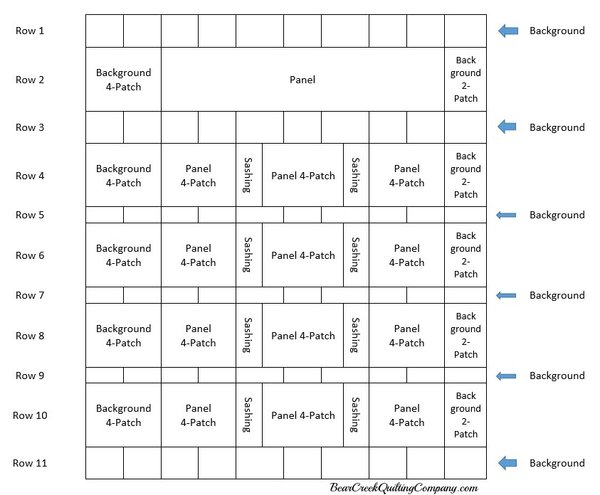
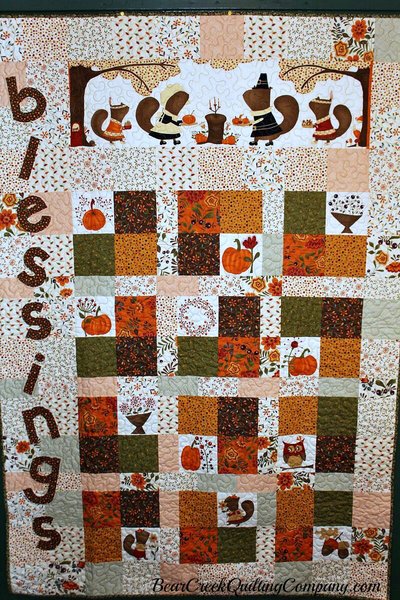
Blessings  is made up of eleven rows, all rectangles and squares. 

The finished quilt measures approximately 50 inches by 72 inches.


Blessings Quilt Tutorial
 
Blessings Quilt Tutorial

Supplies needed:

  • (1) Perfectly Seasoned panel

  • (1) Perfectly Seasoned fat quarter bundle

  • (4) yards fabric for the backing and binding

  • (2) yards batting

  • (1) yard Wonder-Under or fusible of your choice

  • Thread

  • Quilting tools…..rotary cutter, cutting mat, ruler, sewing machine, ironing board, iron.

Blessings Quilt Tutorial
Cutting:
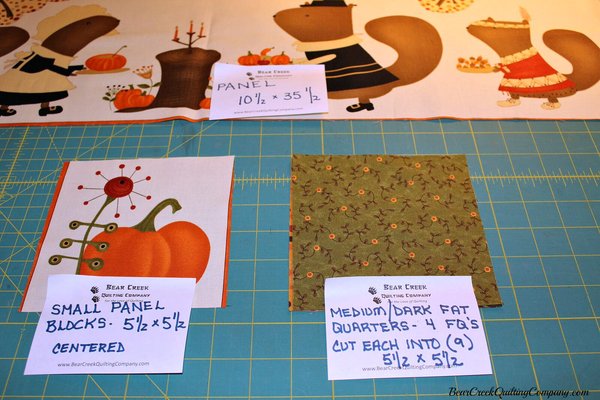
  • Center and cut the large panel rectangle 10 ½” x 35 ½”

  • Center and cut the panel squares 5 ½” x 5 ½”

  • From the medium fat quarters (I used 4), cut a total of (36) 5 ½” x 5 ½” squares.

Blessings Quilt Tutorial
Cutting cont'd:
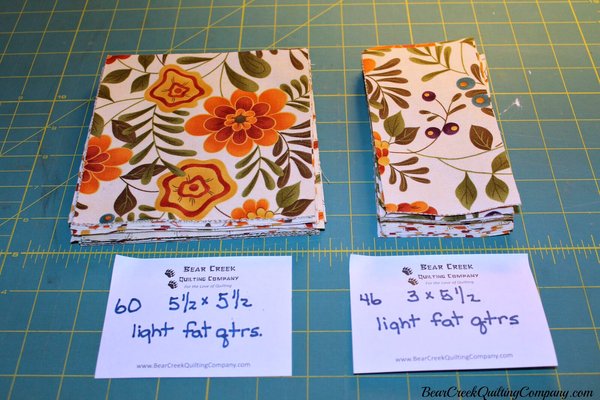
  • From the light fat quarters (I used 8), cut a total of (60) 5 ½” x 5 ½” squares and (46) 3” x 5 ½” rectangles.  These will be used for the background.

  • Cut (2) 58” x width of fabric (WOF) pieces from the backing fabric. These will be sewn together for the back.

  • Cut (7) 2 ½” x WOF strips for the binding.

Blessings Quilt Tutorial

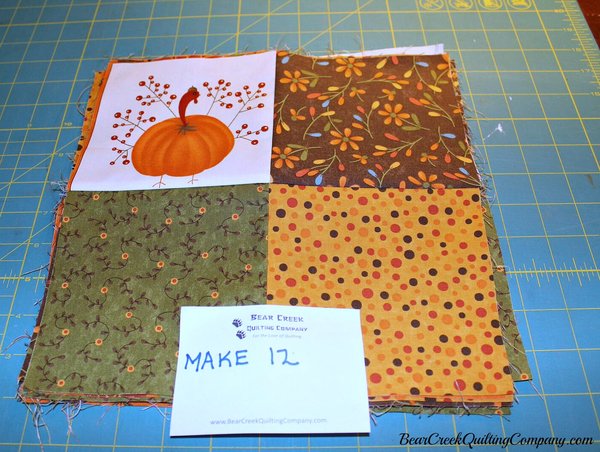
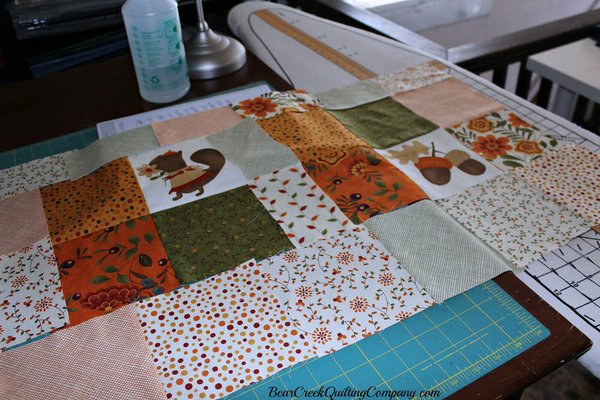
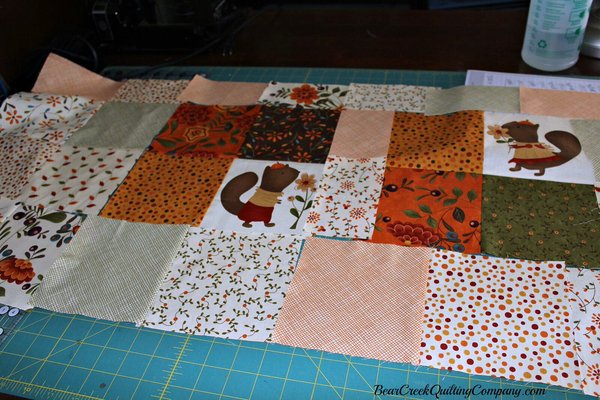
Piece (12) 4-patches, using one panel square and three medium squares for each.  Set aside.

Blessings Quilt Tutorial
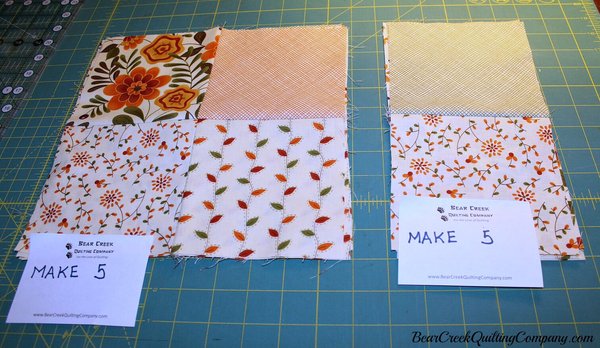
Piece (5) 4-patches, using four different background squares. 

Piece (5) 2-patches, using two different background squares.  Set aside.

Blessings Quilt Tutorial

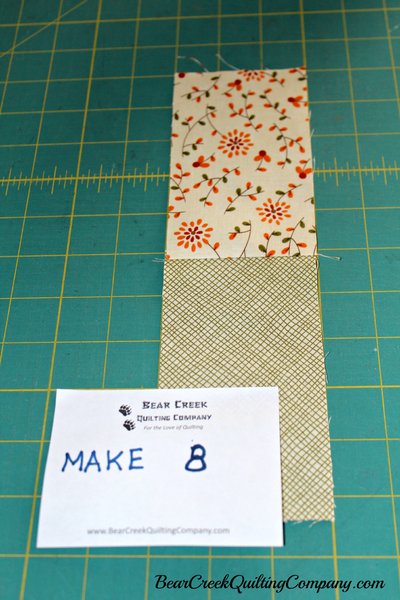
Sew (8) sashings together, using two different 3” x 5 ½” rectangles for each. 

Sew the 3” ends together.  Set aside.

Blessings Quilt Tutorial
Now, we’re going to get the rows ready.

Blessings Quilt Tutorial

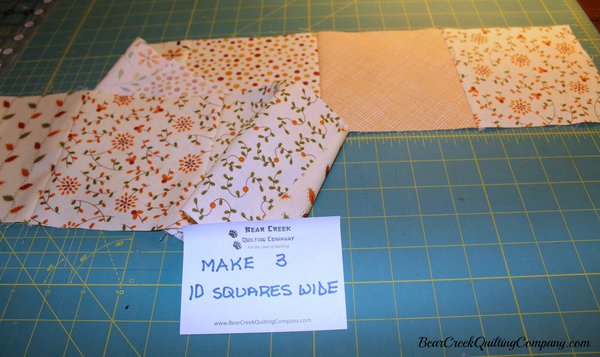
Rows 1, 3, and 11 are (10) 5 ½” x 5 ½” background squares sewn together, end to end.

Blessings Quilt Tutorial

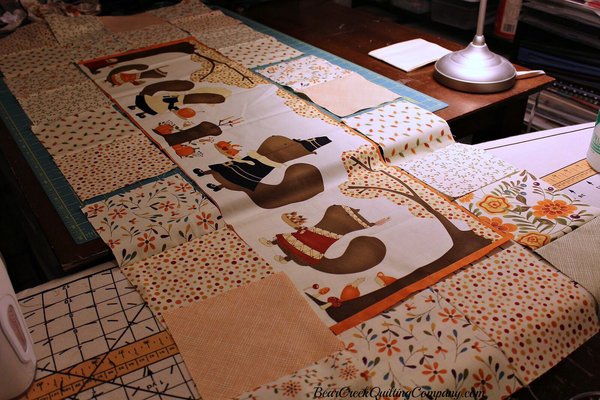
Row 2 consists of one background 4-patch, the 10 ½” x 35 ½” panel, and one background 2-patch.

Blessings Quilt Tutorial

 
Blessings Quilt Tutorial

Rows 4, 6, 8, and 10 are made up of one background 4-patch, followed in order by a panel 4-patch, sashing, panel 4-patch, sashing, panel 4-patch, and background 2-patch.

Rows 5, 7, and 9 consist of (10) 3” x 5 ½” background rectangles sewn together (sew the short ends together).

All rows will be 50 ½” long.

To keep the pieces in easy to handle sections, sew rows 1, 2, and 3 together.

Then 4, 5, 6, and 7.

Then 8, 9, 10, and 11.

Sew the sections together in order.

Blessings Quilt Tutorial

Lettering:

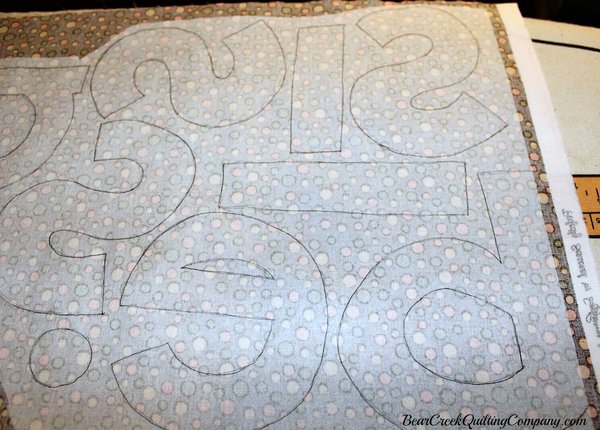
Trace the letters on the paper side of the Wonder-Under.  Remember to trace them backward, as on the diagram.

Following the manufacturer’s directions, apply the Wonder-Under (or your choice of fusible) to the wrong side of a dark fat quarter.

The letters are approximately 5 to 5 1/2 inches tall.  These can be drawn free-hand, you can search the internet for templates or cut the letters from a die cutting machine such as an Accuquilt Go!, a Cricut or Sizzix machine. 

Blessings Quilt Tutorial
Cut out the letters.

Blessings Quilt Tutorial
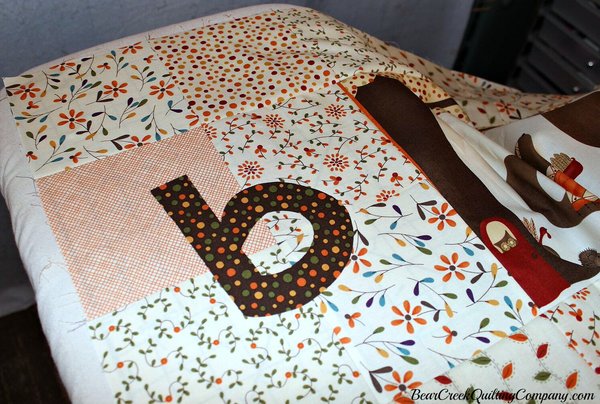
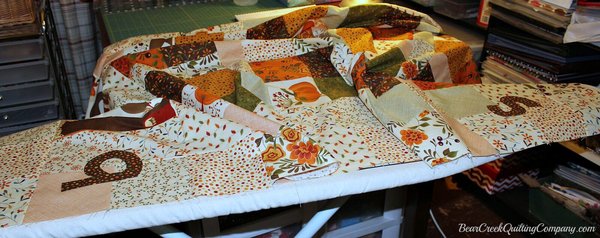
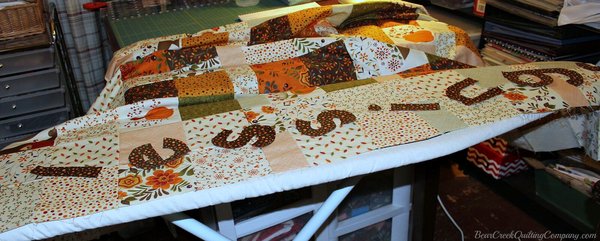
Space the letters evenly on the left side of the quilt top.  I started by placing the ‘b’ just below the first square, and the last ‘s’ just above the last square.

Blessings Quilt Tutorial
When satisfied with your placement, adhere the letters following the manufacturer’s directions.

Blessings Quilt Tutorial
Raw edge applique:
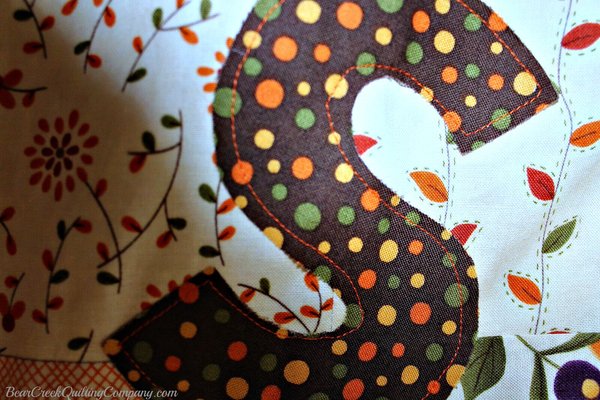
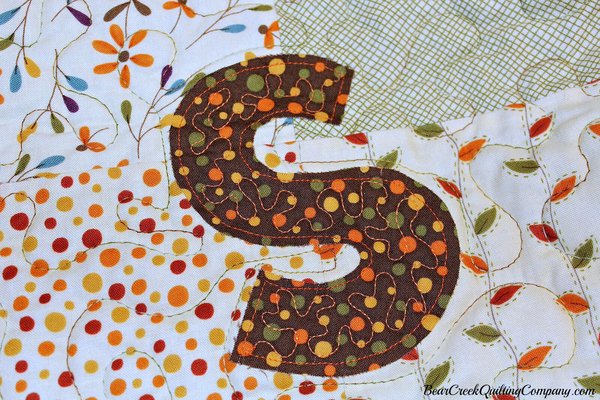
Going out of my box here!  Normally, I would have hand or machine appliqued the letters, using a blanket stitch.  But for this quilt, I decided to stitch the letters using a straight stitch.  The letters will be quilted, so they won’t be going anywhere, even if they ravel after washing.  In fact, I’m anxious to see how they look after washing…a whole different look!

Feel free to make this quilt your own, and applique the letters using your favorite method.

Blessings Quilt Tutorial
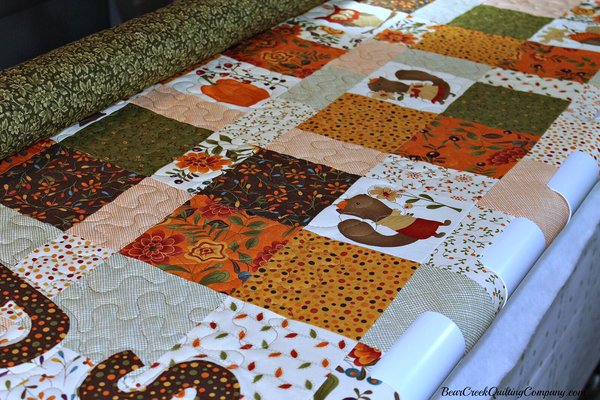
Once the letters are appliqued, you are finished and up to the “quilt as desired” phase.  I stippled my Blessings Quilts.

Blessings Quilt Tutorial
When the top was quilted, I used a contrasting thread, and did a tiny stipple in each letter.

Blessings Quilt Tutorial
Blessing Quilt Tutorial
Bind using your favorite method.

Enjoy Blessings  as the days get shorter and the weather turns cooler!

Kris Thompson
Blessing Quilt instructions can be printed here.
Blessing Quilt Tutorial was designed and created for Bear Creek Quilting Company by Kris Thompson.
Fabric used in this tutorial is from Perfectly Seasoned  by Sandy Gervais for Moda.
Do you love free fabric?  Do you love to teach?  Want to be a contributor on our blog?  Send us an email at web@bearcreekquiltingcompany.com to get started!
 
Category: Tutorials

Comments

  • 1. Posted by Charlene McCain on September 22nd, 2015 at 8:42 a.m.
    This is one of the cutest quilts I have seen lately. Have to make one! Thanks so much for sharing.
  • 2. Posted by Angie in SoCal on September 20th, 2015 at 7:16 p.m.
    That is the cutest panel of squirrels I've seen.
  • 3. Posted by Roberta on September 18th, 2015 at 3:07 p.m.
    Beautiful!
  • 4. Posted by Helen LeBrett on September 10th, 2015 at 9:31 p.m.
    What a cute pattern!! I have the fabric and didn't know how to use the panel, but this is a great way!! Thanks!
  • 5. Posted by Kris on September 10th, 2015 at 5:50 p.m.
    Hi Geri...sorry for the delay in answering your question. You would have to do some figuring to use charm packs. The pattern uses 5 1/2" squares as opposed to the 5" charm squares. The dimensions of the panel pieces are better suited to the 5 1/2" cuts.
  • 6. Posted by Randi on September 1st, 2015 at 6:11 a.m.
    I love this pattern! Thanks so much for sharing it. Can't wait to make it.
  • 7. Posted by Geri Holmes on August 19th, 2015 at 7:05 a.m.
    I already have one charm pack. Could I just order maybe 3 more then the backing fabric and another piece for the letters? I don't think I'll need all the leftovers from the fat quarter bundle. Just trying to save some money to buy other fabrics! Thanks.
  • 8. Posted by Kris Thompson on August 17th, 2015 at 1:14 p.m.
    Thank you for asking, Diane. I have no idea how many quilts I've made. I have one cabinet that I keep my quilts in, because most have gone to family and friends. Sometimes I change quilts with the seasons, sometimes not. Pretty much depends on how much my black lab is shedding at the time. And yes, I do have multiple machines.
  • 9. Posted by Diane on August 17th, 2015 at 1:04 p.m.
    This is such a wonderful project and tutorial ! You are such a beautiful quilter. If you don't mind me asking, how many quilts have you made and where do you keep all of them to keep them safe? Do you change your quilts with the different seasons? Do you only use one machine or do you have multiple machines?
  • 10. Posted by Kris Thompson on August 17th, 2015 at 12:19 p.m.
    Thank you for your comments. I didn't use a template for the lettering, just sketched them out. I kept the smaller letters around 5" and the larger ones 6 to 6 1/2".
  • 11. Posted by Karen of Redbird Quilt Co on August 12th, 2015 at 12:26 p.m.
    What a great way to use a panel Kris -- thank you! Loving the simple applique too.
  • 12. Posted by Diana Long on August 11th, 2015 at 12:34 p.m.
    I really like this one. Creative use of a panel without being too difficult.
  • 13. Posted by Lois Oberg on August 10th, 2015 at 9:28 a.m.
    This is so cute!! Where did you get the templates for the lettering?
  • 14. Posted by Vivian Oaks on August 9th, 2015 at 8:59 p.m.
    Thanks so much for the Blessings Quilt Tutorial. Love it, Love it!!!