Quilt Block Tutorial: Rail/Strip Block
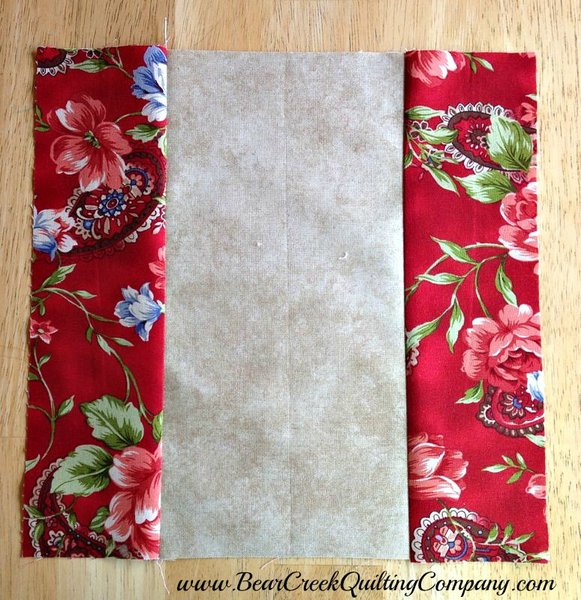
If you are following along and making the "Wristwatch" quilt, here are your cutting instructions for the Rail/Strip blocks in this quilt. If not...this is just a tutorial you can use to add to your quilty skills tool box
Cutting Instructions:
Red print- cut (5) 3" x width-of-fabric (WOF) strips, then sub-cut (20) 3" x 10 1/2" rectangles.
Blue print- cut (4) 3" x width-of-fabric (WOF) strips, then sub-cut (16) 3" x 10 1/2" rectangles.
Background fabric (center of block)- cut (5) 5 1/2" x width-of-fabric (WOF) strips, then sub-cut (18) 5 1/2" x 10 1/2" rectangles.
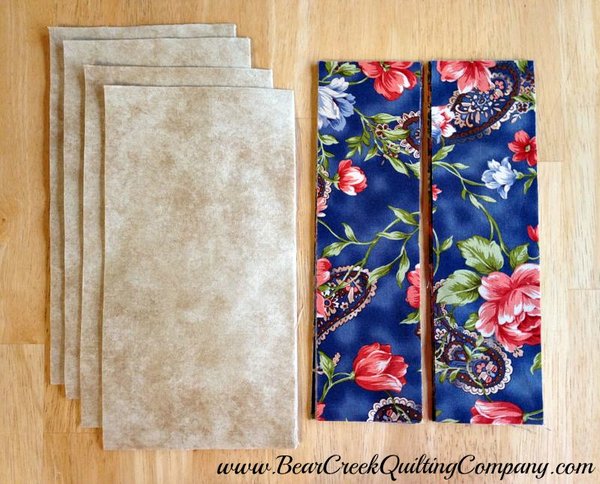
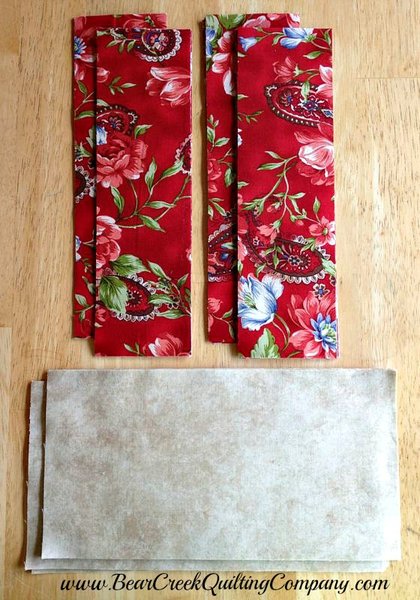
You will be making two different Rail/Strip blocks. Red and Blue!
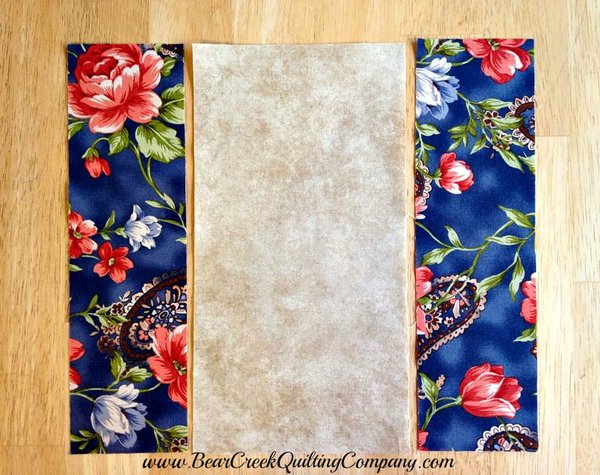
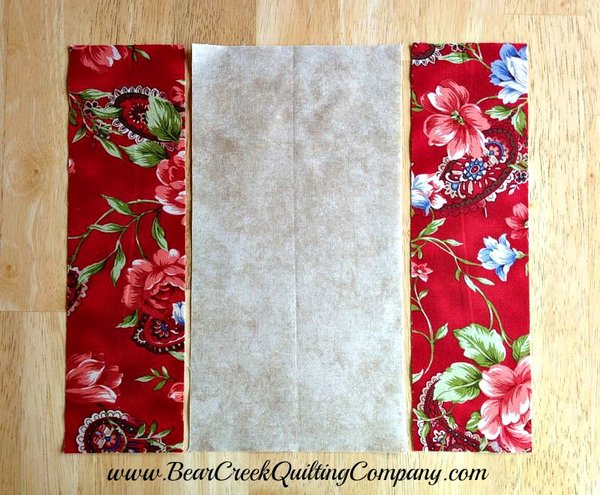
Layout your blocks and then piece them together. You will be making (10) Red blocks and (8) Blue blocks. These are by far the easiest blocks ever!!!
Your blocks should finish at 10 1/2" square.
Now, get to strippin'...no not really! (wink)
Keep it Sassy!

♥♥♥♥♥
"Wristwatch" Quilt was designed and created for Bear Creek Quilting Company by Paula of The Sassy Quilter
Fabric used in this tutorial is from Home and Heart by Yuko Hasegawa for RJR Fabrics and Shadow Play by Maywood Studios.
Do you love free fabric? Do you love to teach? Want to be a contributor on our blog? Send us an email at web@bearcreekquiltingcompany.com to get started!

