Spooky Pillow Tutorial
In the mood for something Spooky?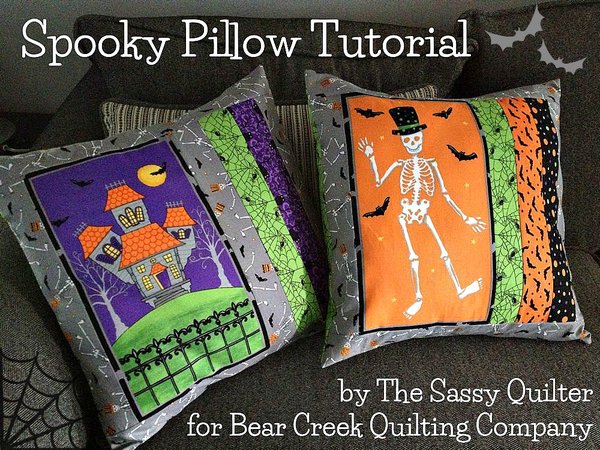
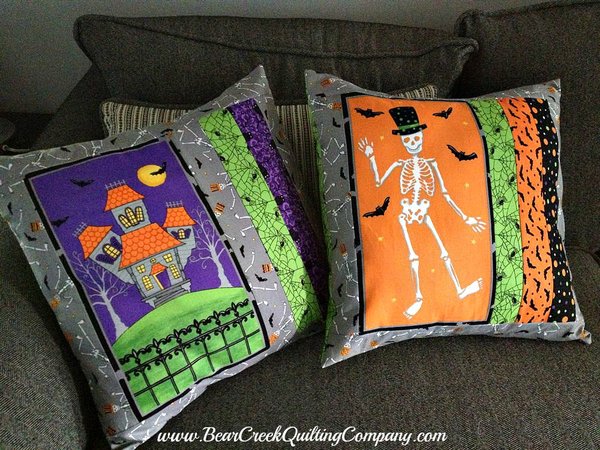
Paula here from over at The Sassy Quilter and I've got a pillow tutorial for you today that is perfect for Halloween!
Here is what you will need:
- (2) - 18" Pillow forms
- 1 Moonlight Manor panel by Deb Strain for Moda Fabrics
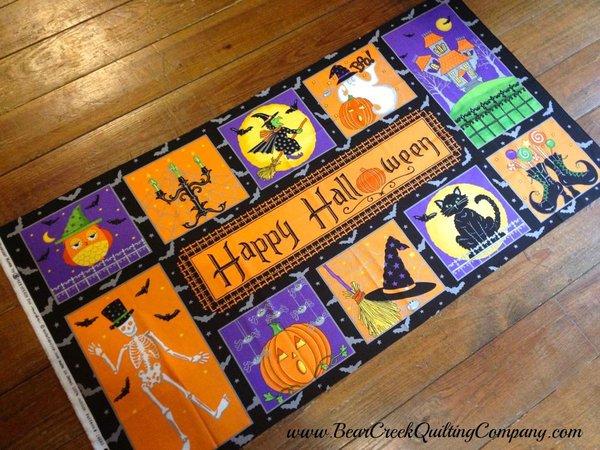
-
An assortment of coordinating prints for accent strips and borders. Fat Quarters or 1/4 yd cuts will do.
-
(2) 1/2 yard cuts for the two backing prints
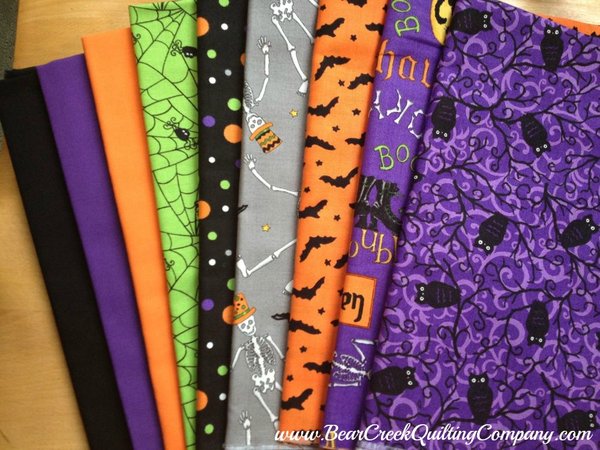
This was a half yard bundle I used and it was plenty for the pillows and the additional projects I made with the panel. You can find the other project ideas here.
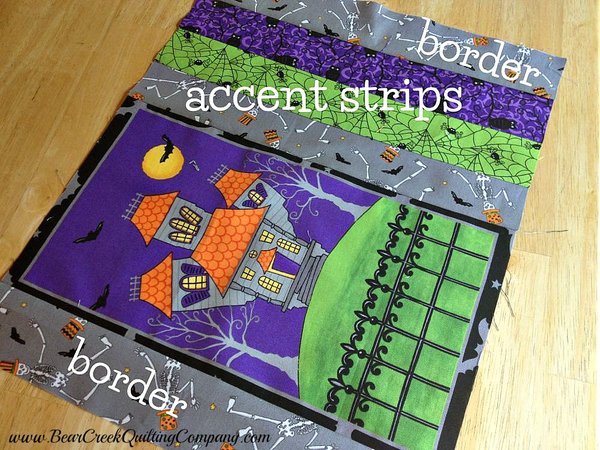
Directions: Pillow Front
1. Cut out your two panels (spooky house and spooky skeleton), leaving 1/2" around the panel. The panels will measure approximately 8.5" x 14.5".
2. Cut three 2.5" x 14.5" strips for each pillow from your coordinating prints to use as the accent strips. Sew these together into a strip set and then attach to the right side of the panel.
3. Cut two 2.5" x 14.5" strips for each pillow from your border print. Sew these along the right and left of your pillow top.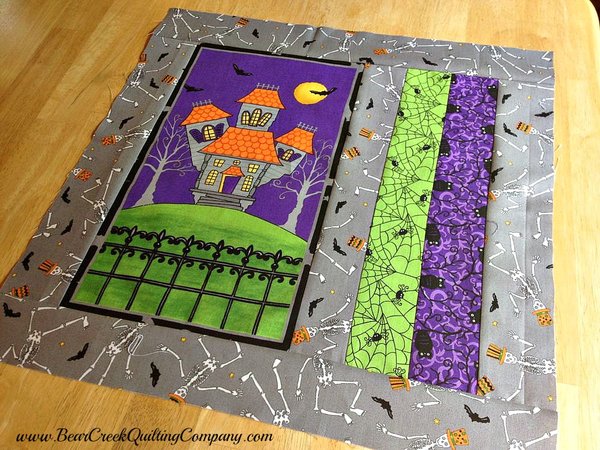
Cut two 2.5" x 18.5" strips from your border print. Sew these along the top and bottom borders of your pillow top. Trim up your pillow top to 18" x 18.5".
Directions: Pillow Backing
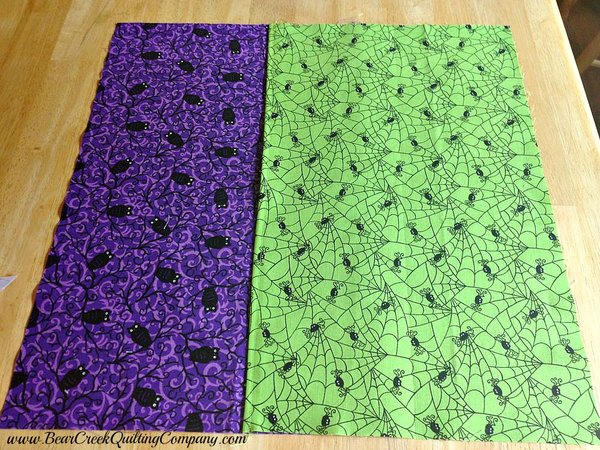
These pillows have an envelope style back. This makes them really easy to switch, whatever the season may be.
Cut two panels measuring 18.5" x 12".
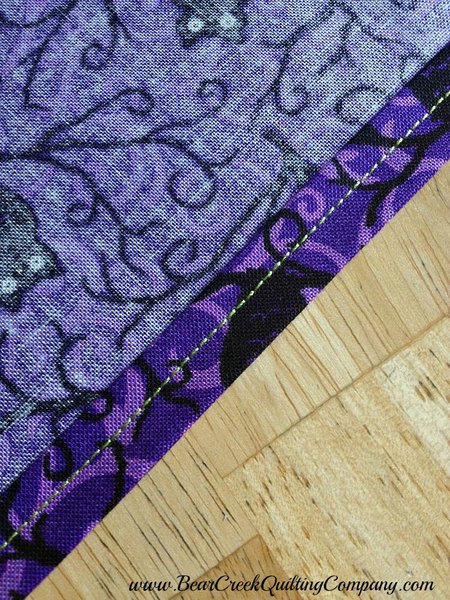
Fold one of the edges on each panel 1/2", then fold once more and stitch along the fold to hem the edges.
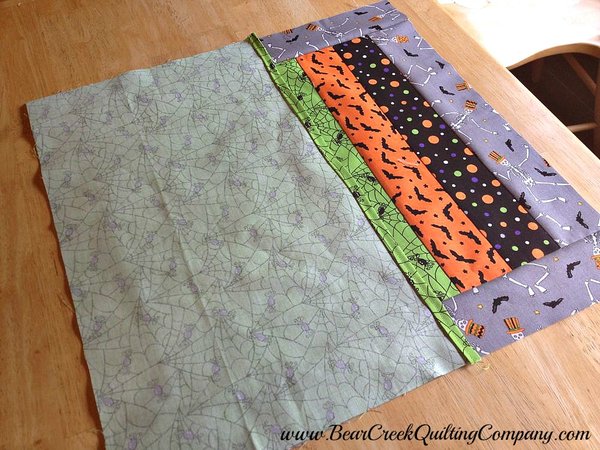
Place one of the panels wrong side up with the hemmed edge toward the center and lining up the outer edges with the edges of the pillow top.
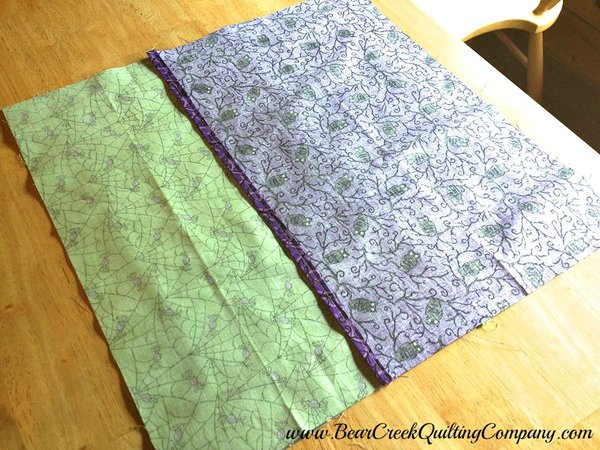
Place your other panel for the pillow back wrong side up on top of the previous panel. The hemmed edge should also be facing toward the center.
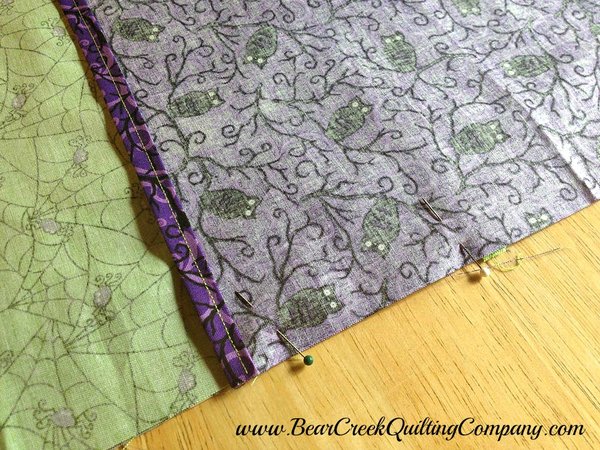
Make sure all of the outer edges of the backings line up with the front of the pillow and then pin liberally along all the outer edges. The two backing panels should have several inches of overlap, pin especially well here.
Stitch a full 1/4" seam along the entire outer edges of your pillow. Because the back is an envelope style there is no need to leave an opening....I love this!
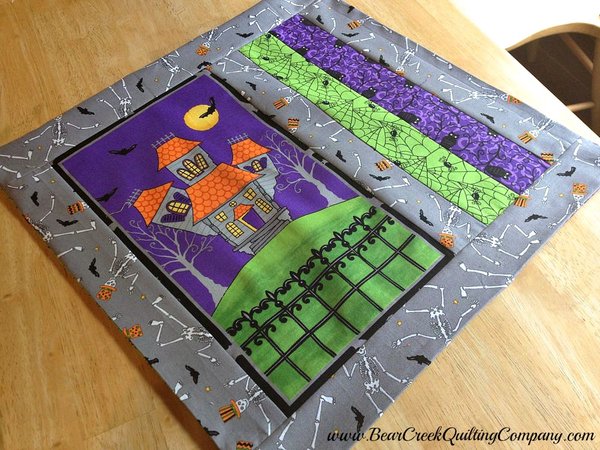
Turn your pillow inside out and be sure to push out those corners and you are done!
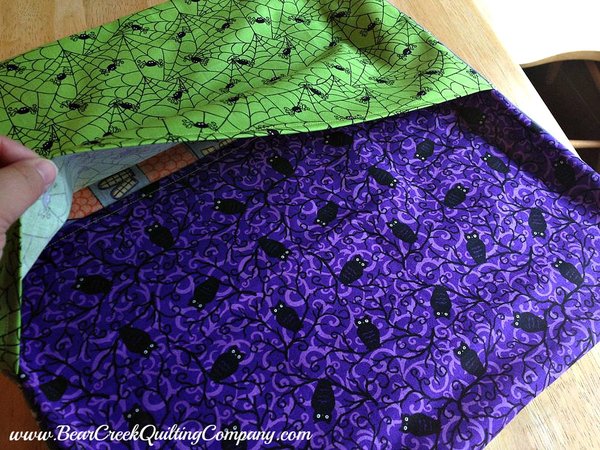
Your back should look like this...
So easy it's spooky!!!
Keep it Sassy♥

♥♥♥♥♥
Congratulations to Jelinda P. for winning our Moonlight Manor Madness fabric bundle by random number generator! Please email us at info@bearcreekquitingcompany.com to claim your prize. 

Thank you to everyone that participated! Your ideas are amazing and I hope everyone is inspired for the upcoming spooky season.

Spooky Pillow Tutorial was designed and created for Bear Creek Quilting Company by Paula of The Sassy Quilter
Fabric used in this tutorial is from Moonlight Manor by Deb Strain for Moda.
Do you love free fabric? Do you love to teach? Want to be a contributor on our blog? Send us an email at web@bearcreekquiltingcompany.com to get started!



Comments