Posted by Shari on December 14th, 2015
| Winter's Song Triangle Quilt Tutorial |
| Hello, friends! I'm so happy to be guest posting with a new tutorial for making a triangle quilt using the Triangles On A Roll products! |
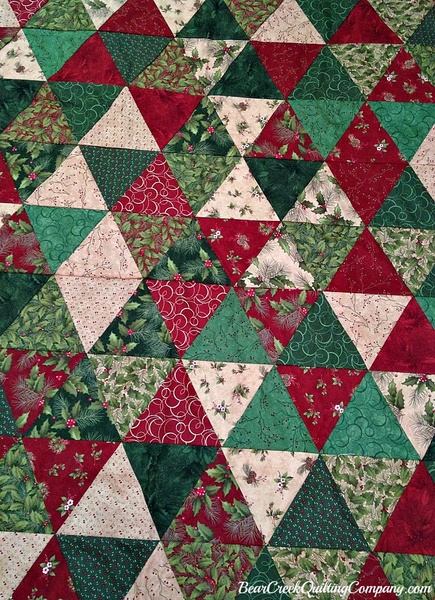 |
| A triangle quilt has been on my must-make list for a while, and I thought it would look great in some pretty winter and Christmas fabrics. |
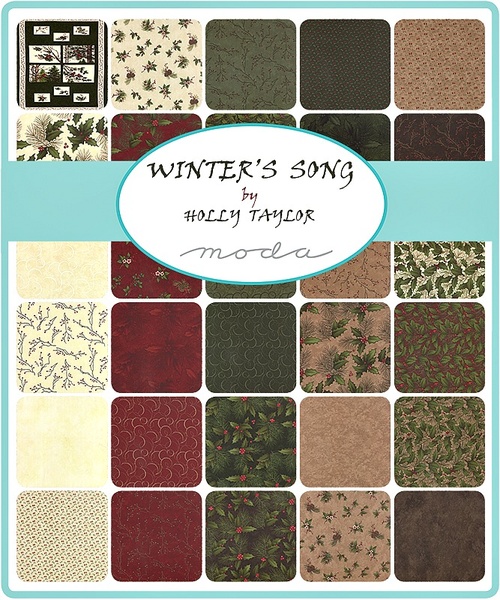 |
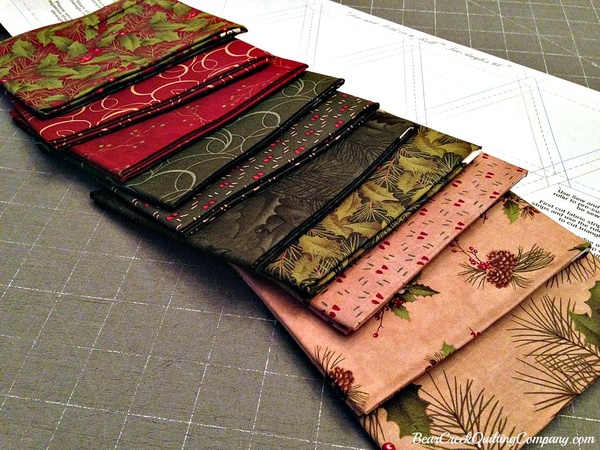
| For my quilt, I used a gorgeous fat quarter bundle of Winter's Song fabrics by Holly Taylor for Moda. |
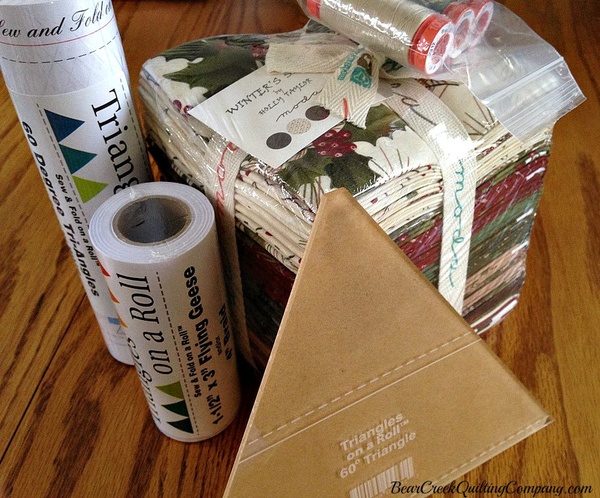 |
| I also used some awesome tools, to make my triangle quilt fun, easy and nearly perfect in every way. The paper is from Triangles On A Roll, and there are various other products available, too. |
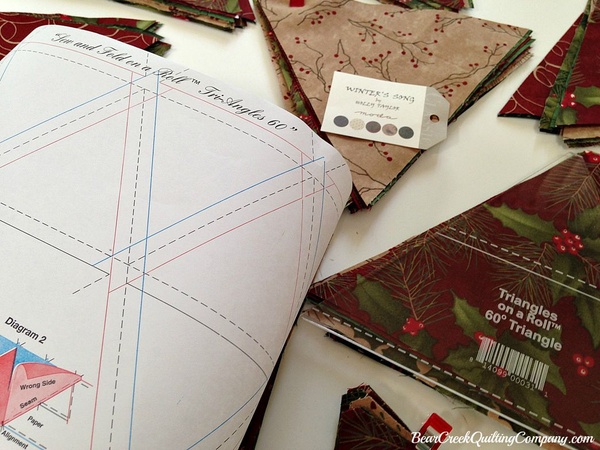 |
| I chose to make my quilt with equilateral triangles. A 60 degree ruler makes quick work of cutting the triangles. |
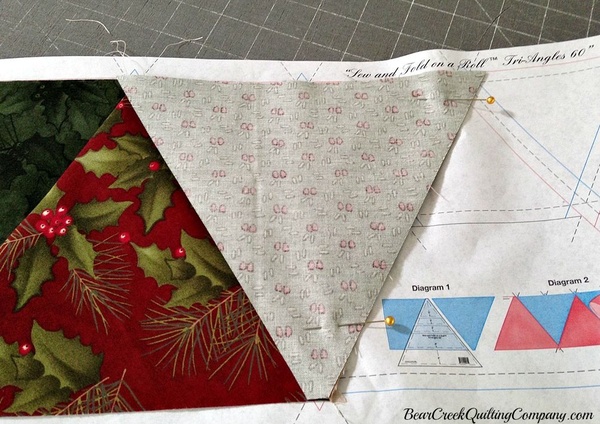 |
| The Triangles On A Roll paper made it easy to stitch along bias edges, without any issues of stretching or shifting. Let's get started with the tutorial, shall we? |
| Winter's Song Triangle Quilt (finishes at 50 1/2 inches by 65 1/2 inches) |
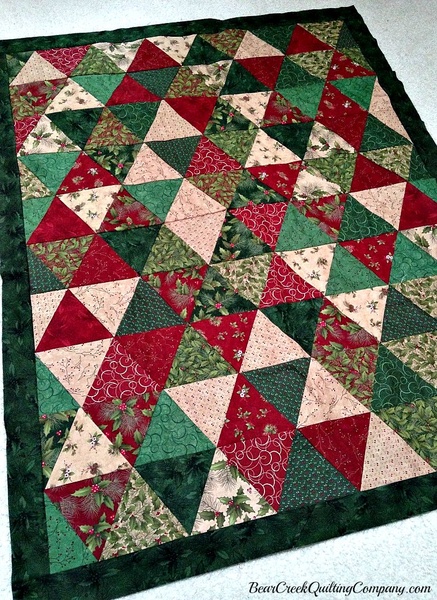 |
Fabric requirements:
|
| *I chose to make a pieced backing for my quilt, using the panel from the fat quarter bundle plus 2 yards of fabric. |
 |
| Cutting fabric triangles: |
| Select 18 fat quarters from the bundle, and press them. I chose the rich, dark shades for my quilt. It's easy to stack 3 fat quarters at a time for cutting. Place the fabrics with selvage edges along the bottom and straighten the right edge. |
 |
| Cut (2) 6 1/2" x 21" strips from each fat quarter set, using the Triangles On A roll 60 degree Ruler. You can cut 4 triangles from each strip so you will get 8 triangles from each fat quarter. Cut 144 triangles all together. |
| Organizing the triangles: |
| Goal: 10 set of 14 triangles each |
| Sort the triangles into 8 sets, each containing 1 of the 18 prints used. Take 4 prints away from each set - varying the prints you remove. Create 2 new sets of 14 from those 32 triangles. (There will be 4 extra triangles.) |
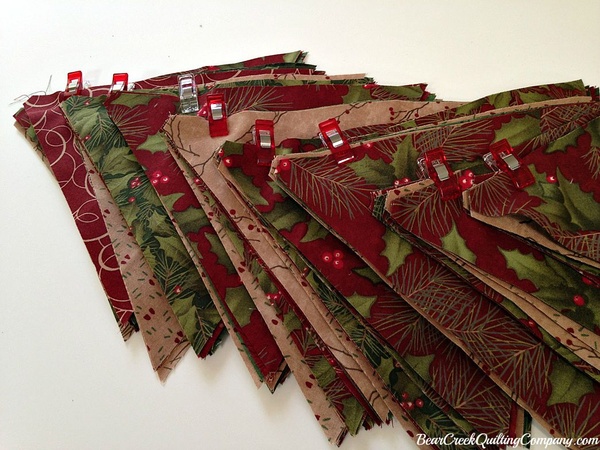 |
| I used some red Clover Wonder Clips to keep my sets in place. |
 |
| Stitching the rows: |
| Tip: Stitch the triangles for each row in random order to balance the appearance of the finished quilt top. |
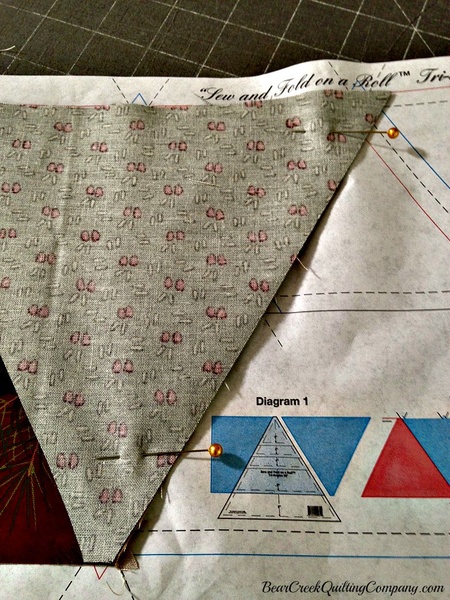
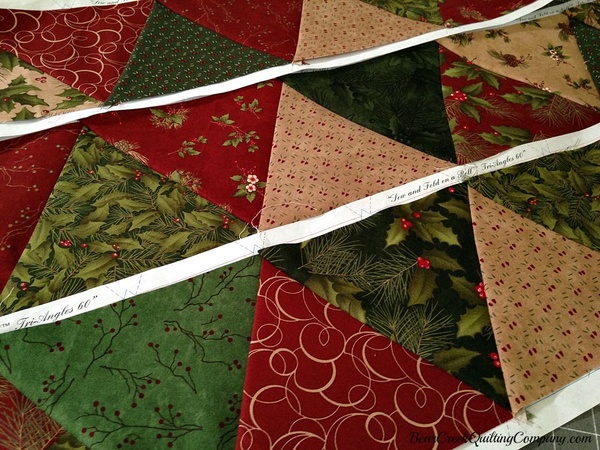
| Using the Triangles On A Roll paper, count off 14 large triangles and cut the paper along a seamline. Roll up the paper so that only the left edge is exposed, to begin. Follow the instructions printed on the paper and clip the first triangle to the left edge of the paper, right side up. Align the second triangle, right sides together, being sure to keep the blunt edges along the edge of the paper. |
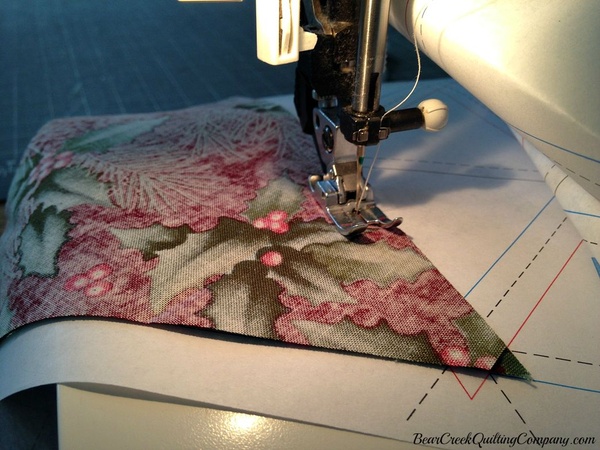 |
| Pin into place, then stitch 1/4" along the edge of the triangles, right through the paper. (I shortened my stitch length slightly to make paper removal easy later on.) |
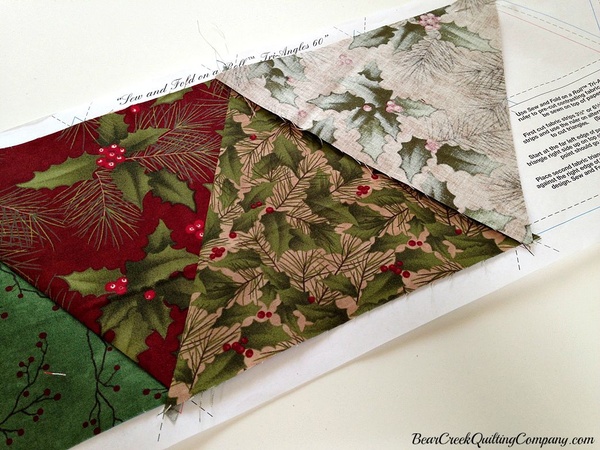 |
| Finger press the seam, then add more triangles in the same way, unrolling the paper as necessary, until you have completed a row of 14 triangles. |
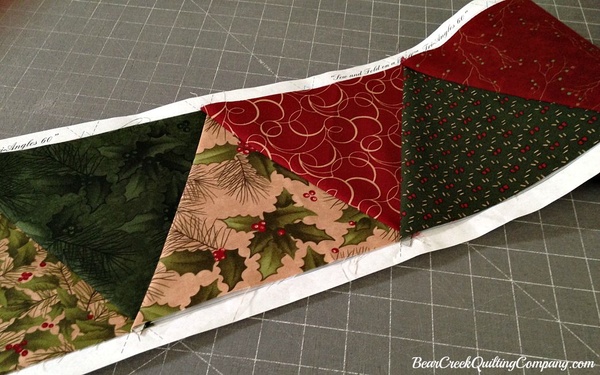 |
| Repeat to make 10 rows of 14 triangles each. |
 |
| NOTE: You must make 5 rows with the first triangle facing "up" and 5 rows with the first triangle facing "down", so that the edges will line up properly for the finished quilt top. |
| Tip: Leave the paper on the back of each row, until the quilt top is completed. (You will thank me later!) |
| Assembling the rows: |
| Arrange the rows as desired, alternating the direction of the first triangle in each row. (Once the rows are stitched, the sides will be trimmed away to square up the edges.) |
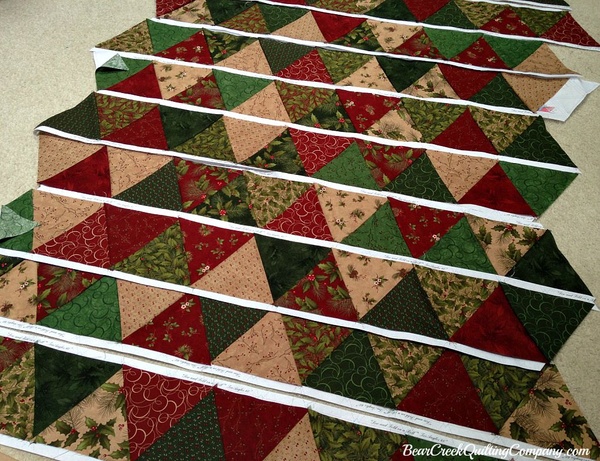 |
| Begin with the first two rows and pin them together, matching triangle points carefully. Continue to stitch the rows together to assemble the quilt center. Be sure to alternate the position of the first triangles of each row...up, down, up, down, etc... to finish up with a center that can be squared up properly. |
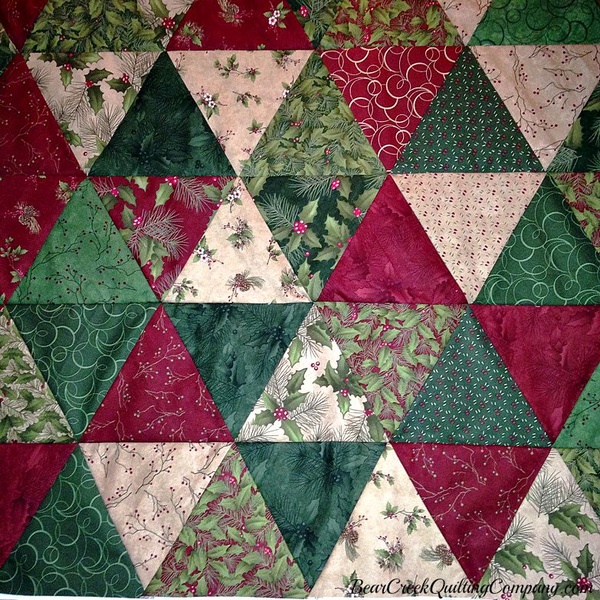 |
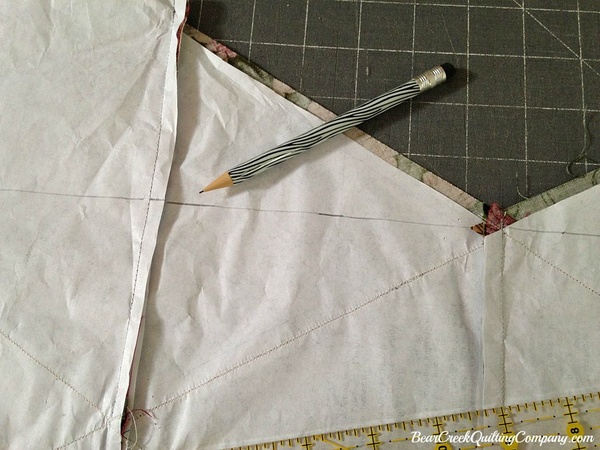
| Tip: The seamlines printed on the paper come in very handy. Use pins to match the points of the triangles and also to match the stitch lines, which are visible on the paper even from the wrong side. Press each seam to one side. |
 |
| Squaring up the quilt center: |
| Tip: Do you still have the paper attached? Use a ruler to mark the stitch line along all four sides before you trim away the excess triangle fabric. Draw the line from point to point of each triangle. For the top and bottom edges, mark a 1/4 inch seamline from the edge of the fabric. |
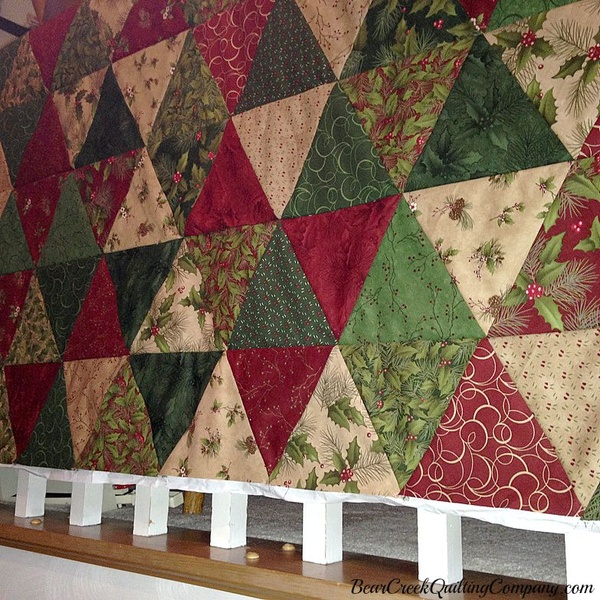 |
| Use a long ruler and rotary cutter to cut away the fabric and paper that extend over the outside edges, trimming exactly 1/4 inch from the triangle points. |
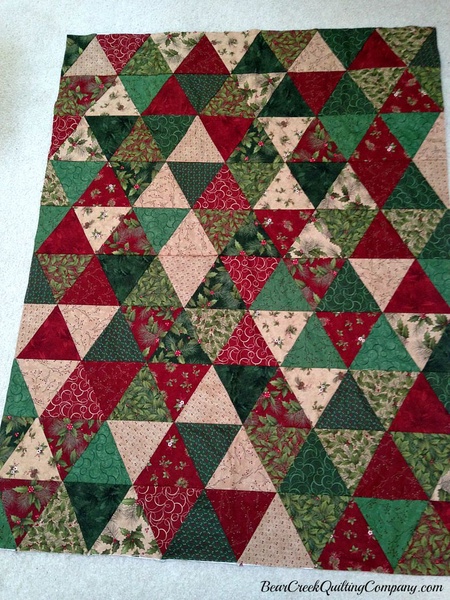 |
| The quilt center should now measure about 45 1/4" x 60 1/4", but take your own measurements to be sure. Always measure from the center of the quilt. |
| Borders: |
Cutting:
|
| Side Borders: |
| Piece 2 strips together, with the diagonal seams, for each side border. From the center of the quilt top, measure from top to bottom. Cut the 2 side borders to this measurement. Pin the side borders to the quilt center, matching raw edges, and stitch side borders with a 1/4' seam allowance. |
| Tip: This is "sew" easy if you have marked the paper with the stitch line. |
| Top and Bottom Borders: |
| Use the 2 pieces that were trimmed away from the side borders and piece onto each remaining strip, with diagonal seams. From the center of the quilt top, measure from side to side. Cut the top and bottom borders to this measurement. Pin the top and bottom borders to the quilt center, matching raw edges, and stitch the borders with a 1/4" seam. |
 |
| NOW...it's time to remove the paper! Sit down with a good movie and a wastebasket and you'll find it's an easy task. Press the finished quit top and it's all ready for finishing into a gorgeous quilt! What a great Christmas present this is going to make, right? |
 |
| Winter's Song Triangle Quilt Tutorial instructions can be printed here. |
| Winter's Song Triangle Quilt Tutorial was designed and created for Bear Creek Quilting Company by Amy DeCesare. |
| Fabric used in this tutorial is from Winter's Song by Holly Taylor for Moda. |



Comments