Rainbow Rail Fence Free Quilt Pattern
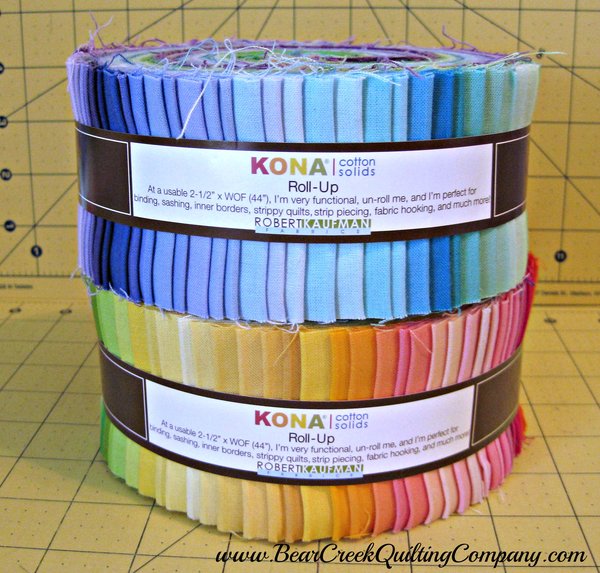
My name is Cheryl Brickey and I am so happy to present my first tutorial for the Bear Creek Quilting Company! I am a chemical engineer/patent agent by day and quilter at night. You can find me over on my blog, Meadow Mist Designs, and hanging out on Instagram. Bear Creek Quilting Company has such wonderful fabric and I immediately fell in love with the Kona Cotton Roll-Ups. I used two of the rolls for a fun, colorful Rainbow Rail Fence quilt.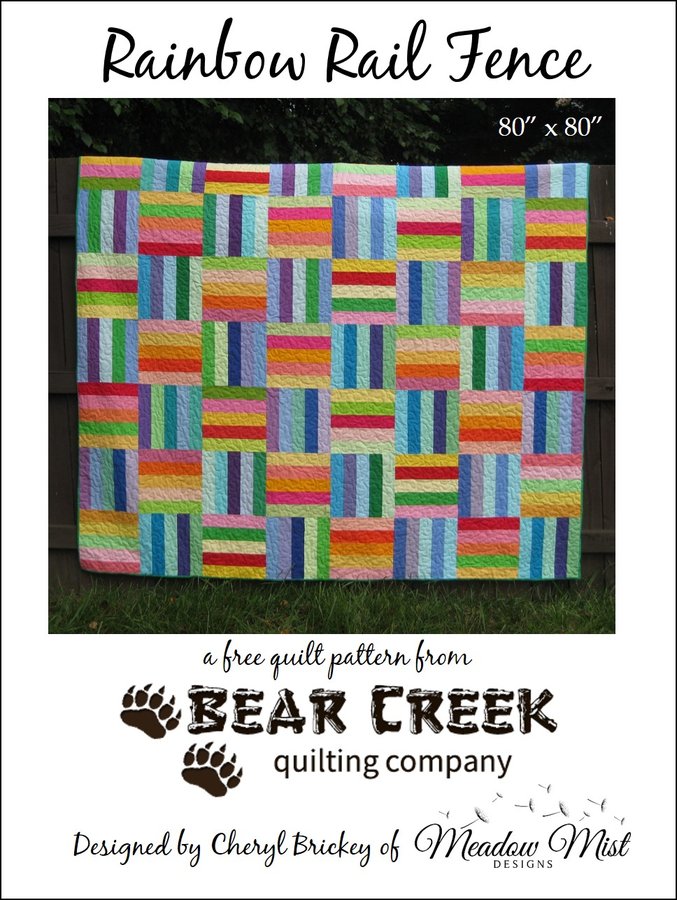
Rainbow Rail Fence is a twist on a very classic rail fence quilt block. The quilt finishes at about 80” x 80” (a size perfect for a double/full sized bed) and uses two Kona Cotton Roll-Ups, a Sunrise Palette Roll-Up and a Sunset Palette Roll-Up (by Robert Kaufman). The blocks are made so that the quilt contains alternating warmer and cooler colored blocks for a fun rainbow quilt. This is a quick, beginner-friendly quilt with very few seams to match.
For this pattern, the width of fabrics (WOF) is assumed to be at least 42 inches and a scant quarter inch (a thread width smaller than ¼”) seam is to be used throughout the construction of the quilt.
Materials:
- Quilt top fabric: 2 roll-ups* or 80 strips (2½” x WOF)
- Binding fabric (straight grain): ⅔ yard
- Backing fabric (for a 4” overhang): 7⅓ yards
- Batting: Queen sized batting
Step 1 – Forming the Blocks
1. Unwrap the 1st roll-up and separate the strips into 8 groups of 5 strips each (if you are using a Kona roll-up with 43 strips, you will have 3 left over from each roll). Repeat with the 2nd roll-up. 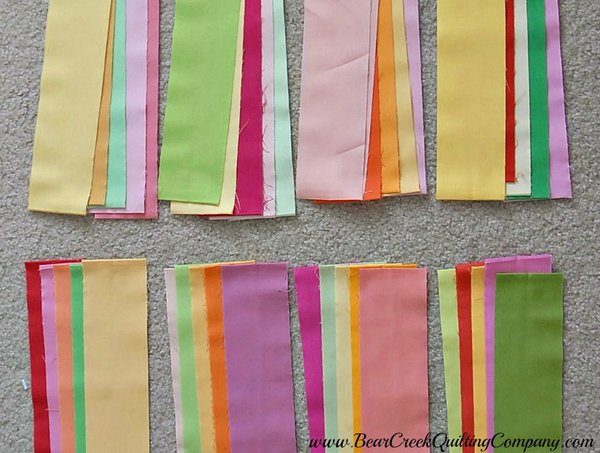
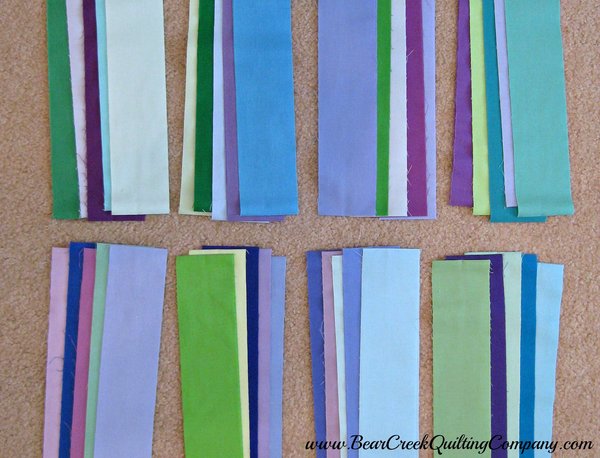
2. Sew the 5 strips within each group together along their long edges. Press seams open. (This will help ensure your strips stay straight.) The sewn together group of strips should measure 10½” by about 42”.
3. Cut each group of strips into (4) blocks 10½” x 10½” for a total of (32) 1st roll blocks and (32) 2nd roll blocks.
Step 2 – Assembling the Quilt Top
1. Arrange the (64) blocks into an 8x8 block arrangement (8 rows of 8 blocks each) as shown in the following illustration. The 1st roll blocks and the 2nd roll blocks should be in an alternating pattern. The strips within the 1st roll blocks are always oriented horizontally and the strips within the 2nd roll blocks are always oriented vertically.
Rows 1, 3, 5, and 7 will start with the 1st roll blocks oriented horizontally and will alternate with the 2nd roll blocks oriented vertically. Rows 2, 4, 6, and 8 will start with the 2nd roll blocks oriented vertically and will alternate with the 1st roll blocks oriented horizontally.
2. Sew the blocks within each row together, pressing seams away from the 1st roll blocks (blocks having the strips oriented horizontally). Sew rows together pressing seams open. The quilt top should measure about 80½” x 80½”.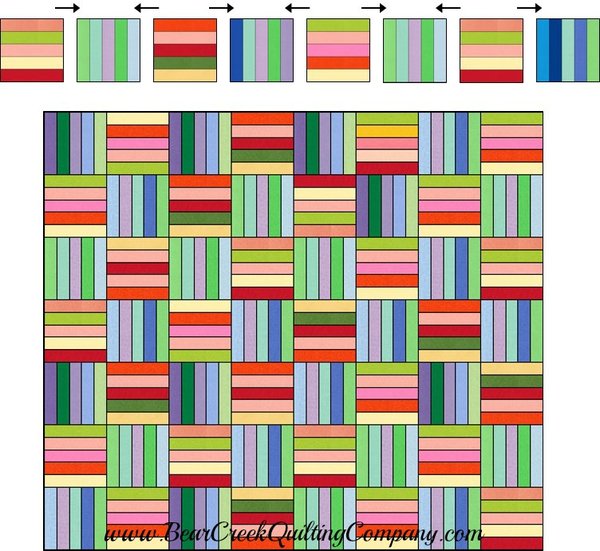
Step 3 – Finishing the Quilt
1. Cut the backing fabric into (3) pieces (88” x WOF) and sew the pieces together along their long edges. Trim the backing fabric to approximately 88” x 88”.
2. Layer the quilt top, batting and backing.
3. Baste and quilt as desired. For my quilt, I used a meandering pattern using a light cream colored thread.
4. Form the binding from 9 strips, each 2½” x WOF. For my quilt I used a dark green Kona Cotton. Bind and enjoy your quilt!
Other Design Options
Using two roll-ups and this pattern you can make a double/full sized quilt. One roll-up makes 32 blocks which can be arranged to form a nice 50” x 60” sized lap quilt with a 5x6 block arrangement.
While this quilt was made using alternating warm and cool colored blocks, the possibilities for this quilt design are endless. You could use alternating dark and light blocks, colored and neutral blocks or large-scale print and small-scale print blocks.
Here are some more pictures of the finished quilt...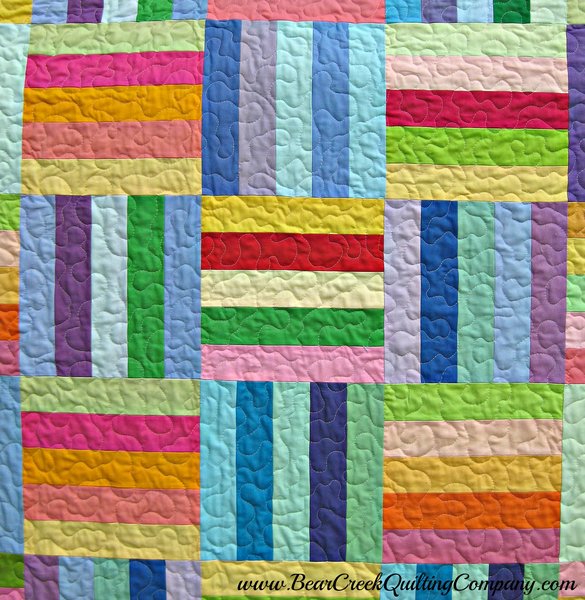
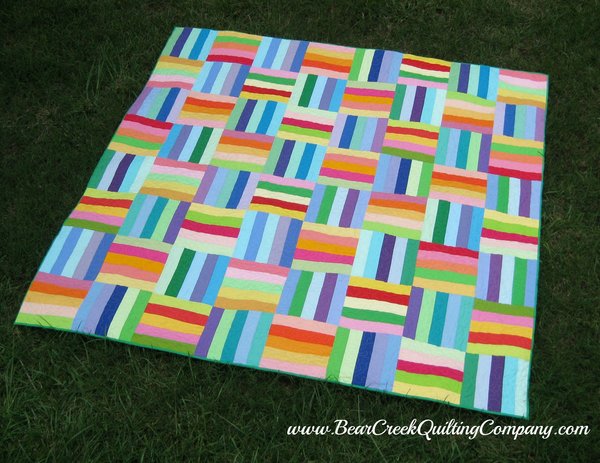
When you finish your own Rainbow Rail Fence quilt - please share it! You can email your stories and pictures to web@bearcreekquiltingcompany.com
I hope you enjoyed this tutorial and use it to make your very own Rainbow Rail Fence!
♥♥♥♥♥
Rainbow Rail Fence was designed and created for Bear Creek Quilting Company by Cheryl of Meadow Mist Designs.
Fabric used in this tutorial is from Sunrise Palette Roll-Up and a Sunset Palette Roll-Up by Robert Kaufman Fabrics.
Do you love free fabric? Do you love to teach? Want to be a contributor on our blog? Send us an email at web@bearcreekquiltingcompany.com to get started!

Comments