Posted by Shari on July 5th, 2015
| Tiles Quilt-Along, Part 4: Final Assembly |
| Welcome to the final post for the Tiles Quilt-Along. We will be doing final assembly of our quilts! Yay! (You can find the all the Tiles Quilt-Along posts here.) |
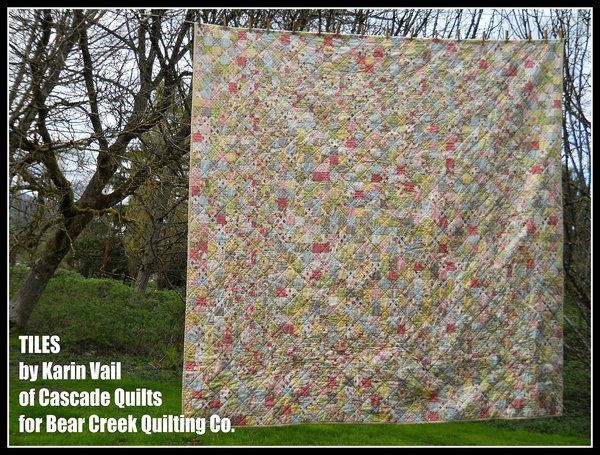 |
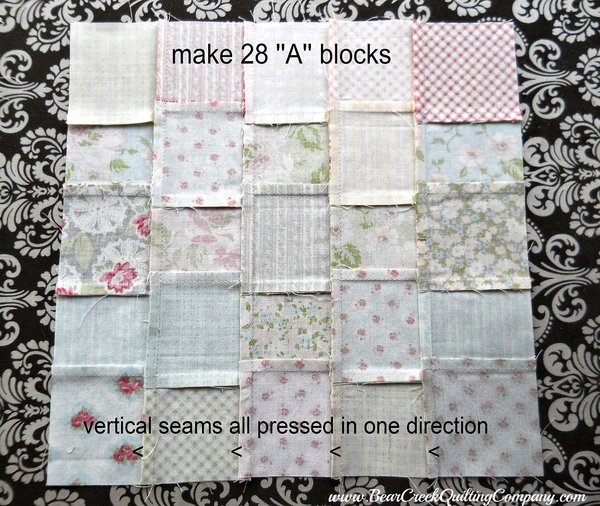 |
| First, you will make sure you have 28 ''A'' blocks... |
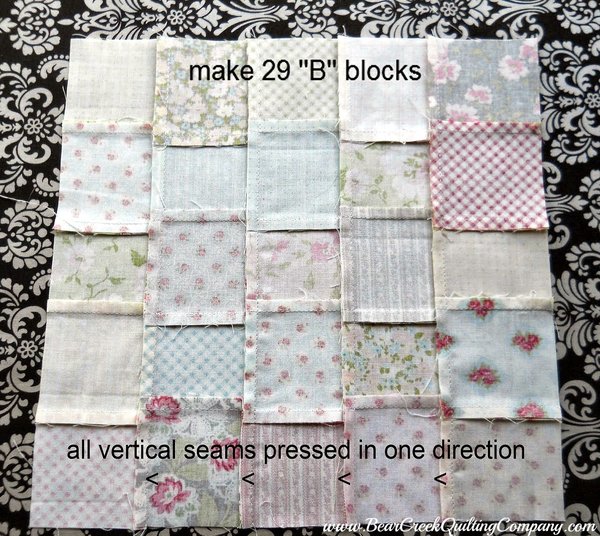 |
| and 29 ''B'' blocks... |
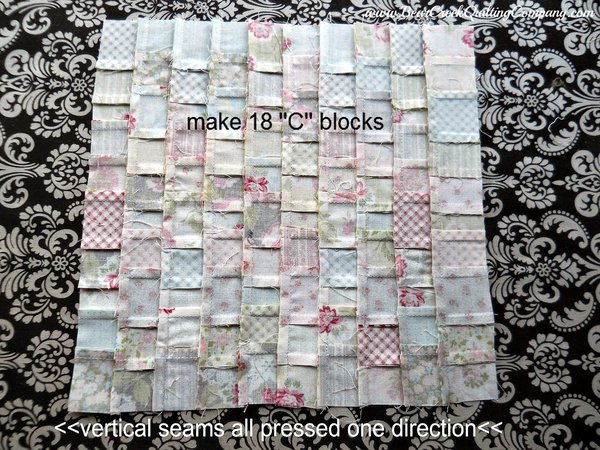 |
| and 18 ''C'' blocks... |
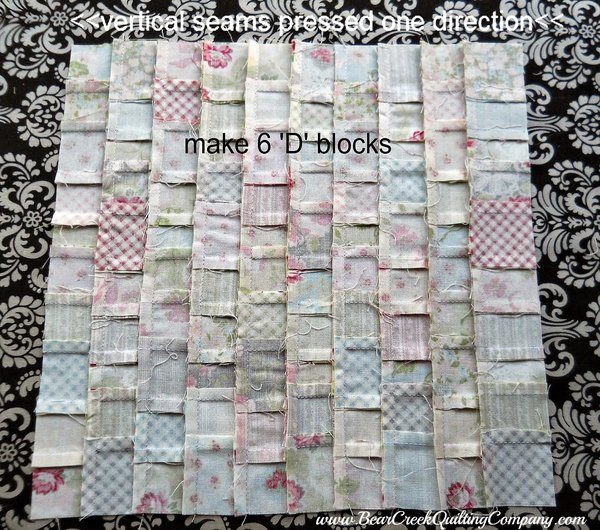 |
| and 6 ''D'' blocks. |
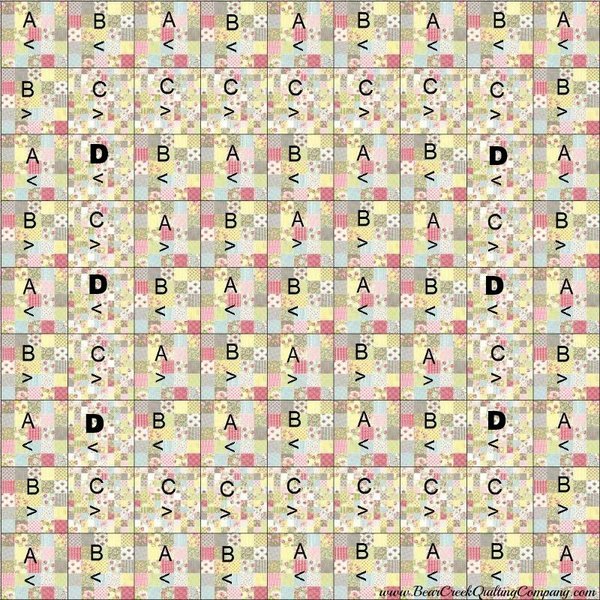 |
| Here is the final assembly layout. The letters indicate the block and the arrow indicates the direction of the vertical seams. You can flip your A or B blocks 180 degrees to get the vertical seams going in the direction you need them. |
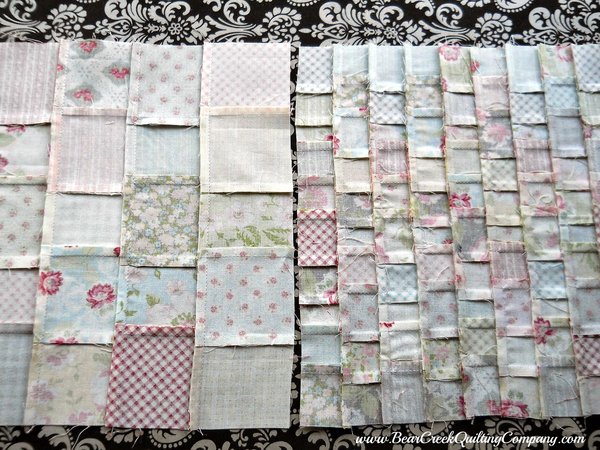 |
| Your seams should all nest perfectly. That is why we made sure to iron everything in a specific way. This is a B block next to a C block. Sew in rows, being careful of the direction of the vertical seams. But, don't fret! If you have a block that you'd like to rotate 180, you can repress the vertical seams in the other direction if necessary! Each row needs to have all the blocks vertical seams pressed the same direction - so the row below it (that has the vertical seams pressed the other direction) will have nesting seams too. I am proud to say that I was not unhappy with ANY of the seams on my quilt and how they lined up. Careful pressing, matching, and pinning is key! |
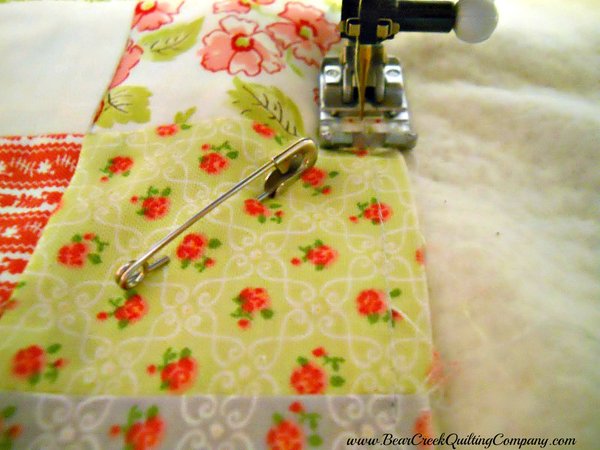
| After your final assembly is complete, I highly suggest doing a basting stitch around the perimeter of the quilt (less than 1/4'' from the edge) to keep those seams intact. Now, you can send this top off to be quilted professionally, but I highly suggest quilting it yourself! You save a BUNCH of money (enough to make at least one more quilt, maybe 2-3!) I baste my quilts at my mom's because I don't have floor space, unfortunately I forgot to bring my camera when I basted this one. But, what I do is pin the backing with the right side facing the carpet (if you have hardwood or tile, use tape). Be sure not to stretch the backing, just make it smooth! Then, layer your batting on the backing, smoothing it out carefully so there are no wrinkles. Then, layer your quilt top (pretty side up!) on top of the batting. I like to start pinning at one end and work my way to the other side, pinning about every 5-6 inches. You don't need a million pins I have found. |
 |
| After you get it all pinned, I highly suggest basting again all the way around the perimeter joining the backing/batting/top together. |
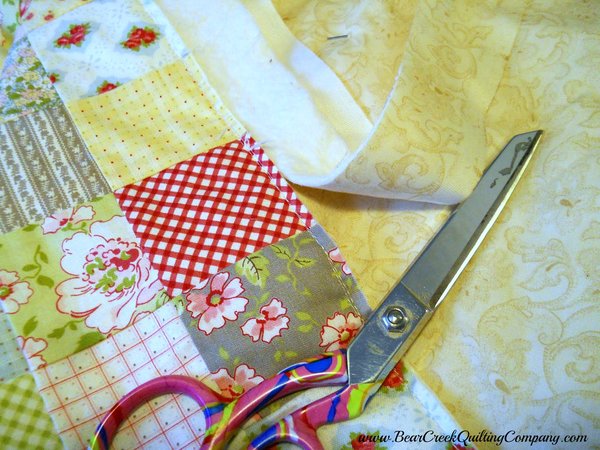 |
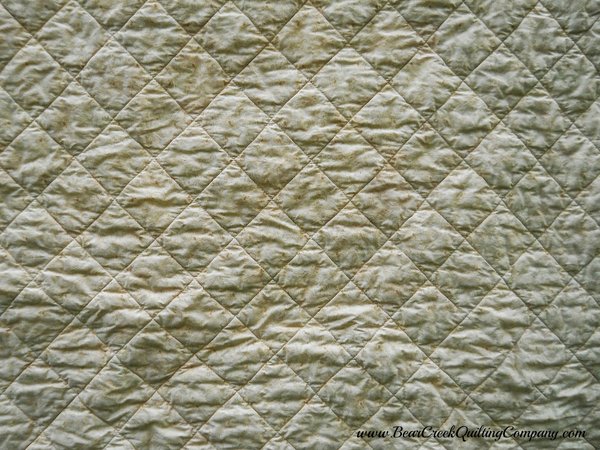
| That way, you can trim away all the excess backing and batting. I cannot tell you how many times I have accidentally sewn the excess backing to the back of a quilt and had to rip out stitches. It doesn't happen any more though now that I sew the perimeter first and trim that excess away! Since this quilt already has a nice grid from the squares, I chose to do a diagonal straight line quilting to create a diamond pattern. |
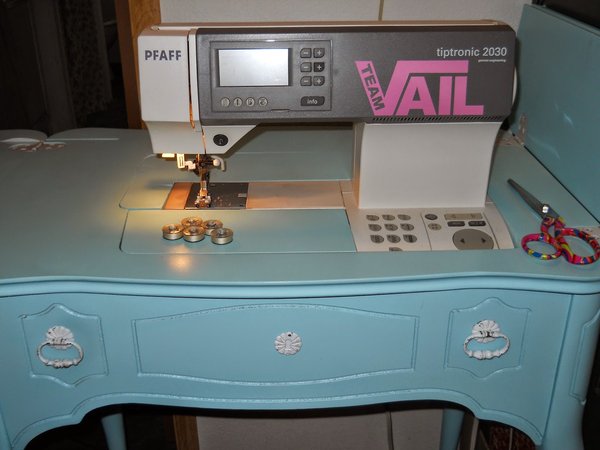 |
| Now, I don't have a fancy big long-arm, I only have my Pfaff that I have in a vintage Singer sewing cabinet that I altered to fit the Pfaff. Start off your quilting by winding a bunch of bobbins. I use Aurifil 50 weight cotton and wound 5 bobbins, which ended up being plenty. |
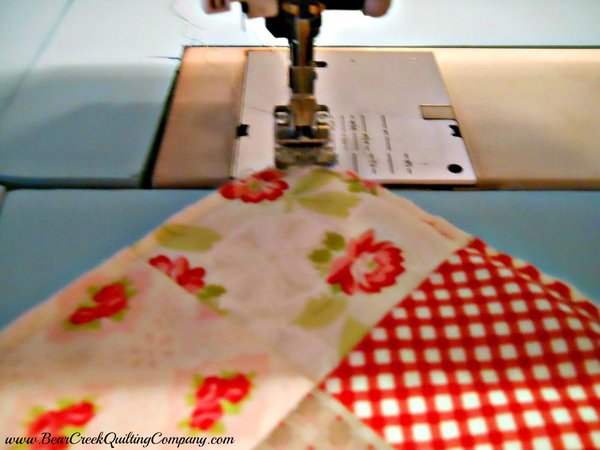 |
| Using your walking foot (or in my case, my Pfaff has built in dual feed that I use all the time). Start your quilting in the corner and aim toward the first intersection. I like to have my stitch length set a little longer (I sew at 2.5 and quilt at 3.5) |
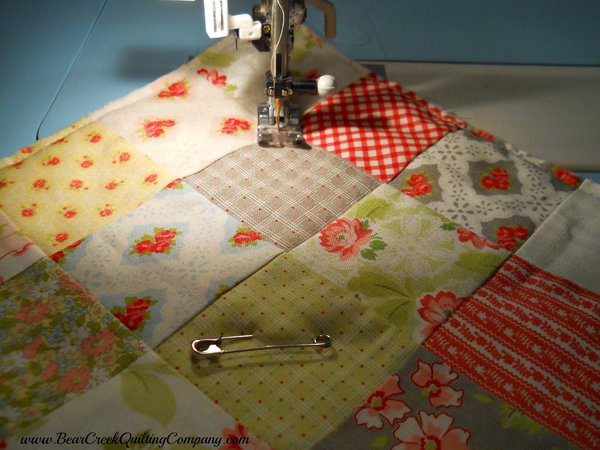 |
| I like to try to stop at each intersection to rearrange my quilt if necessary - or to remove the pin in the next block. I try not to get TOO close to the pins. In this case, I went to the next intersection and then removed the pin. Try to keep as much of the quilt as possible on the table - and puddled on your lap. Don't let it hang off the table if you can at all help it - this makes quilting much harder and will make for wobbly or uneven stitches. |
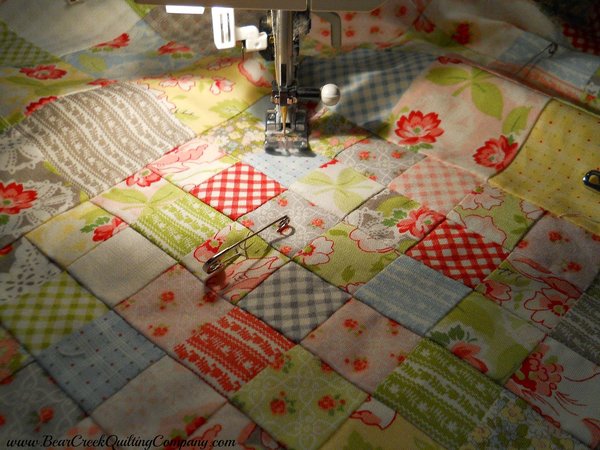 |
| Just keep aiming for the diagonal intersections - and keep pulling the right side of the quilt through the machine - I like to get as much of the quilt to the back side of the machine as possible and still keep my next area I am going to sew straight..... |
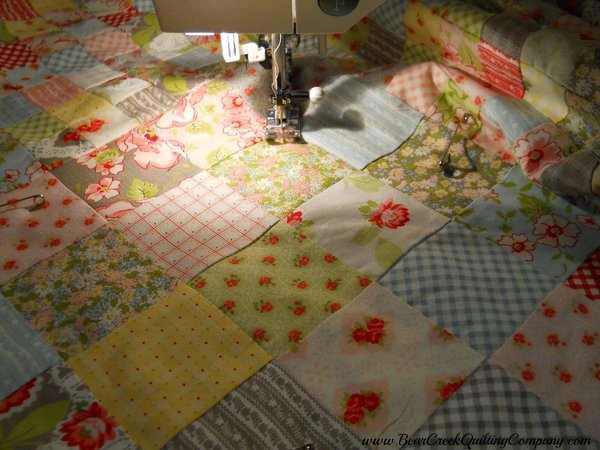 |
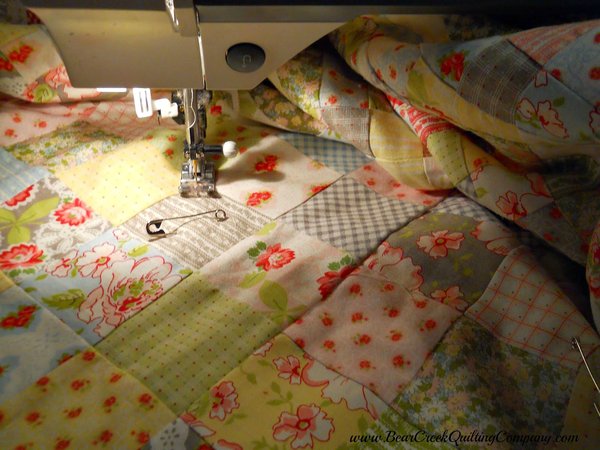 |
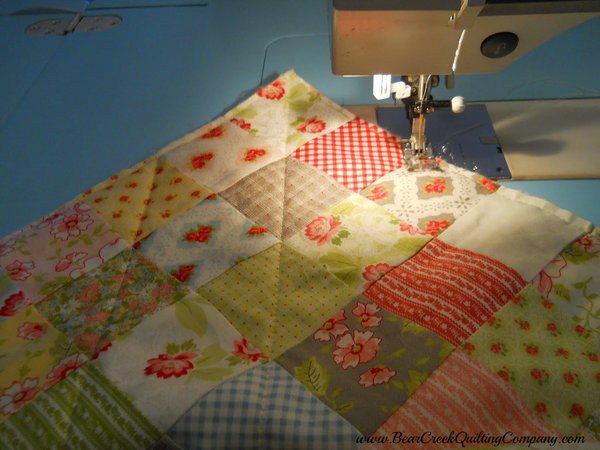
| It will get pretty bunched up on the right side of the needle, but just keep smoothing it around the needle, especially in front of it. |
 |
|
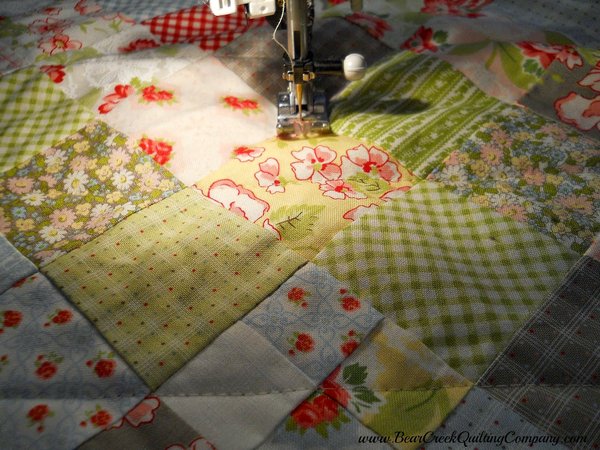
I chose to stitch every other diagonal block - this creates an approx 3'' diamond pattern, which is plenty close enough for bonded cotton batting like Warm & White or Warm & Natural.
I like to do all the diagonals in one direction, then when I am ready to do the diagonals in the other direction, there are no pins to impede my pace and the second half of the quilting goes a lot faster! |
 |
| Just repeat your stitching every other diagonal block going the other direction starting at the corner and working your way to the right (and turn it around to do the diagonals on the left side of the center). |
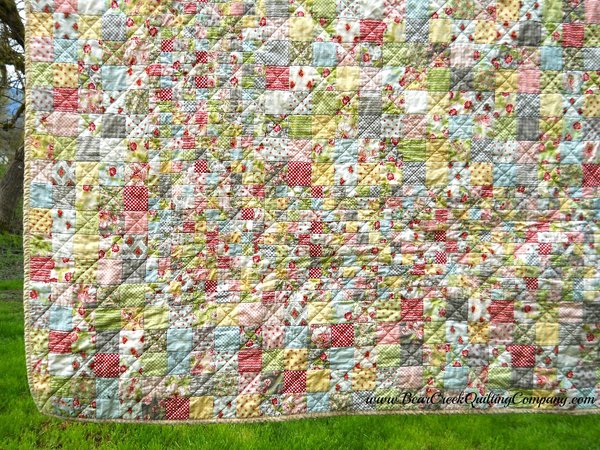 |
| Until you have all diagonals done - and then you can bind it! I chose to bind with the cut-offs from the backing fabric. |
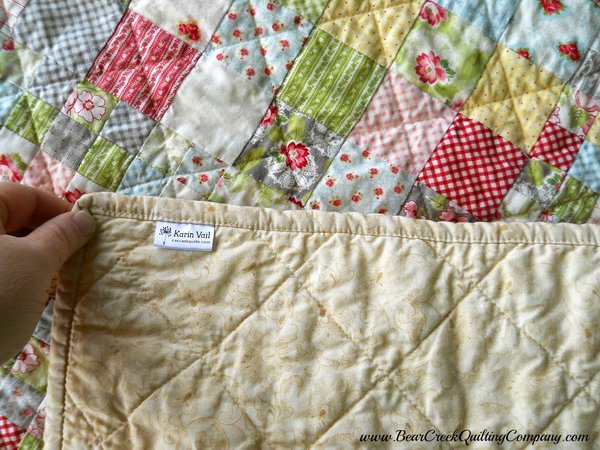 |
| Don't forget a label! |
 |
|
Now you can sit back and enjoy this labor of love. This is a heavy quilt, which I LOVE!
|
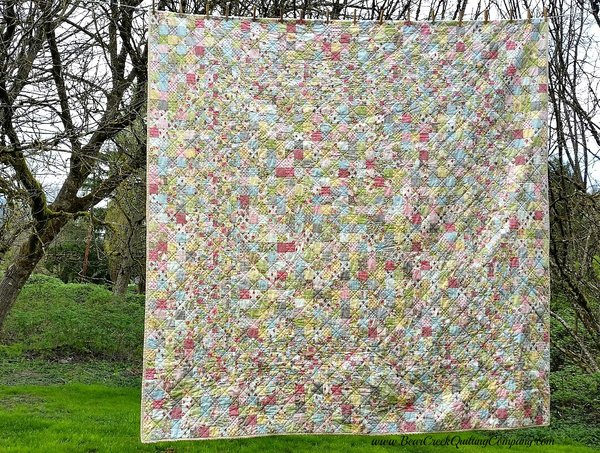 |
| We would *LOVE* to see YOUR finished Tiles Quilt! Share your pictures on our Flickr group! https://www.flickr.com/groups/2827925@N23/ is the link to the group. Or email your pictures to web@bearcreekquiltingcompany.com and we will post them in a follow-up Tiles Quilt-Along post. |
 |
| "Tiles" Quilt-Along, Part 4 instructions can be printed here. |
| "Tiles" Quilt-Along was designed and created for Bear Creek Quilting Company by Karin from Cascade Quilts. |
| Fabric used in this tutorial is from Ambleside by Brenda Riddle Designs for Moda. |
| Do you love free fabric? Do you love to teach? Want to be a contributor on our blog? Send us an email at web@bearcreekquiltingcompany.com to get started! |



Comments