Posted by Shari on April 1st, 2024
Plot Twist Quilt Sew-Along: QUILT TOP ASSEMBLY
|
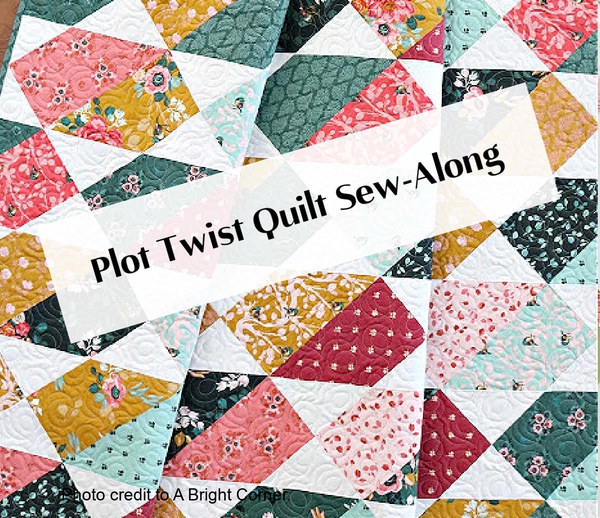
| Welcome Back!! How's your progress coming along? This week, we are putting all our Plot Twist Quilt Pattern blocks into rows to create our quilt top. |
 |
| Follow Andy's instructions in your Plot Twist Quilt Pattern under Quilt Top Assembly. |
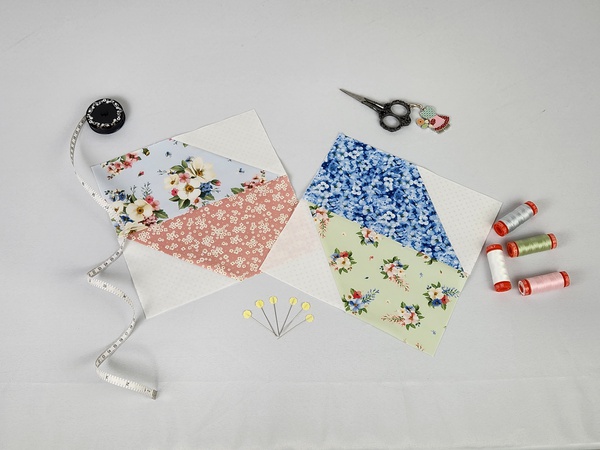 |
| Ok, our blocks are made and we are ready to put our diagonal rows together. Follow the Layout Guideline in the Plot Twist Quilt Pattern for your quilt size. Pressing instructions are included. |
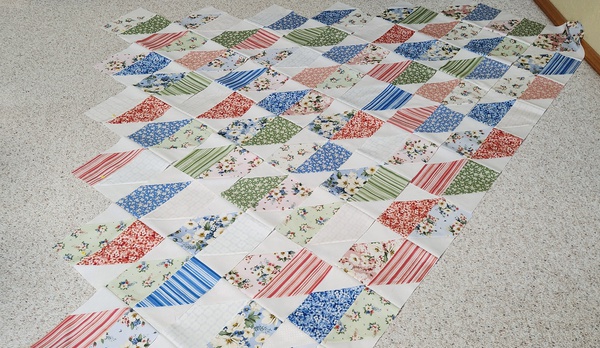 |
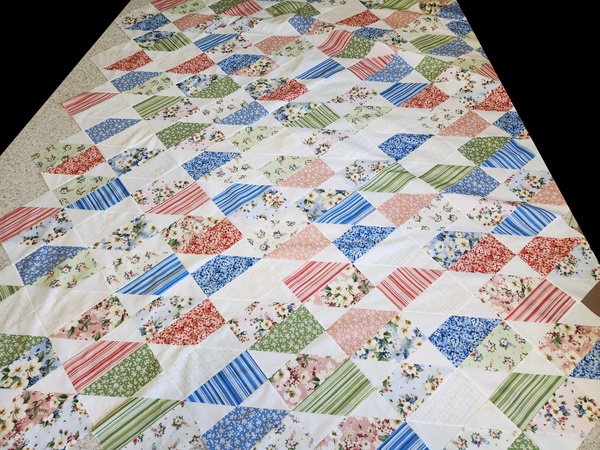
| Layout your blocks to see if any need to be moved before you start sewing rows. I mentioned early in the Sew-Along that I only had 17 different fabric prints. You can see in my initial layout getting a random look was harder to do. In the end, I did not worry too much about it. That directional stripe fabric is going both directions. A fun twist that happened by accident when cutting my fabrics! |
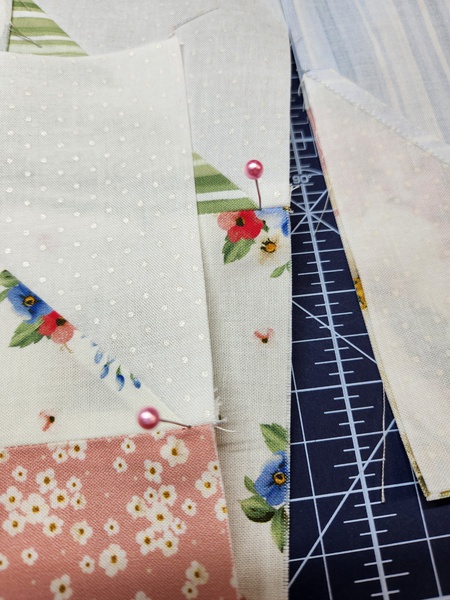 |
| For sewing your rows together.....Pin, pin, pin! Pinning will help with matching intersections. The intersecting points are pictured above with pins. |
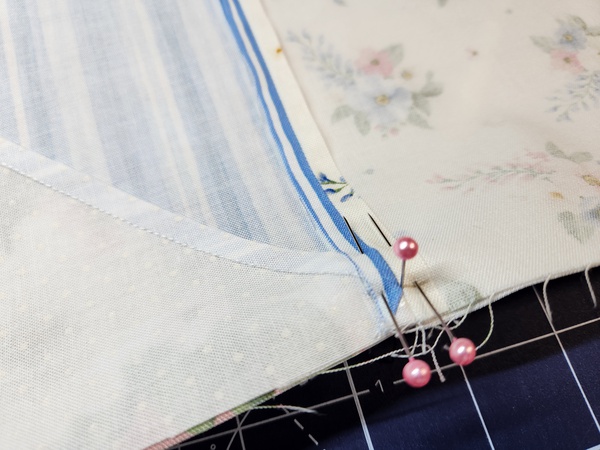 |
| Here is a tip to accomplish that: Take your first pin and go straight down through the seam at the intersecting seam allowance point. (Ignore the other two pins in the above image.) |
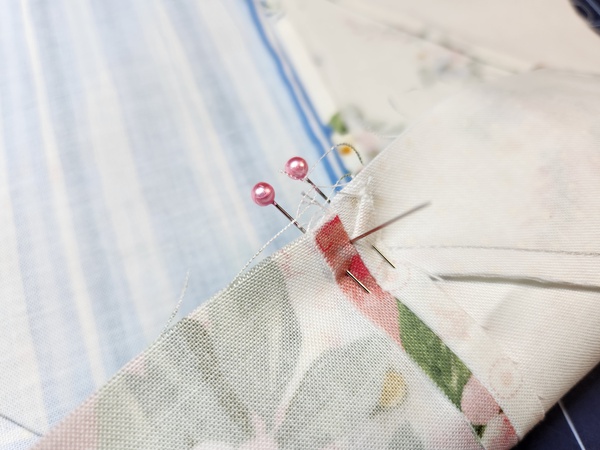 |
| Then push it straight through your next block row, right at the intersecting seam allowance. Your intersections are now perfectly aligned with no guessing. Place two pins on each side of your perpendicular pin to hold in place. Remove your perpendicular pin. |
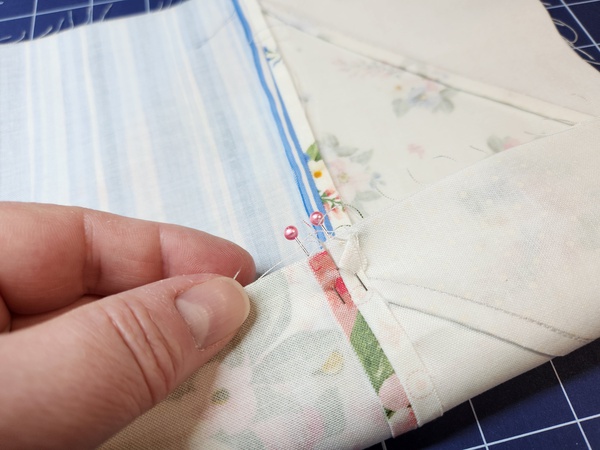 |
| When you sew your row together, you want your stitch line to run right through that intersection if you plan on pressing your seams open. If you are planning to press your seams to one side, stitch just a thread width away from that intersection to allow for the extra folded fabric in the seam. |
 |
| Once your rows are sewn together, it's time to trim the quilt. |
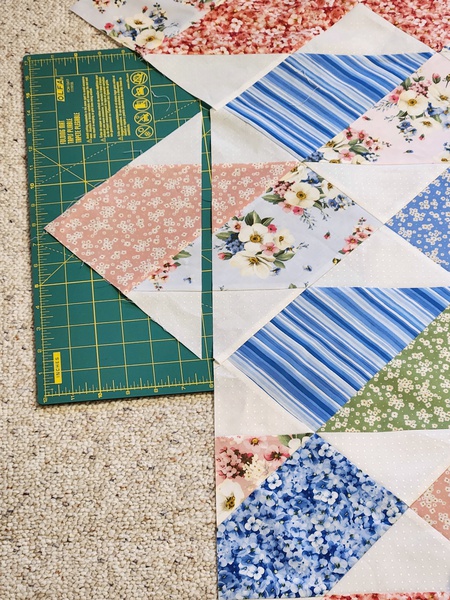 |
| I have a very small home sewing space, so to the floor I went. I used a little travel cutting mat and while making sure each section of my quilt was nice and flat, I trimmed off the extra triangle. I left a generous 1/2" to 3/4" seam allowance so Long Arm Machine Quilting had a nice edge to baste with. I knew I could re-trim later or cover it with a wider binding. |
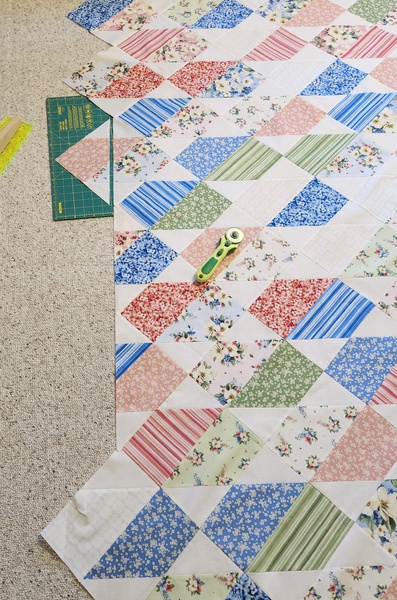 |
| I did this slow and methodical all the way around my quilt. |
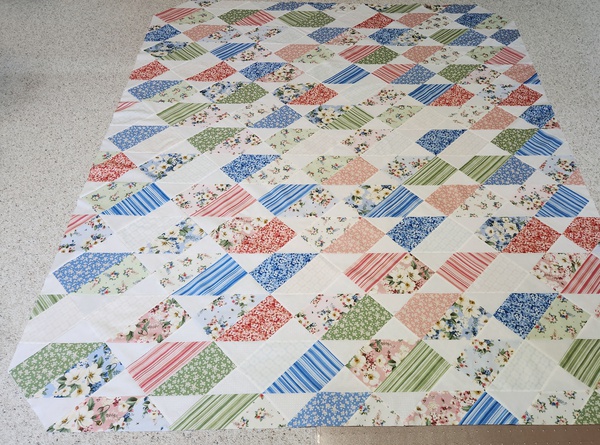 |
| I ended up being just a little short of my sample fabrics and since Maywood Studio's Windflower is not due to release until June, I had to improvise. I left off the first Row on each corner, making diagonal corners. I can't wait to show you the final quilt next week! It's so cute!! Do yourself or your Long Arm Machine Quilter a favor and run a quick 1/8" to 1/4" stay stitch all the way around the edge of your quilt. All those little pieced block edges will want to pop open, even with minimal handling. This also helps stabilize the exposed bias edges. |
| Here is the Plot Twist Quilt Pattern Sew-Along Schedule: 03/05/2024 - Week 1: Introduction/Sew-Along Reminder |
| See you next week! |
| Private Facebook Group for Bear Creek Quilting Company customers is available HERE. If you purchased your pattern elsewhere, be sure to complete the security question. This keeps the group safe from spammers. Joining the Private Group is not required to participate. |
| All weekly posts will appear on our blog. This is not a Zoom Class or a specific time to check in. You have a choice of finished quilt sizes. For the Sew-Along, make any size quilt you prefer. Sew at your own pace as you follow along with me on the Sew-Along schedule. The Plot Twist Quilt Pattern is required to participate as no cutting/sizing information will be given to protect the designer's hard work for writing the steps and measurements. The Plot Twist Quilt Pattern is available HERE. |
| Questions?? Email us at sales@BearCreekQuiltingCompany.com |
 and the BCQC Team |


