Posted by Shari on June 11th, 2018
| Farm Fresh Egg Collecting Apron Tutorial |
Please help us in welcoming Christy Jutila to our list of blog contributors! Christy was super excited (as we were) about the new Lewis and Irene Fabrics "Love Me, Love Me Not" collection and has designed a farm-fun apron. This pocket apron is helpful in gathering eggs on the farm but could be used for collecting so many other things. |
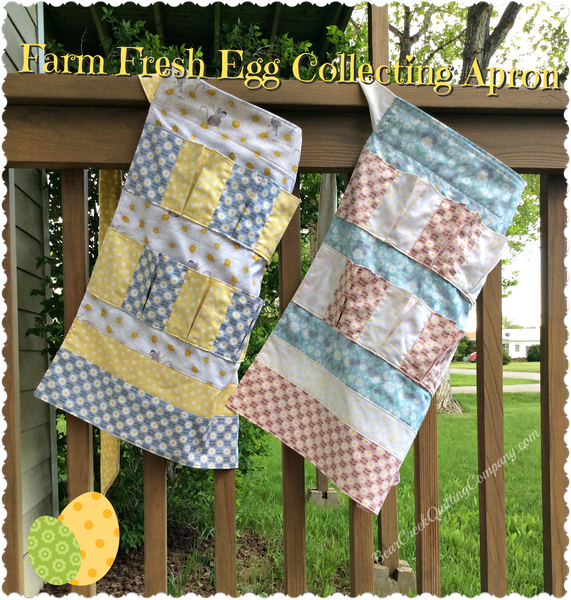 |
| Let's get started with Christy's tutorial- Supplies used: 1/2 yard each of (3) fabrics from Lewis and Irene's Love Me, Love Me Not collection Aurifil thread numbers 2000, 2600, and 2024 match this line perfectly |
| All of the sewing will be 1/4" seams. Throughout the tutorial I mention sewing 1/8" form the sewn edges. It isn't 100% necessary, however, sewing your seam allowances down will give your apron a finished look. It will also help in laundering, as your seams will not bunch. A little more time spent in the sewing room can mean a little less time in the laundry room later ironing seam flat. |
| There will be very little fabric left so I suggest the following: Main apron panel fabric: Cut one 17" x width of fabric (WOF) piece Accent Fabric 1: Cut one 2 1/2" x WOF strip Cut five 4 3/4" x 5 1/2" rectangles (egg pockets) Cut two 4 3/4" x 4" rectangles (egg pocket strip ends) Cut two 5 1/2" x WOF strips (Apron string) Accent Fabric 2: Cut one 4" x WOF Strip Cut five 4 3/4" x 5 1/2" rectangles (egg pockets) Cut two 4 3/4" x 4" rectangles (egg pocket strip ends) Cut two 4 3/4" x 32" strips (back of egg pocket strips) |
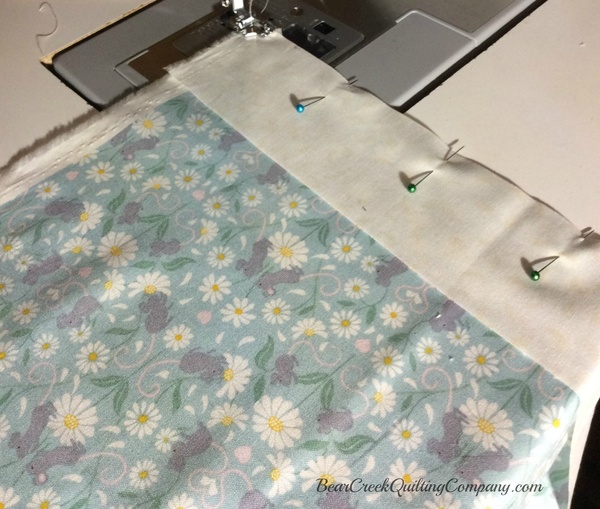 |
| First we will sew the main body of the apron together. Sew the WOF pieces together so that the 2 1/2" Accent Fabric 1 is sewn below the main apron fabric. |
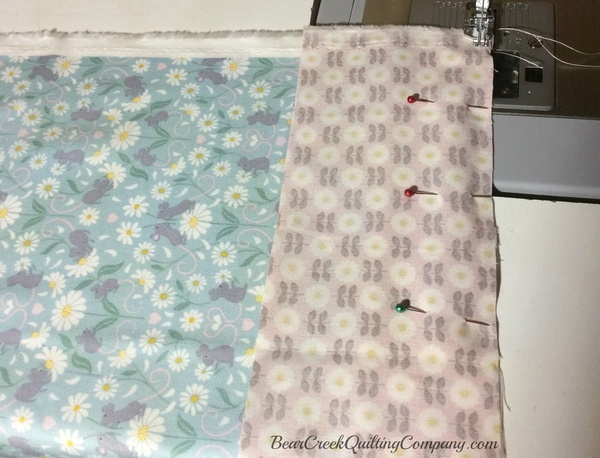 |
| Then, sew the 4" Accent Fabric 2 strip along the bottom of the 2 1/2" Accent Fabric 1 strip. |
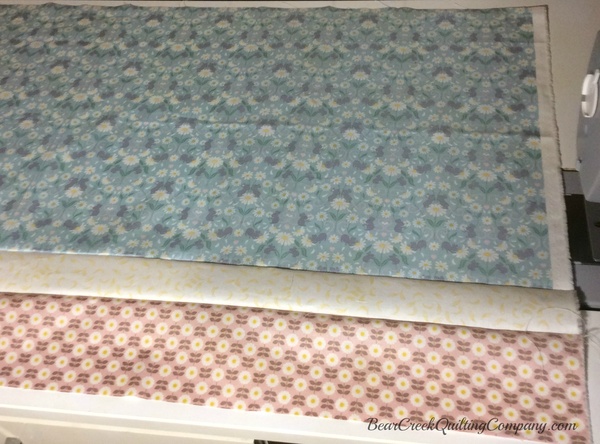 |
| Your pieces should look like this, when sewn together. |
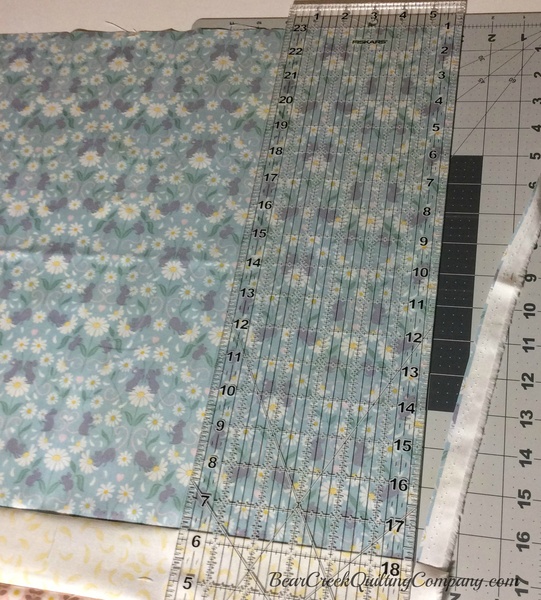 |
| Cut off selvages and even up both ends. |
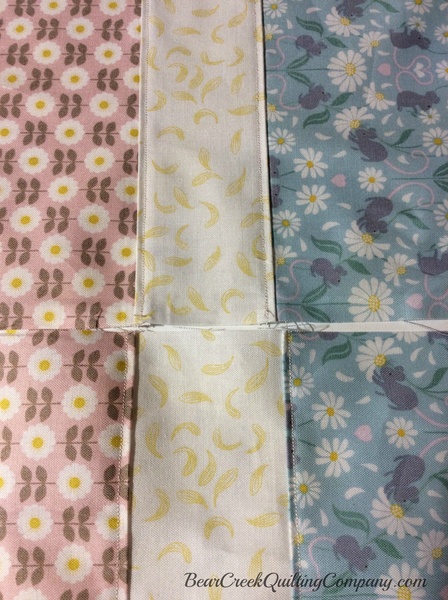 |
| Cut in half so you end up with two even pieces that will become the front and back of the apron. |
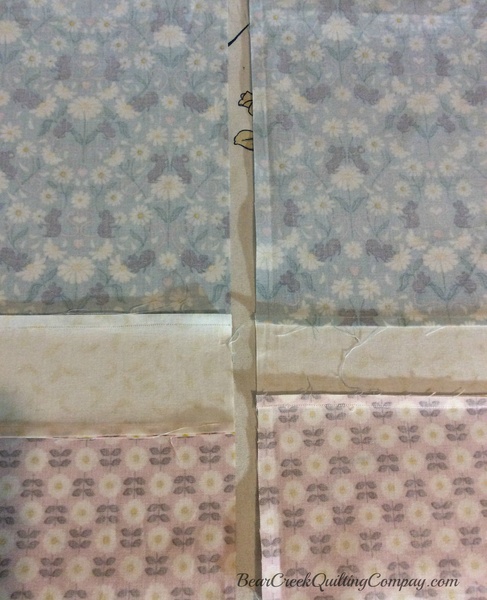 |
| Now iron your seams flat so they will nest later when sewing the sides together. Next is sewing 1/8" from the edge of your seams so your seam allowance is caught and sewn down. |
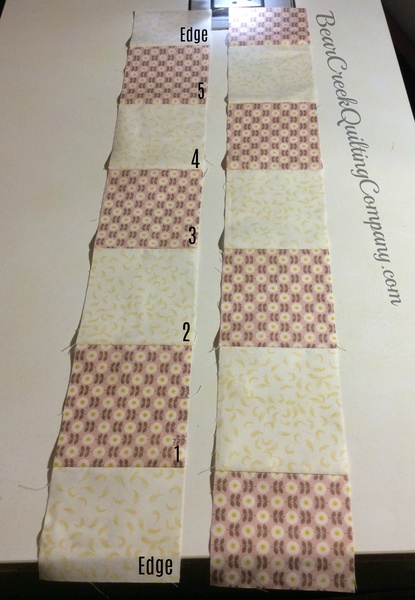 |
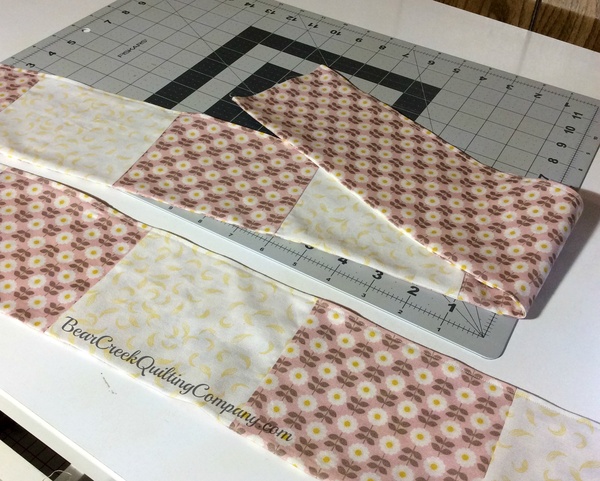
| Now let's prep the pockets we will use for the eggs. We will end up with two separate strips, with five pocket pieces sewn together, and an edge piece on either side. I liked alternating the fabric to give it a cute pattern. Once they are sewn in strips, match a back strip with a pocket strip, and face right sides together. Sew along the two longest sides leaving the short sides open. |
 |
| Flip your egg pockets right side out and iron. |
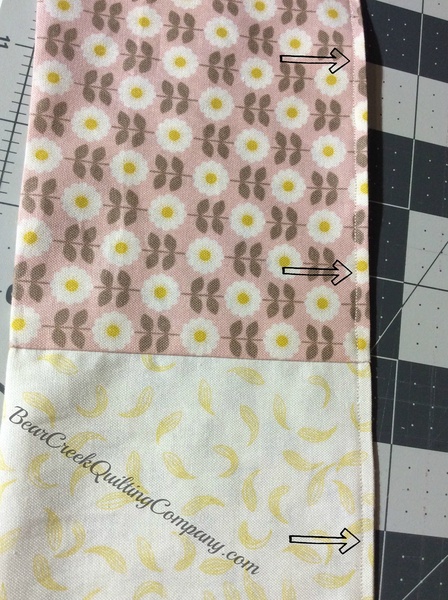 |
| Sew 1/8" from the top edge. (We will get the bottom edge later.) |
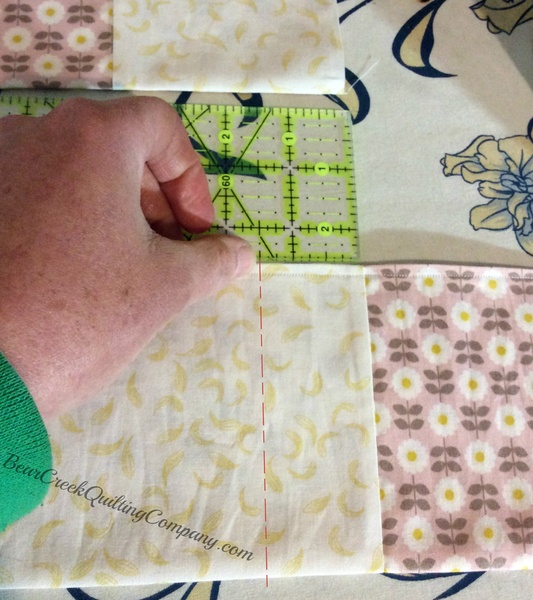 |
| Each egg pocket will need a box pleat. (Leave the edge pieces flat.) Measure 1 1/2" from pocket edge and fold under. |
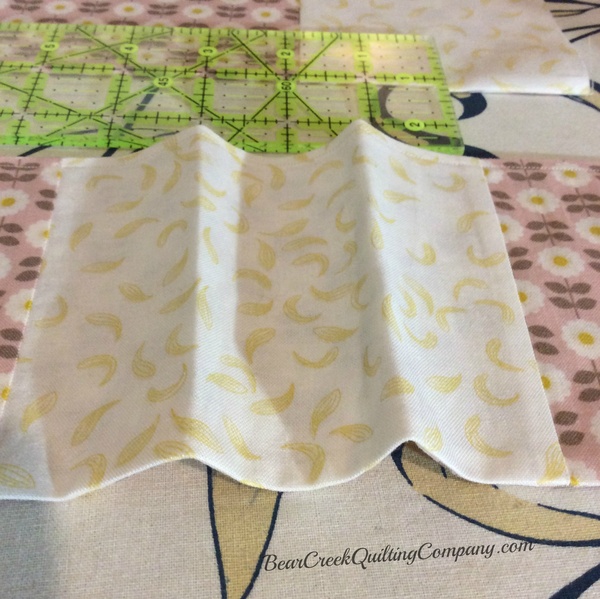 |
| Iron a crease so that it will fold pointing out like a mountain peak. Do the same for the other side of the same pocket. Fold the two edge creases together, trying to keep them even. Iron down. |
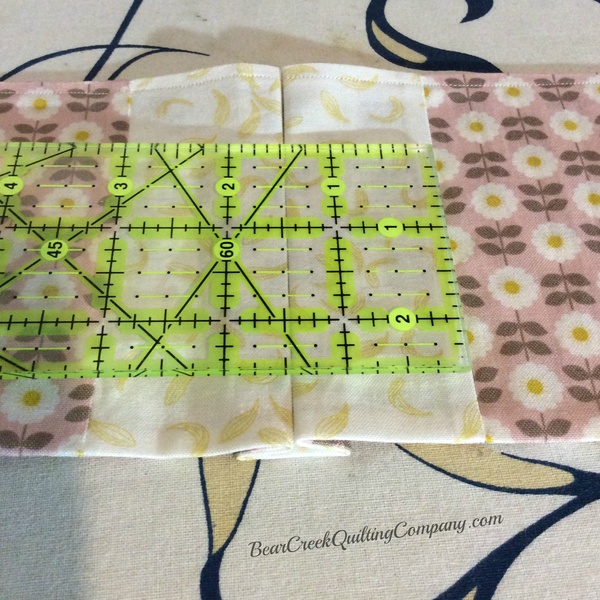 |
| Pocket should measure 3" folded. |
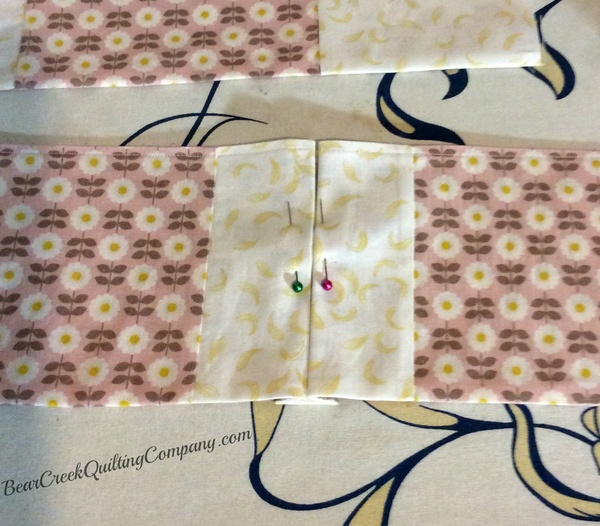 |
| Pin in place and move to the next pocket. |
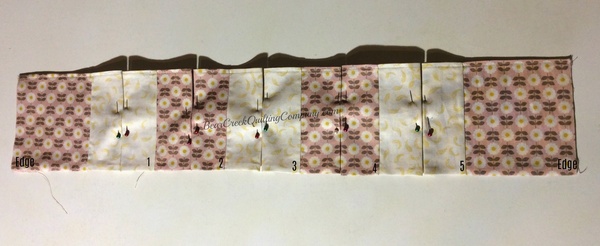 |
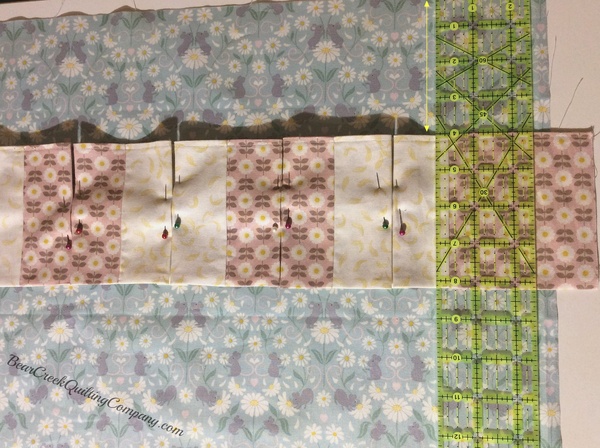
| Continue until all of the pockets are done. |
 |
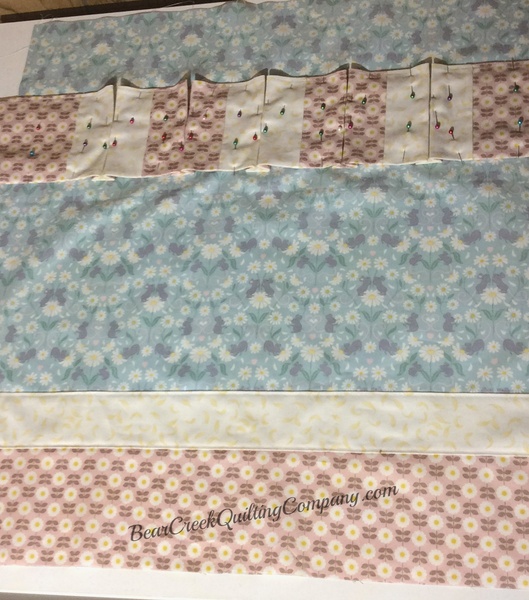 |
| Take one of the pocket strips and pin 4" from the top of the apron front. |
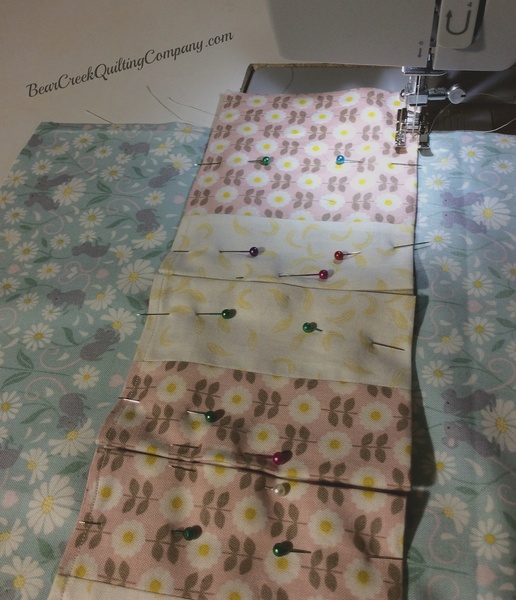 |
| Sew slowly along the bottom 1/8" from the edge. Then sew down both short sides. |
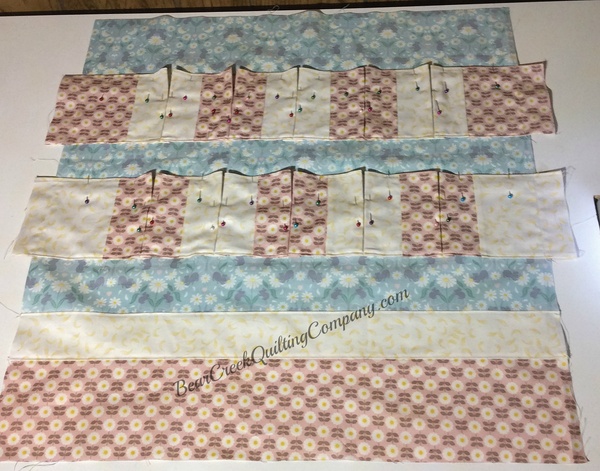 |
| Place the second strip anywhere between 1 1/2" and 2 1/2" from the bottom of the top row of pockets and sew like the first strip. Feel free to work with it to best show the details in the fabrics. |
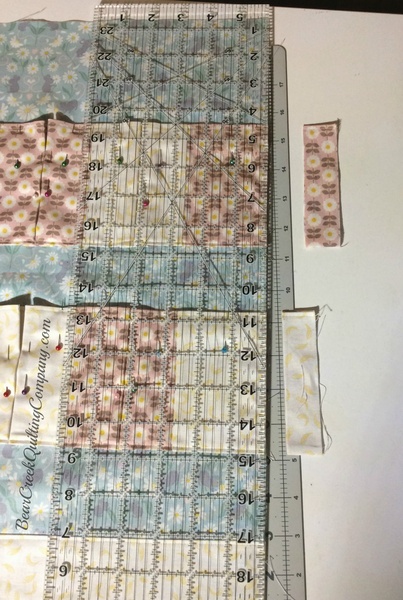 |
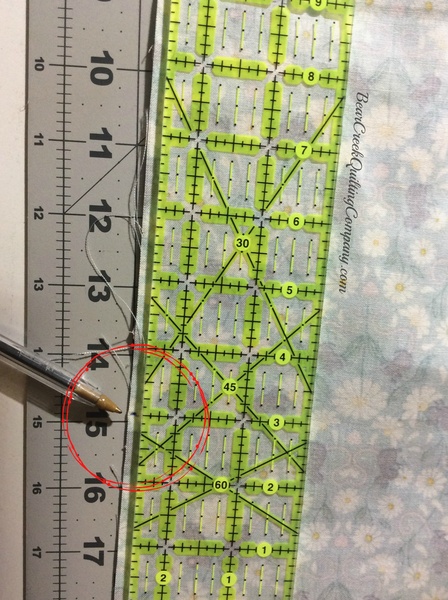
| Once sewn, trim off the excess of the edges. |
 |
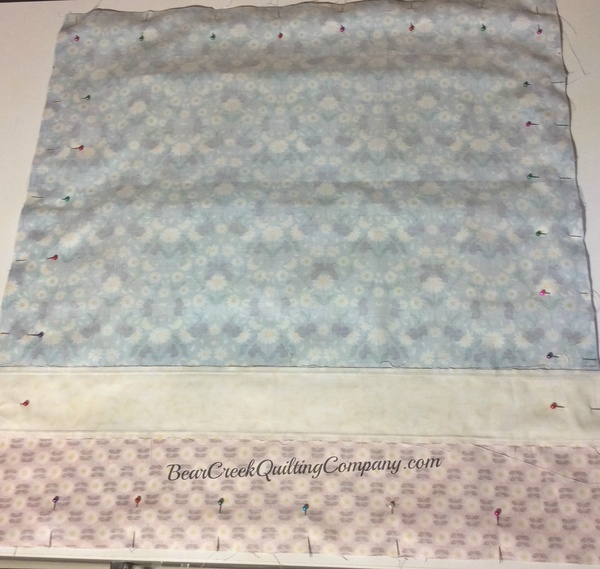
| Next step is to sew the front and back of the apron body together. I would take out all of the pins holding the egg pockets down. First make a mark 3" from the top on the fabric. This will be our stop sewing mark. |
 |
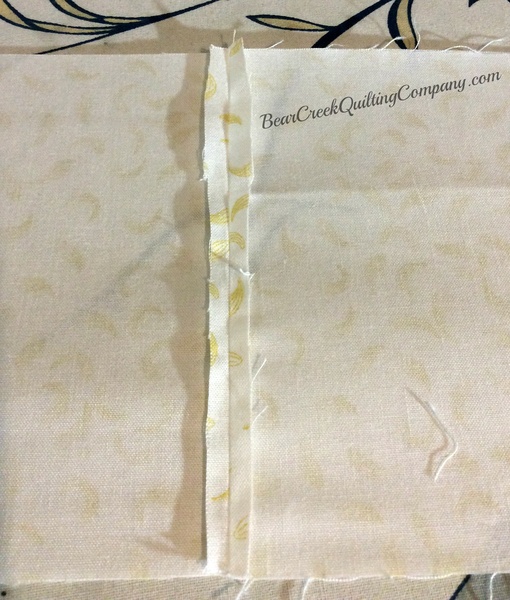
| Place the apron bodies right sides together, pin down, and start sewing along the bottom. Next sew along both sides, starting in the bottom corner and sewing up to the 3" stopping point mark made earlier. Last, sew across the top. Flip apron right side out, and iron down your seams. |
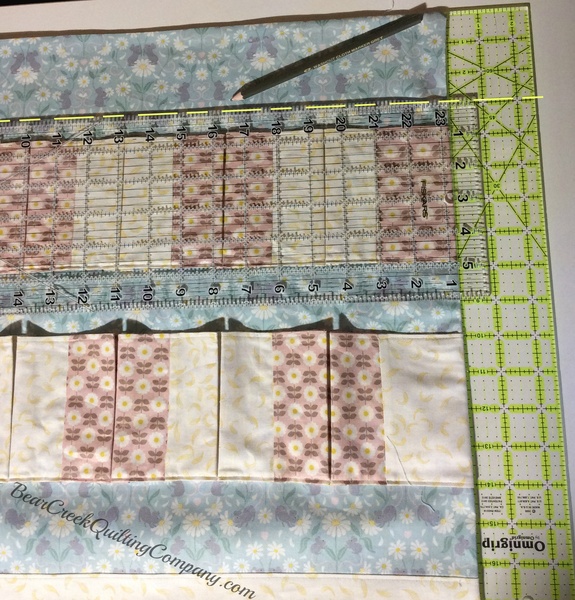 |
| Draw a line across the top that is 3" from the top of the apron. This will be sewn in order to make a pocket for the apron ties. |
 |
| Time to sew the apron string! Sew the two strips together so they make one very long strip. Iron the seam open. Fold the strip in half along the long side, with right sides together. |
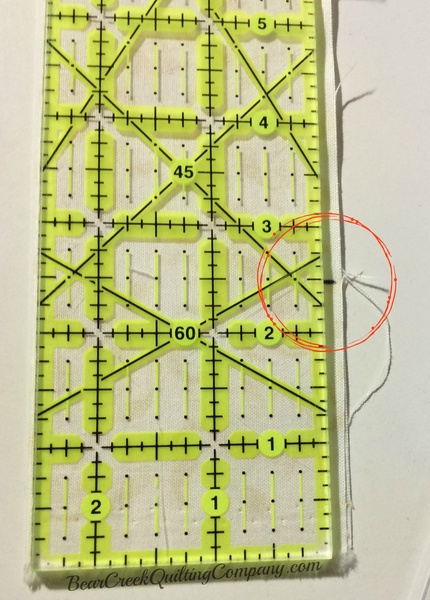 |
| Make a stop sewing mark on each end that is 2 1/2" from the edges. |
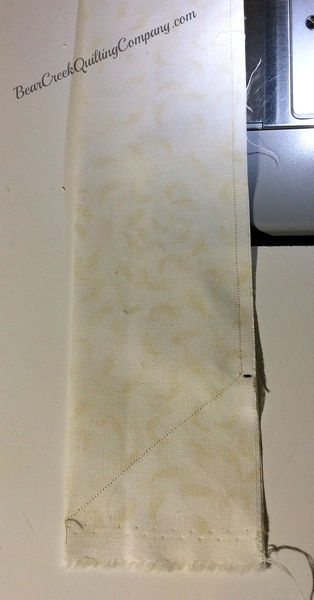 |
| Start sewing somewhere in the middle of the strip. Sew to the edge stopping at your mark, then turn to sew diagonally to the corner. |
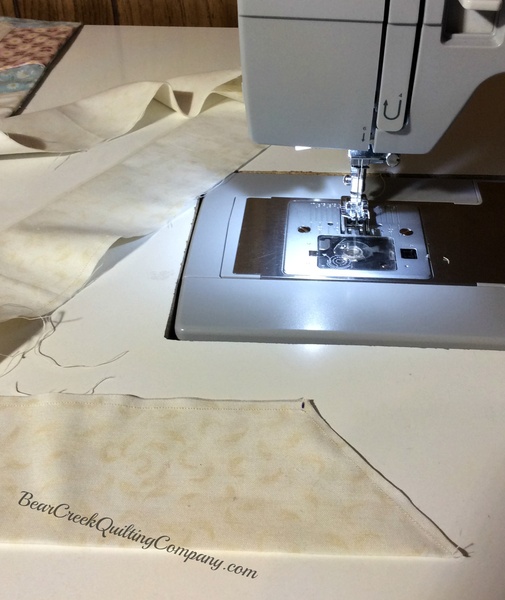 |
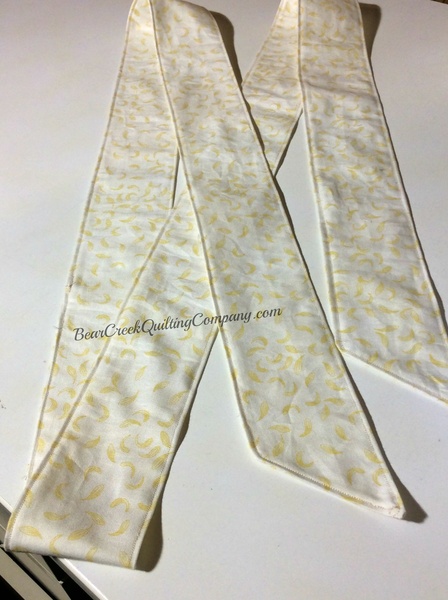
| Cut off the excess fabric. Do the same thing to the other side, leaving a big gap in the middle to turn your apron string right side out. Turn and iron down your seams. |
 |
| Then sew 1/8" from the edge all the way around the apron string. |
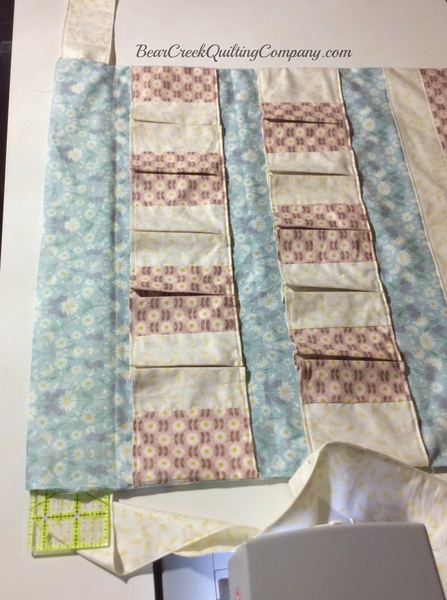 |
| To attach your apron string to your apron, feed your string through the pocket you made earlier. (I used my quilting ruler to help push it through.) |
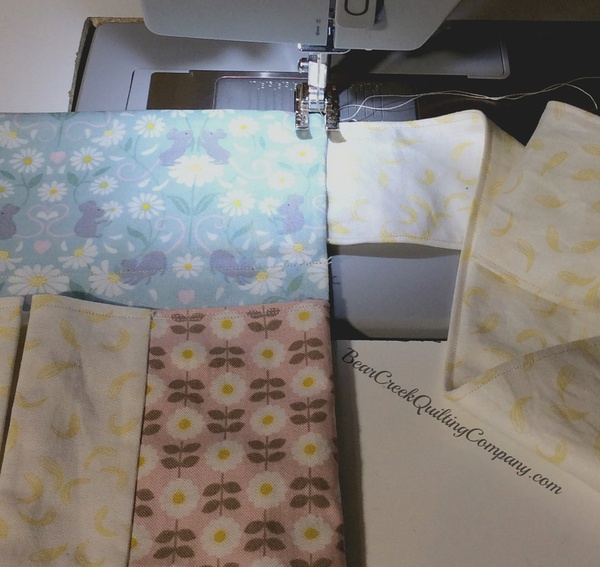 |
| Once it is through and you have the apron string centered, sew along the whole outside of the apron 1/8" for the edge. This will sew down your seam allowances as well as close the holes for the apron string. |
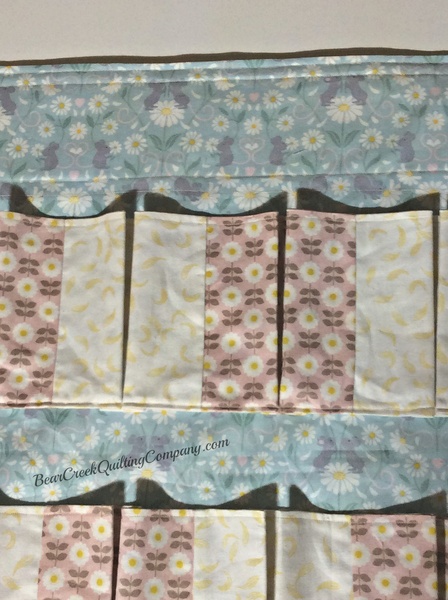 |
| I did another loop of sewing the apron string pocket to make sure the apron string is sewn down and will not flip during wash. |
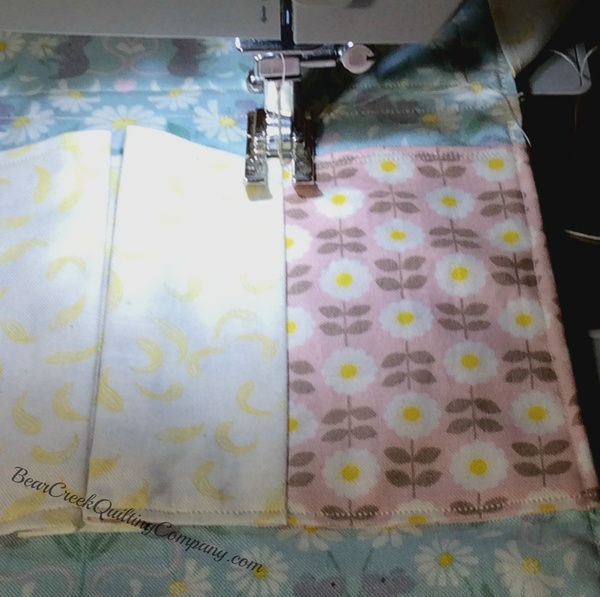 |
| You are almost finished! The last step involves making your individual egg pockets. Sew a "stitch-in-the-ditch" along the seam, in between each pocket. |
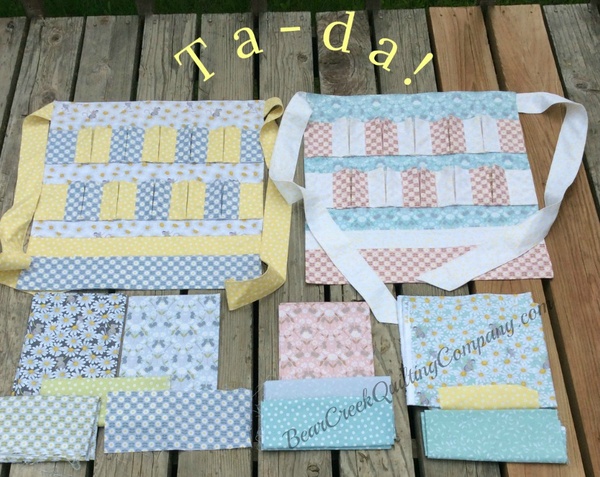 |
| ENJOY!! |
| We hope you are enjoying the tutorials and articles our blog contributors are bringing to you. Each designer invests their time to design and create new project ideas. Your comments are a wonderful show of appreciation and support. |
| "Farm Fresh Egg Collecting Apron" Tutorial instructions can be printed here. |
| Do you love free fabric? Do you love to teach? Want to be a contributor on our blog? Send us an email at web@bearcreekquiltingcompany.com to find out more. |
 |


Comments