Posted by Shari on April 19th, 2015
| Airmail Envelope Quilt - Part 2: Sewing the Blocks |
| Welcome back - It's time to sew these cute little envelope blocks! Are you ready to get started? |
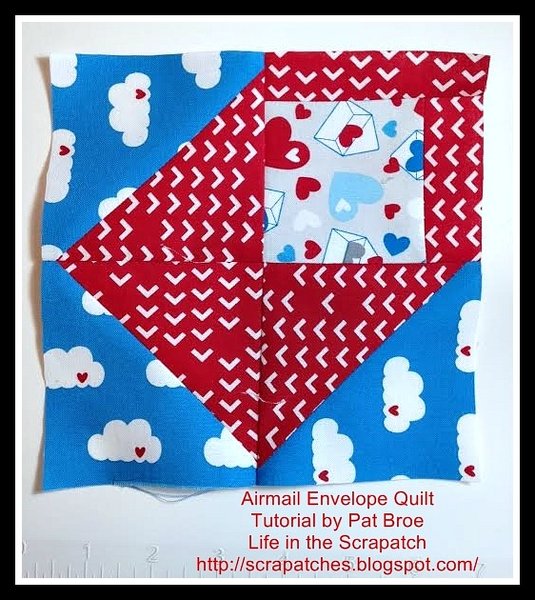 |
| Airmail Envelope Quilt Block: 6 1/2 inches unfinished; 30 blocks If you missed Part 1 with the Fabric Requirements; you can find it here. |
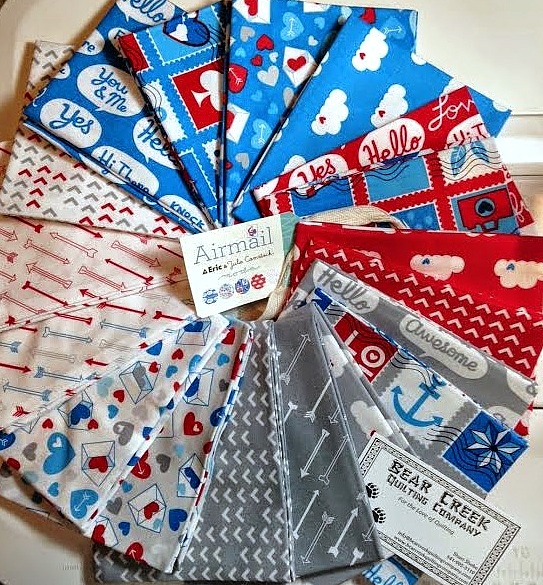 |
| This Airmail Fat Quarter Bundle is so bright and happy! This quilt was so much fun to sew. I love the fact that this red, white, blue and gray colorway is gender-neutral and works for Valentine's Day, Patriotic holidays and for anyone young at heart. Tip: When I sew a new block design, I always make a test block before I cut all my fabric for a quilt. I asked three of my good quilty friends to sew a test block for me before writing this tutorial for you. Sew...here are the cutting and sewing instructions for making your Test Block: |
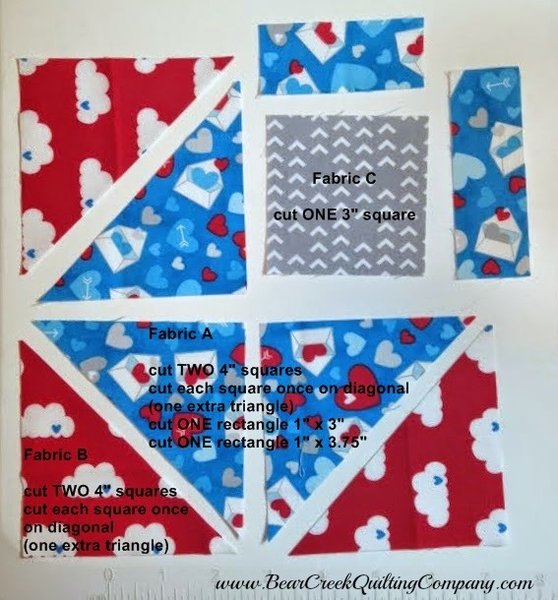 |
| Cutting Instructions for One Block: |
| Tip: Chose fabrics that show contrast between lights and darks. |
| Fabric A: |
|
| Fabric B: |
|
| Fabric C: |
|
Sewing Instructions: |
 |
| Make the quarter log cabin (QLC) unit by sewing the 1 inch by 3 inch Fabric A rectangle to one side of the 3 inch Fabric C square. Press open. |
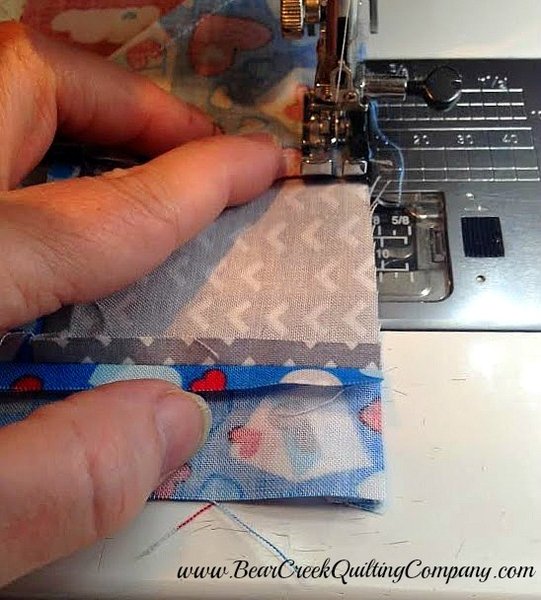 |
| Then sew the 1 inch by 3 3/4 inch Fabric A rectangle at the right angle to the side of this unit. |
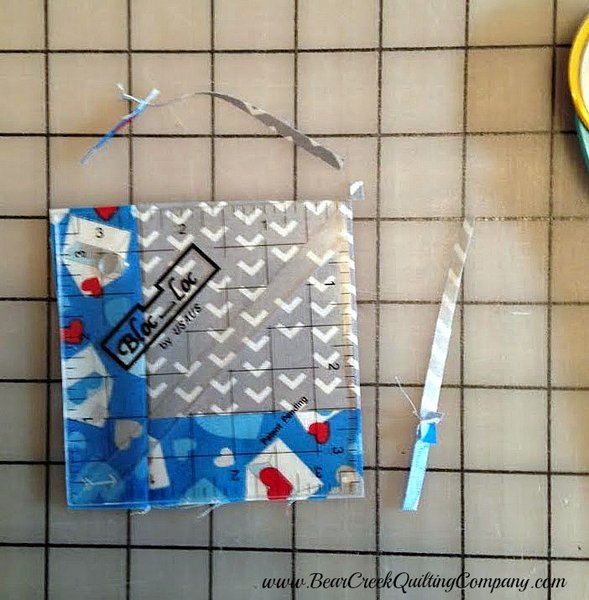 |
| Trim and square to 3 1/2 inches as shown. |
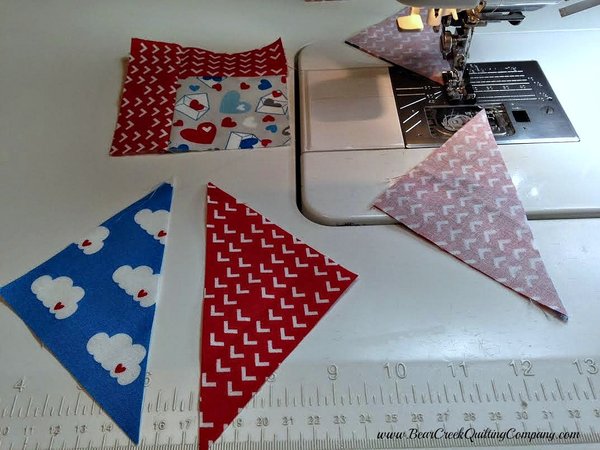 |
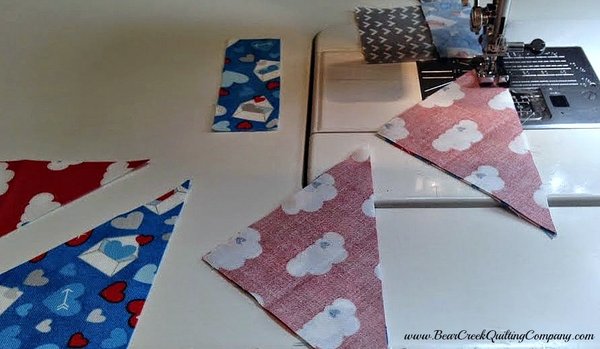
| Chain sew triangles. |
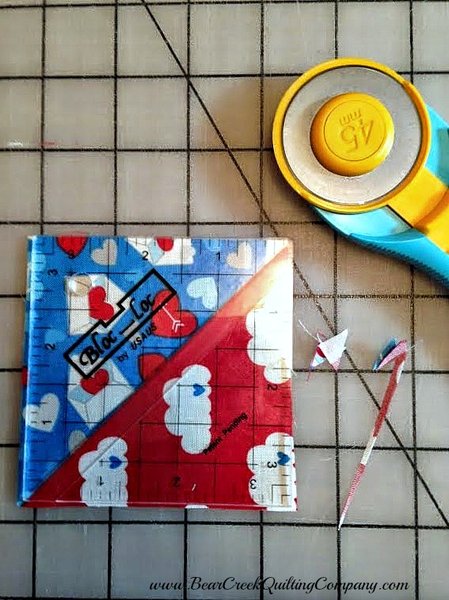 |
| Trim and square to 3 1/2 inches. |
Layout of Block: |
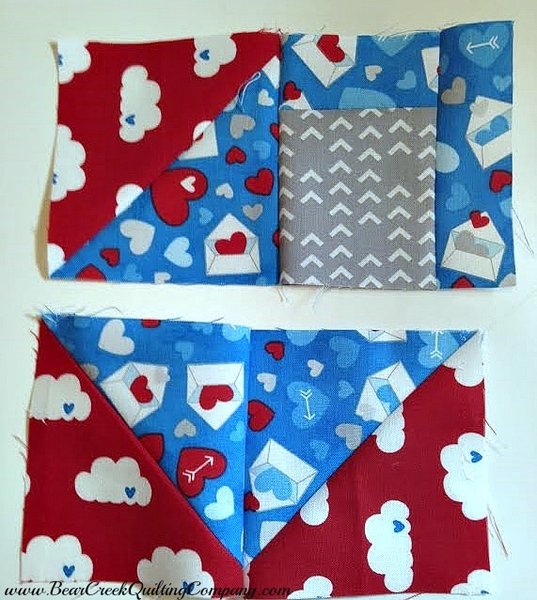 |
| Sew the top half together with the square pointing in towards the bottom of the "envelope". Sew the bottom half square triangle (HST) together. |
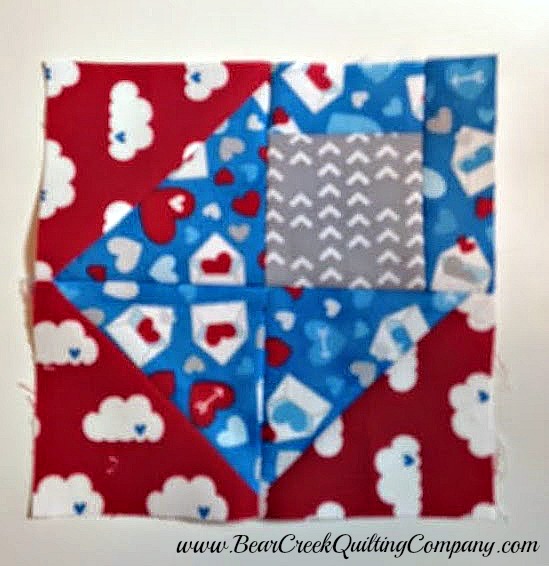 |
| Then, nesting the center seam, sew the two halves together. |
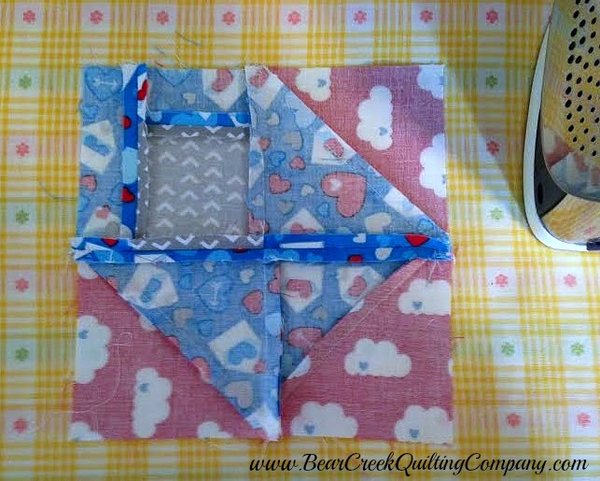 |
| Back of block showing pressed seams. I pressed the quarter log cabin unit seams open. I pressed the half square triangle units toward the outside and the bottom half square triangles toward the center to nest the seams. |
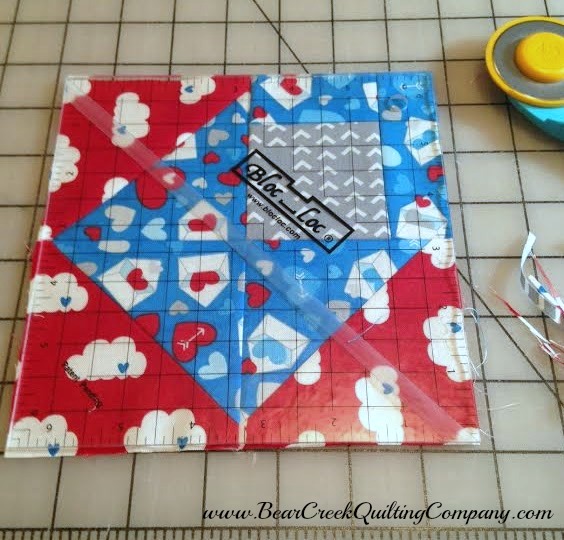 |
| Trim and square block. Unfinished block measures 6 1/2 inches square. 30 Airmail Envelope blocks are needed for this quilt. |
Cutting and Piecing: |
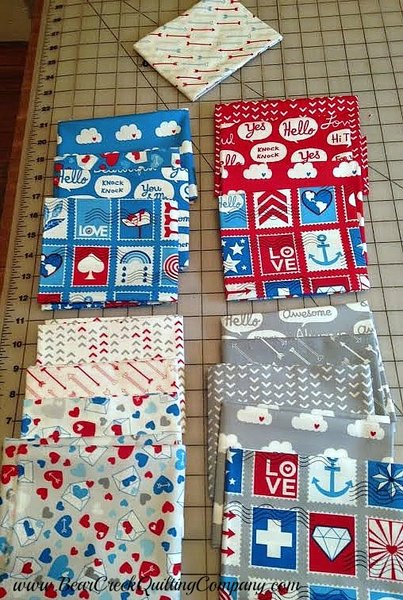 |
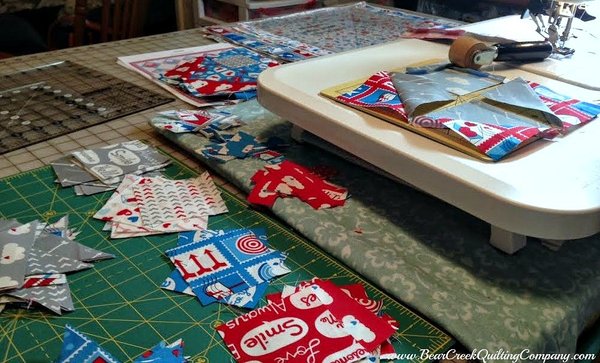
| I sorted and cut the Airmail fat quarters into stacks - red, blue, gray and white. I took the Multi Color Arrow fabric out of the sort as I used this fabric for my background. In each of my scrappy blocks, I chose one print from one red fat quarter and one blue fat quarter and then one print either gray or white fat quarters. |
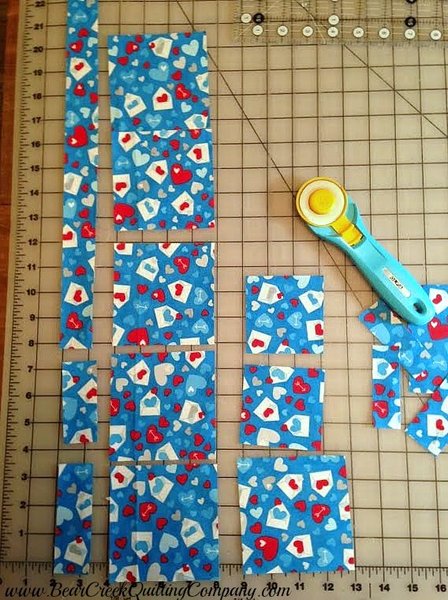 |
| I cut my fat quarter as shown above. |
From each of the red, blue and gray (or white) fat quarter:
|
From the remaining fabric of the red, blue and gray (or white) fat quarter:
|
|
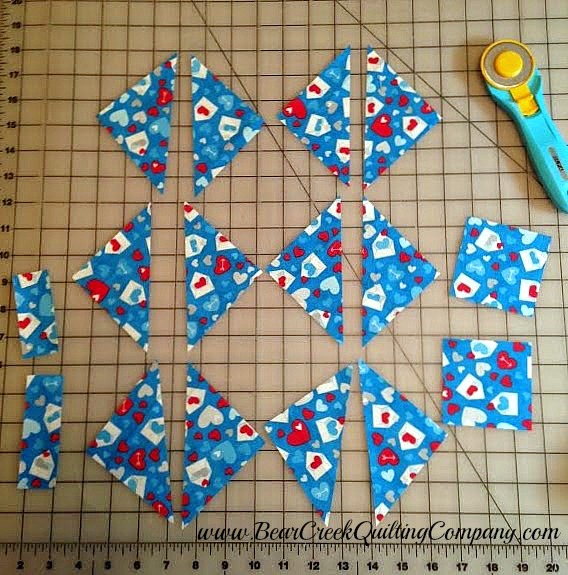 |
| Then I cut each of the 4 inch squares into TWO triangles. This gave me a good size piece of each fat quarter left. I did have to cut additional red and blue pieces as needed to complete all 30 blocks. |
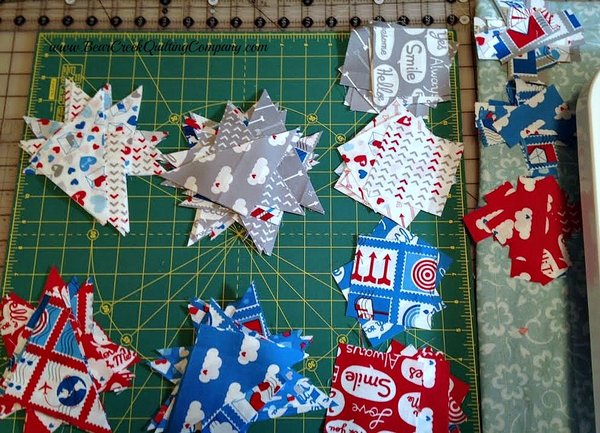 |
| I left the pieces in stacks near my sewing machine and picked a red, a blue and a gray (or white print) at random for each block. |
 |
| Using the same method as shown above for the test block, I chain pieced the blocks. |
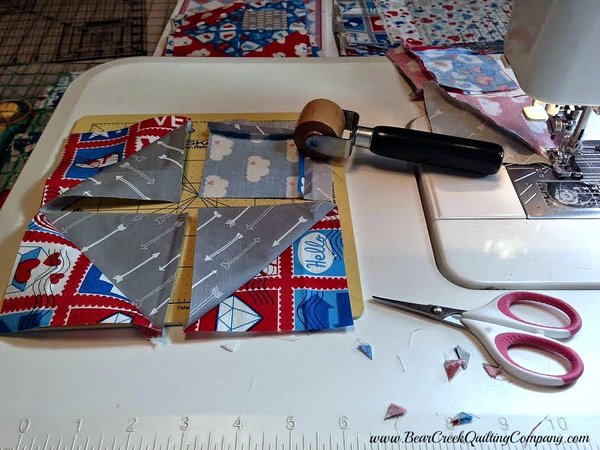 |
| I used my roller to press the seams and my small scissors to snip the dogears of my half square triangles as I went along. |
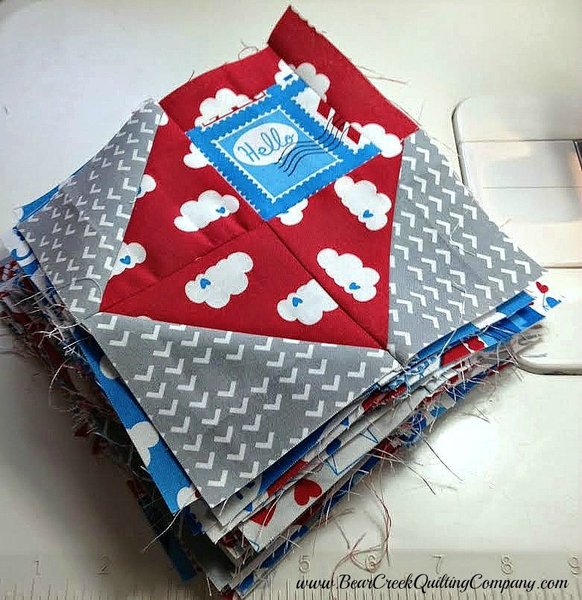 |
| 30 Airmail Envelope Blocks DONE! |
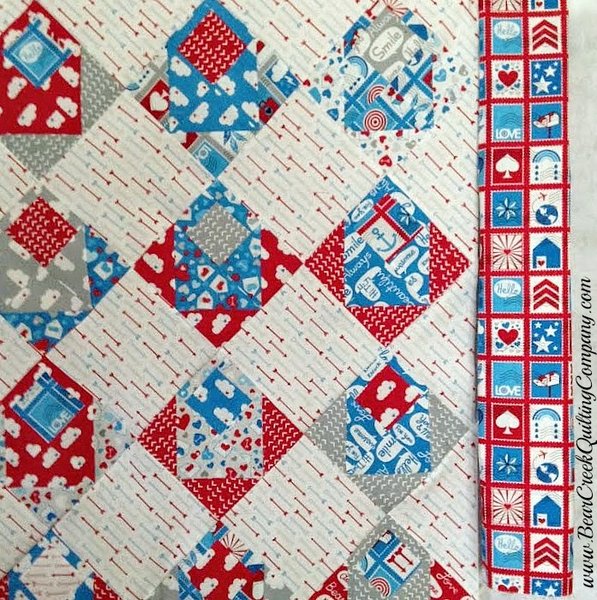 |
| Coming Soon - Part 3: Cutting the background squares and border and piecing the top! Thanks for following along! **Due to several requests, a PDF file for this pattern will be available in the final Part 4 post.** If you have any questions, please email me at scrapatches@gmail.com and I will do my best to help. Happy Quilting! |
 |
| "Airmail Envelope Quilt" Tutorial was designed and created for Bear Creek Quilting Company by Pat from Life in the Scrapatch. |
| Fabric used in this tutorial is from Airmail by Eric & Julie Comstock for Moda. |
| Do you love free fabric? Do you love to teach? Want to be a contributor on our blog? Send us an email at web@bearcreekquiltingcompany.com to get started! |


Comments