Posted by Shari on March 22nd, 2015
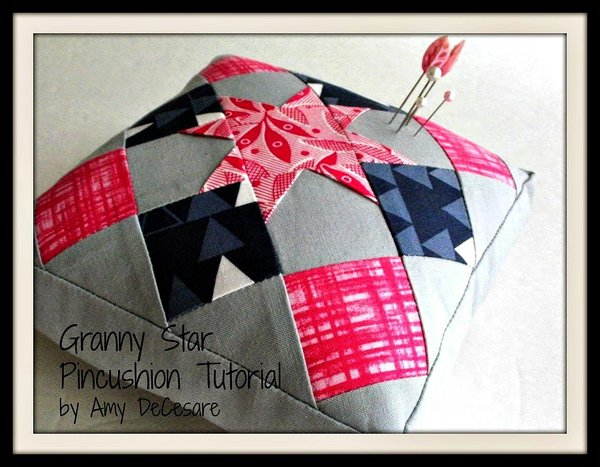
| Granny Star Pincushion Tutorial |
|
Hello, Friends! Welcome to Part 3 of my guest post series, featuring the Granny Star quilt block.
(If you missed Part 1 and 2, you can find them here.) |
 |
|
Today, I have a new tutorial for you for making a sweet 6 1/2" square pincushion!
|
 |
|
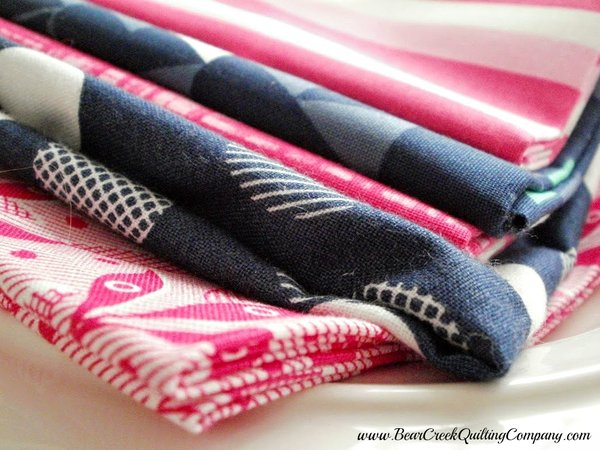
For this project, I pulled some of the pink and navy prints from the fat quarter bundle of Color Theory by V and Co. for Moda.
|
 |
|
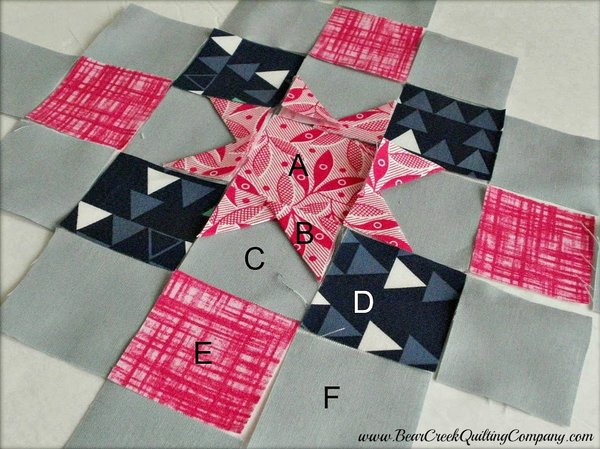
For the grandbaby-sized granny square, we'll be using some tiny pieces,
finishing with a 7" block.
Here's a photo of the layout I used, labeling each piece just once. |
 |
|
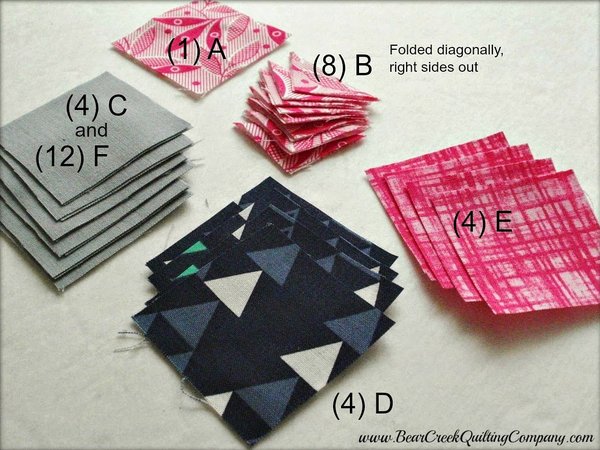
CUTTING:
A: (1) 2" x 2"
B: (8) 1 1/4" x 1 1/4", pressed in half diagonally*
C: (4) 2" x 2"
D: (4) 2" x 2"
E: (4) 2" x 2"
F: (12) 2" x 2"
*The star points are folded, right sides out, diagonally. Lay out the block pieces, to keep track of how they will be positioned. Now is the time to play with the color placement of the D and E pieces,
to come up with a pleasing arrangement.
|
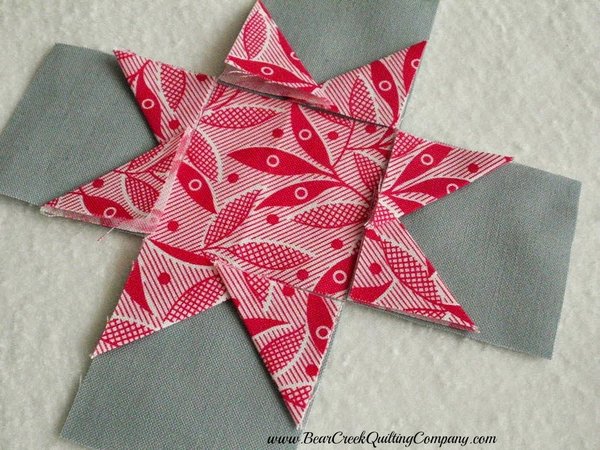 |
| The first step is to create the star in the center. |
 |
|
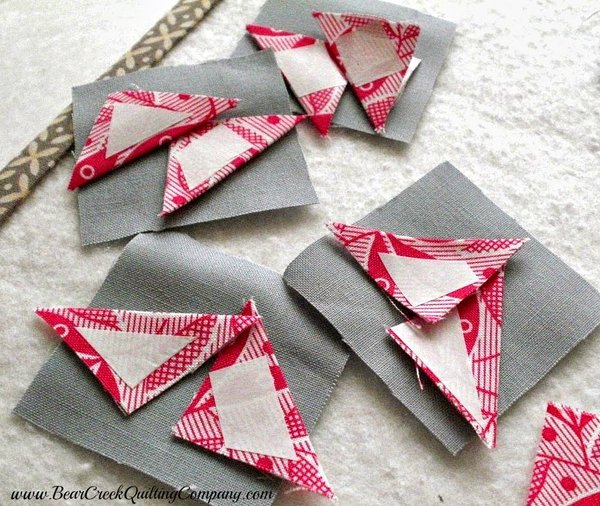
In my previous posts, Part 1 and Part 2 of this series, I used a stitch-and-flip technique to create the star points. These little pieces are sooooo tiny, though, that I decided to use a new trick.
Use a scrap of a fusible glue product, such as Heat N Bond Lite, and cut 8 little pieces that are slightly smaller than the folded triangles. As shown above, use an iron to adhere a snippet of fusible bonding to the back of each triangle.
|
 |
|
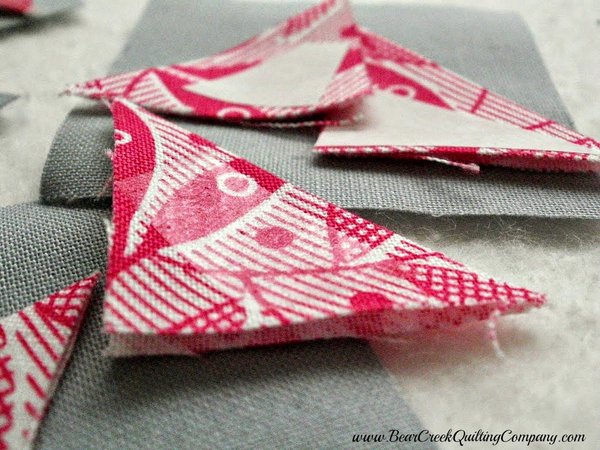
Now remove the paper from each triangle, to expose the rest of the glue.
This photo shows the glue, which is slightly glossy when the paper is removed. The two triangles in the back still have their papers on. |
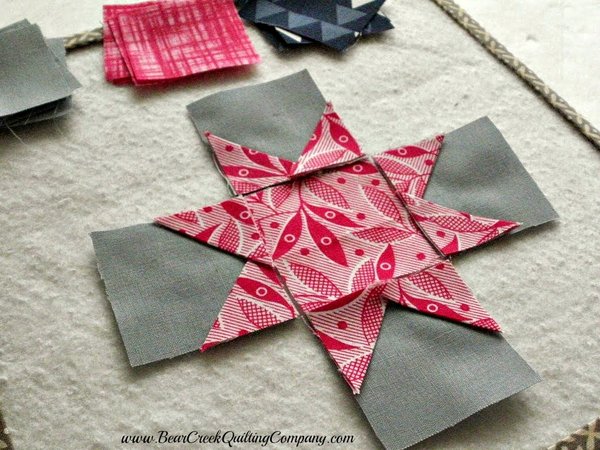 |
| Carefully use an iron to fuse each star point into position, creating the center star layout, as shown. This method avoids distortion of the little 2" square blocks and allows you to have star points that are practically perfect! |
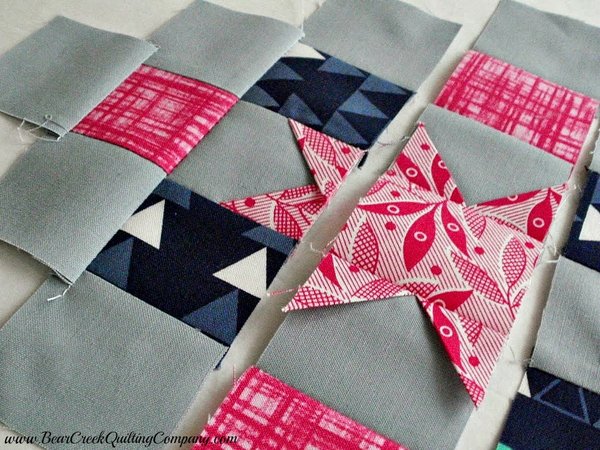 |
|
Begin to stitch the block together in rows, pressing seams for each row in alternate directions.
|
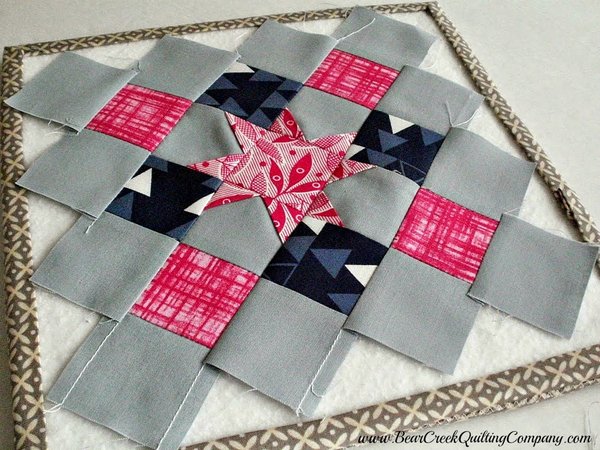 |
| Stitch the rows together to finish the block...spit-spot! |
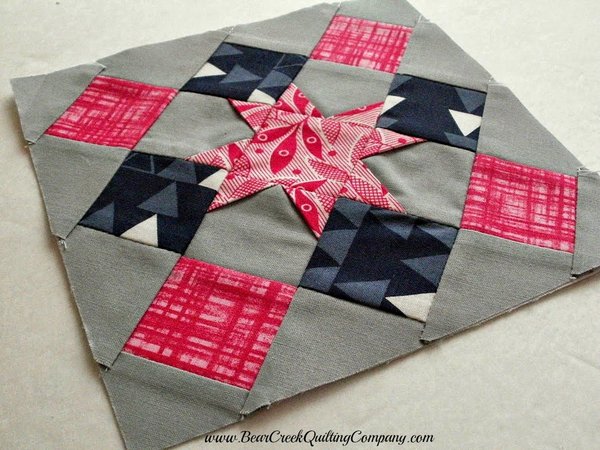 |
|
Trim the finished block to 7" square, being sure to center the block.
Beautiful! |
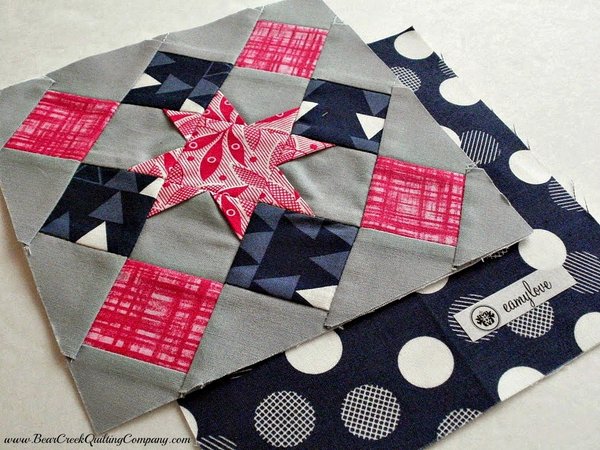 |
|
And now, let's make a pincushion from the finished block!
First, cut another 7" x 7" square from a complimentary fabric, for the bottom of the pincushion.
{Oh, thank goodness, I can use those navy polka dots I love so much!}
|
 |
|
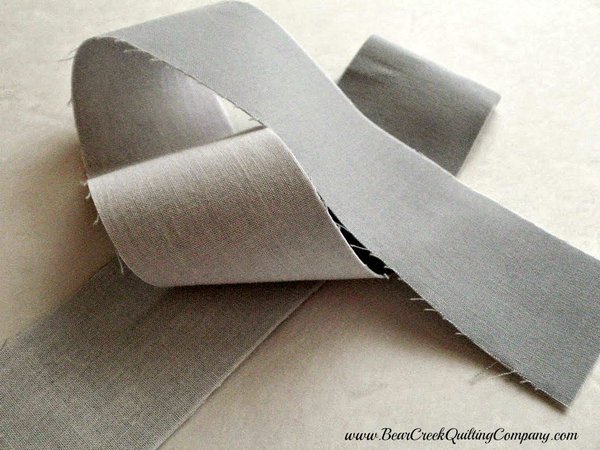
The only other fabric needed is a gusset piece, measuring 2" x 26 1/2".
I used another piece of gray background fabric.
Line the granny star block, the bottom, and the gusset piece with fusible interfacing, such as Pellon Shapeflex SF101. You may be tempted to skip this step, but it truly adds stability to the pincushion.
|
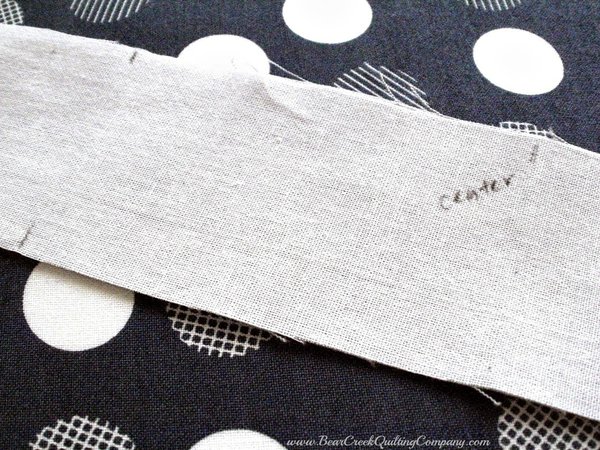 |
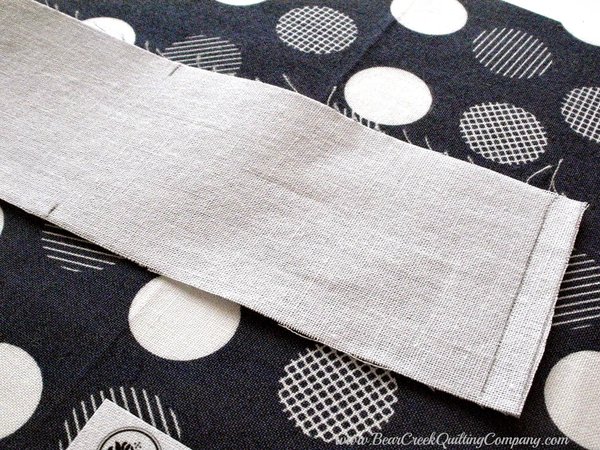
| MARKING THE GUSSET: Fold the gusset in half to find the center. From this line, measure 3 1/4" to each side, and mark the gusset along the top and bottom edges. Measure 6 1/2" from each set of markings, and mark the top and bottom edges again.
|
 |
|
Measure 3 1/4" from those markings, and draw the seamline for the gusset. Also, along the bottom edge, you may want to mark a 3" opening for turning and stuffing, so you won't forget to leave it unstitched!
|
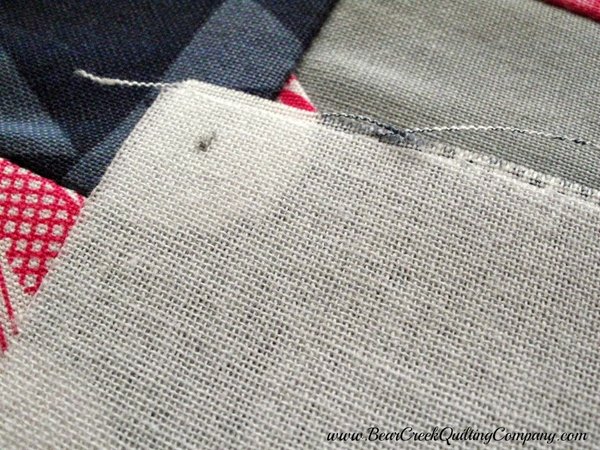 |
| MARKING THE TOP AND BOTTOM: Place a dot on the back of the top block, at all 4 corners, to mark 1/4" from each edge. Repeat for the pincushion bottom.
|
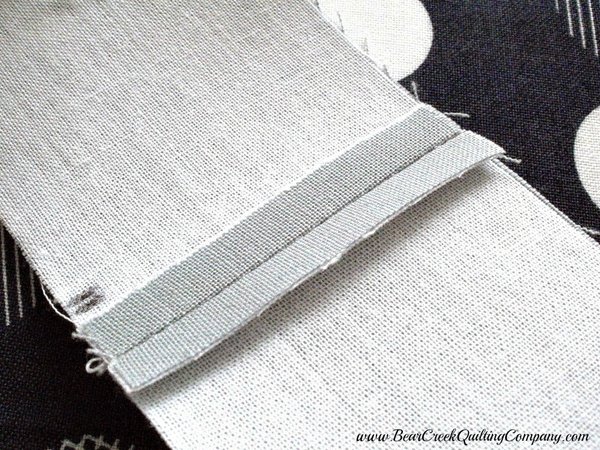 |
| STITCHING: Stitch the gusset seam, as marked, and press open. |
 |
|
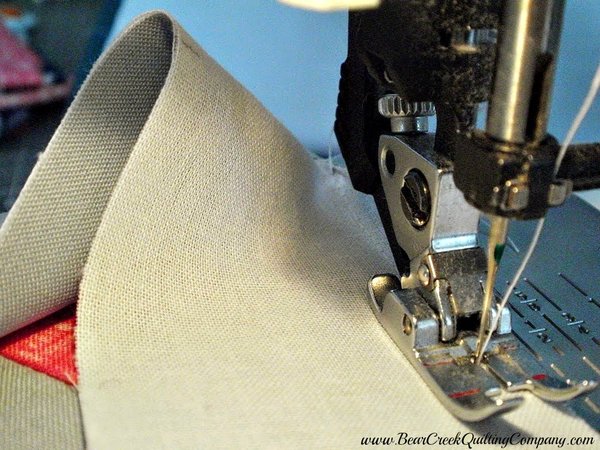
Pin the gusset along the top edge of the granny star block, right sides together, using the edge of the gusset that contains the seam. Match the corner dots with the gusset markings. Stitch 1/4" from the edges, backstitching to begin and end the seam, sewing only from dot to dot.
{Do not sew to the edges of the squares.}
Continue to stitch the gusset to the block, in the same way, one side at a time, holding the gusset out of the way while stitching near the corners.
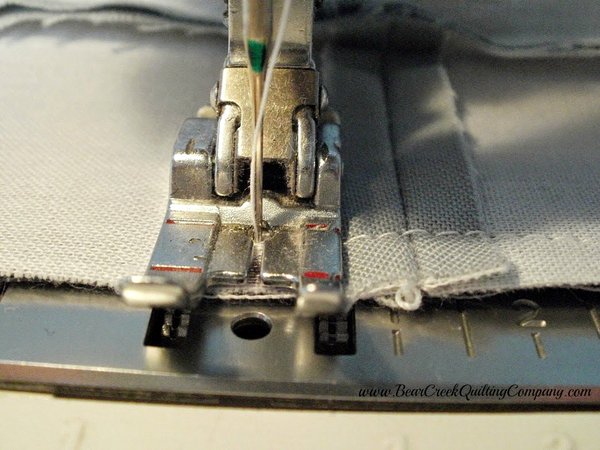
Repeat the stitching process for the bottom edge of the gusset, but this time leave a 3" opening along the side with the seam, for turning and stuffing the pincushion.
|
 |
|
TIP: I always stitch off the edges of the opening, as shown, backstitching, to keep my seam from opening during the turning and stuffing process.
|
 |
|
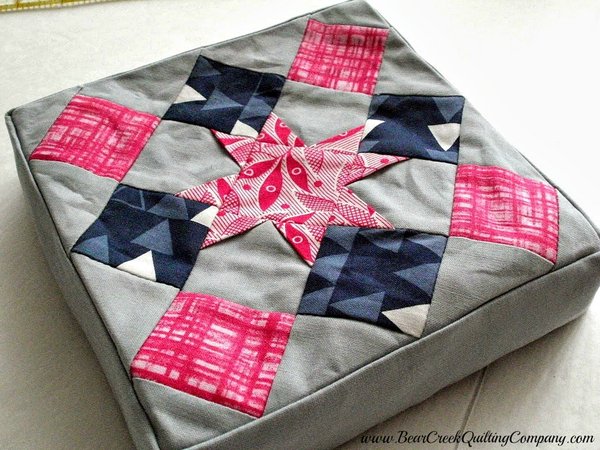
Turn the pincushion right sides out and press gently, if needed.
Stuff the pincushion generously. If you have some crushed walnuts, they would be fabulous for this pincushion! I used polyfil to stuff mine.
|
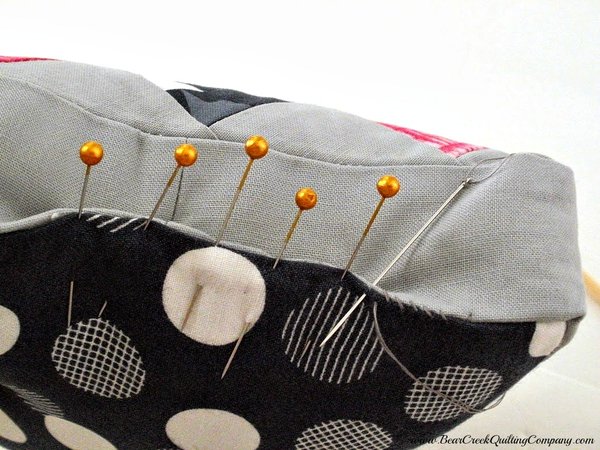 |
| Hand-stitch the opening closed. |
 |
|
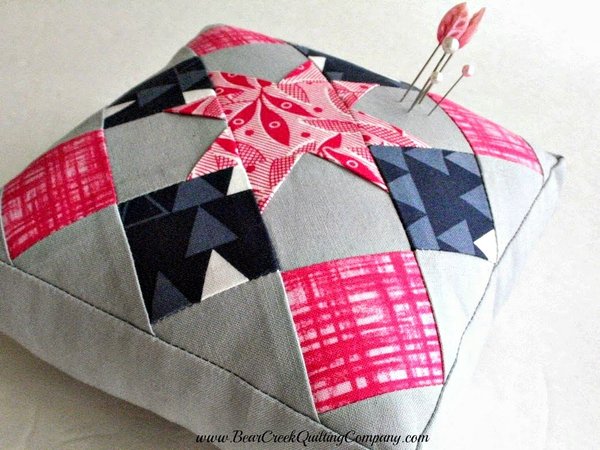
I use a steam iron to flatten the entire pinnie. This keeps the bottom nice and flat. I don't mind a slightly rounded top for my pinnies.
|
 |
|
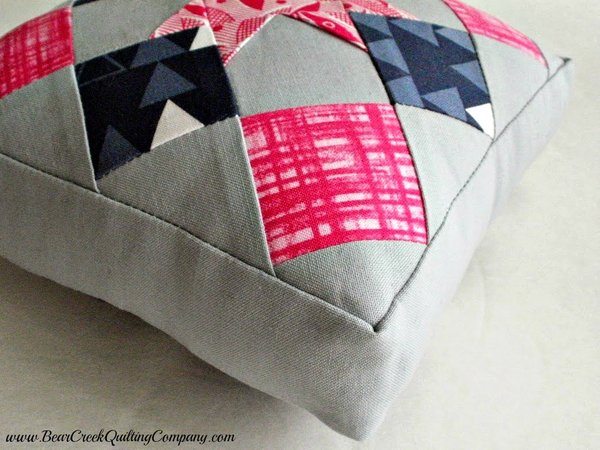
When it's finished, you can admire it from all angles.
|
 |
|
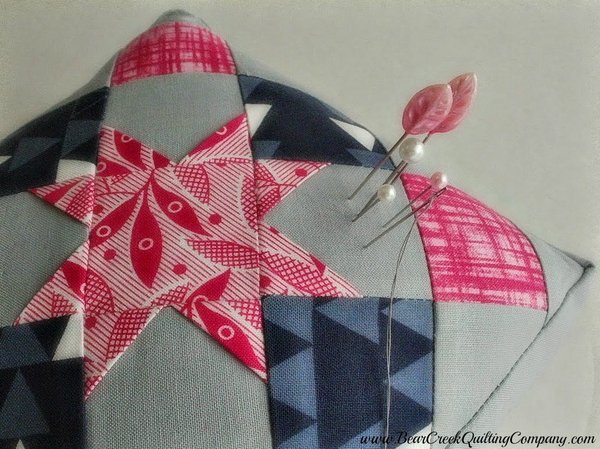
Stick in some pretty pins, and put this baby to good use in your sewing space!
Thanks so much for following along. Pop over to my "Amy Made That!" blog any time, to see what else I'm making!
|
 |
| We hope you are enjoying the tutorials and articles our blog contributors are bringing to you. Each designer invests their time to design and create new project ideas. Your comments are a wonderful show of appreciation and support. |
| "Granny Star Pincushion" Tutorial was designed and created for Bear Creek Quilting Company by Amy from Amy Made That by eamylove. |
| Fabric used in this tutorial is from Color Theory by V and Co. for Moda. |
| Do you love free fabric? Do you love to teach? Want to be a contributor on our blog? Send us an email at web@bearcreekquiltingcompany.com to get started! |



Comments