Posted by Shari on March 8th, 2015
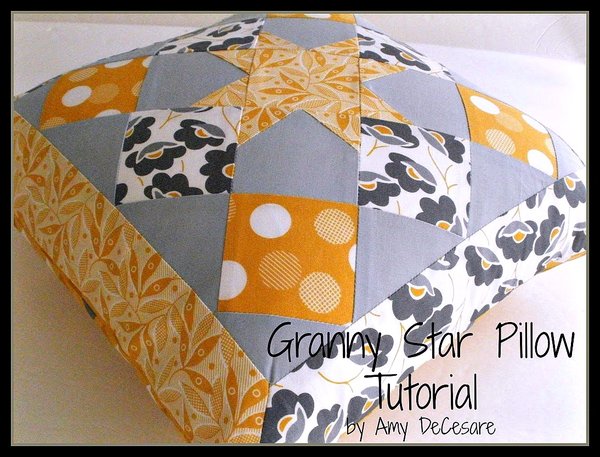
| Granny Star Pillow Tutorial |
|
Hello, Friends! I'm Amy from Amy Made That blog, back to share another tutorial for making a Granny Star pillow featuring Color Theory fabrics from V and Co. for Moda.
|
 |
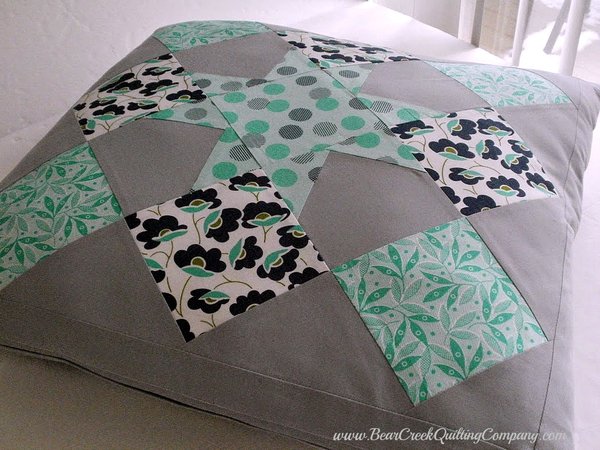 |
| In Part 1 of the Granny Star series, I made a GIANT 24" square version of the Granny Star stitched into a floor pillow. {I called that one the "Great Granny Star" pillow. If you missed the Part 1 tutorial, you can find it here.} |
 |
|
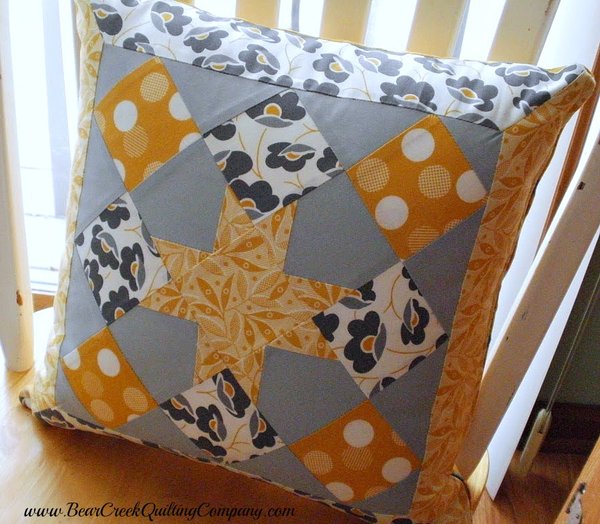
For today's project, I selected a yellow and gray palette.
|
 |
|
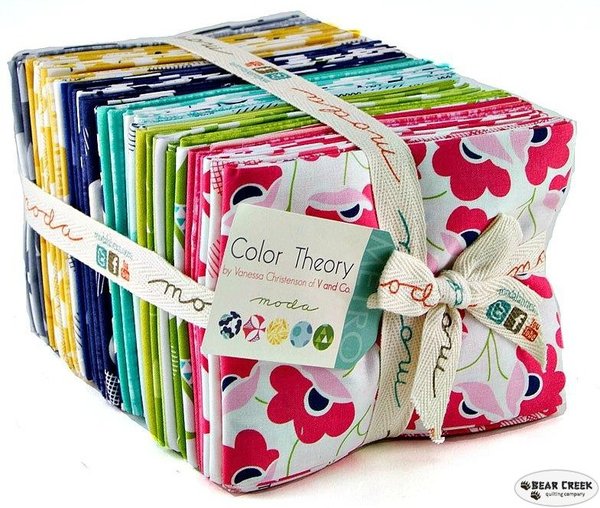
The Color Theory fat quarter bundle allows blending and pairing of so many shades! The varied scales and patterns made it fun to put together fabrics for my Granny Star block.
|
 |
|
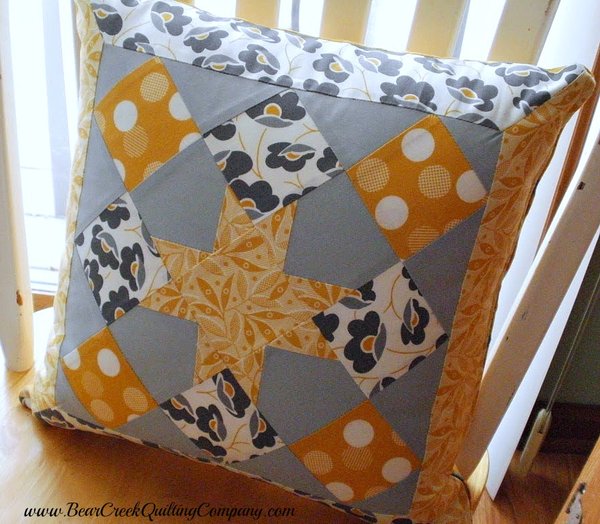
Here's how to make a 15" x 15" finished Granny Star Pillow...
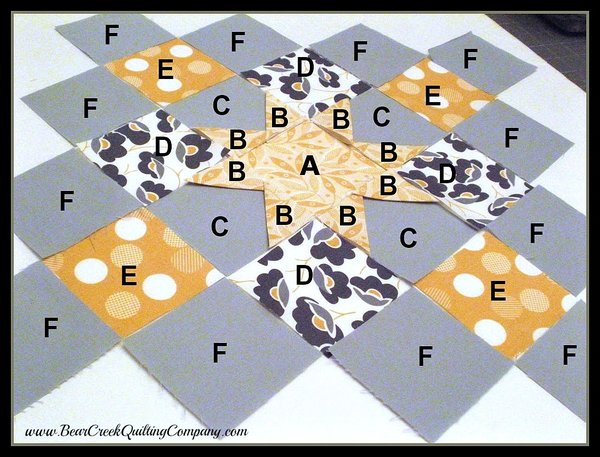
Basic Block Layout: {I used my "background" gray solid fabric for the outer ring F pieces and also for the C pieces, which are the background for the star point B pieces.} |
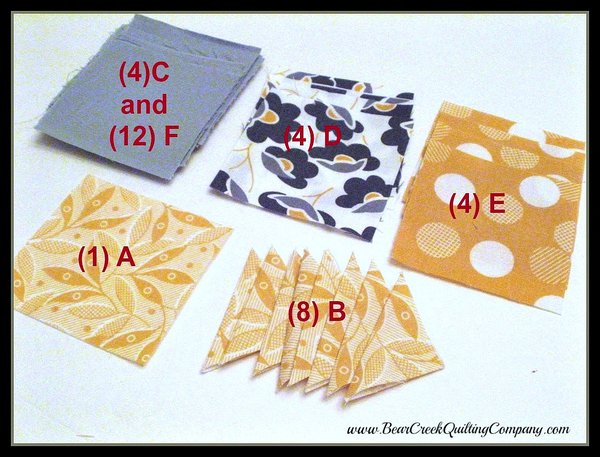 |
| Cutting: {Follow this diagram, showing the labeled pieces above.} A: (1) 3" x 3" B: (8) 1 3/4" x 1 3/4", pressed in half diagonally* C: (4) 3" x 3" D: (4) 3" x 3" E: (4) 3" x 3" F: (12) 3" x 3" *The star points are folded, right sides out, diagonally. |
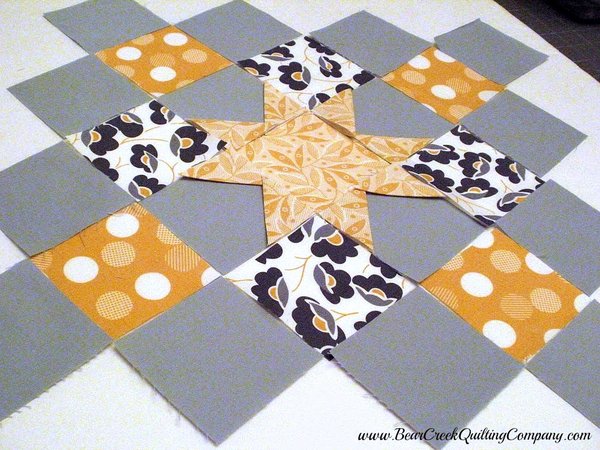 |
| Lay out the block pieces, to keep track of how they will be positioned. Now is the time to play with the color placement of the D and E pieces, to come up with a pleasing arrangement. |
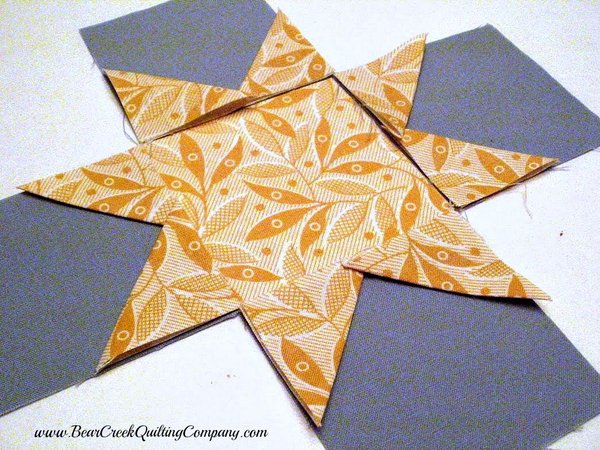 |
| The first step is to create the star in the center. |
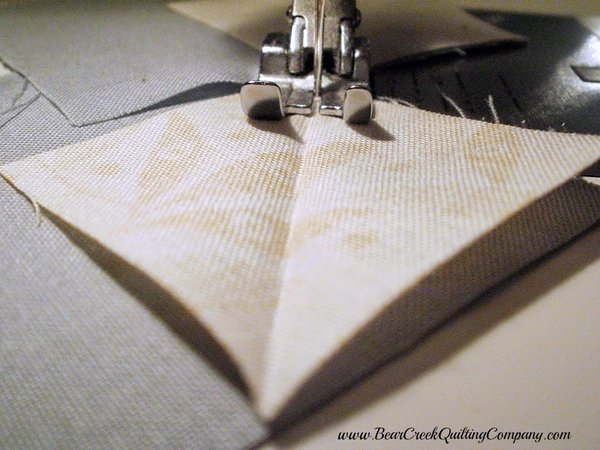 |
| Pick up a folded B square, and line up the edges of a C square as shown. Stitch along the fold. I like to chain stitch all 4 C's, then snip them apart. |
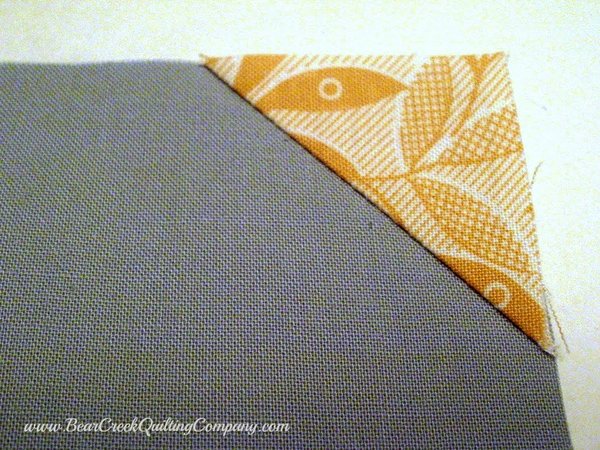 |
| Using scissors, trim away the inside corners, to end with a 5" square with one star point, after pressing. |
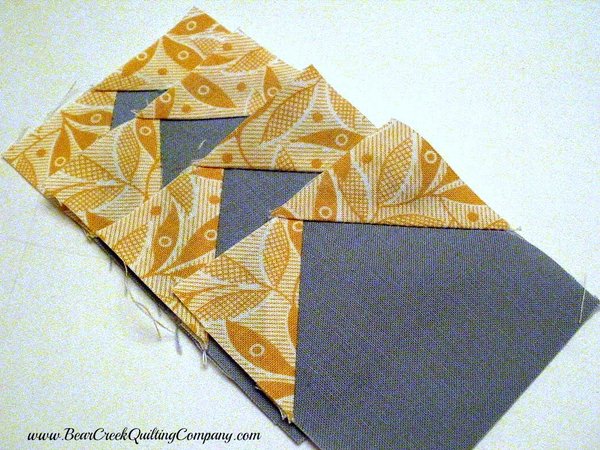 |
| Repeat the process for all of the B units, stitching along the fold of the second star point. Trim with scissors, and again the finished pressed star point blocks will measure 5". |
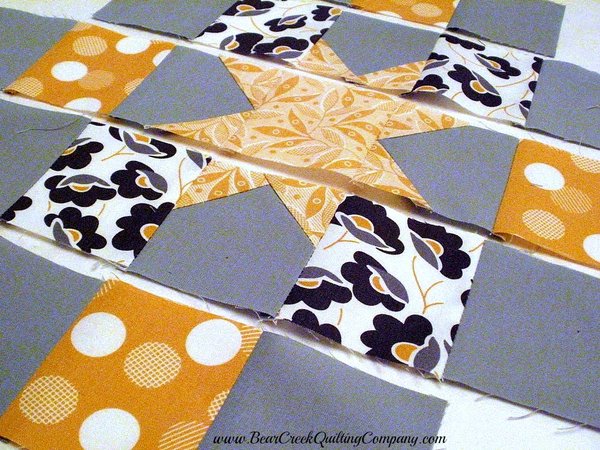 |
| Begin to sew the squares together in rows. Press all seams in the same direction within each row, and alternate the pressing direction for every row. This will allow you to nest the seams for perfect piecing. |
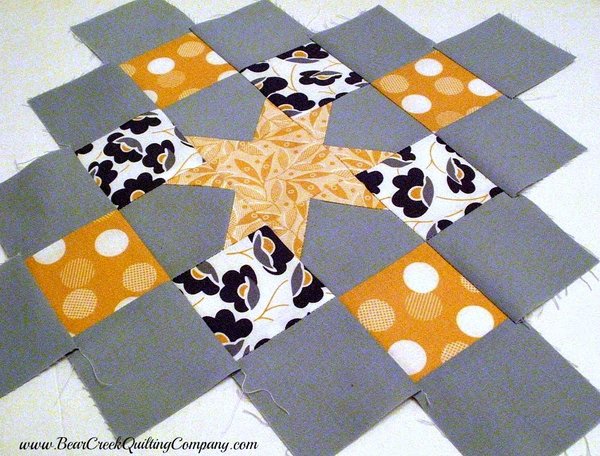 |
| The finished block is beautiful, but kind of shaggy on the edges, right? |
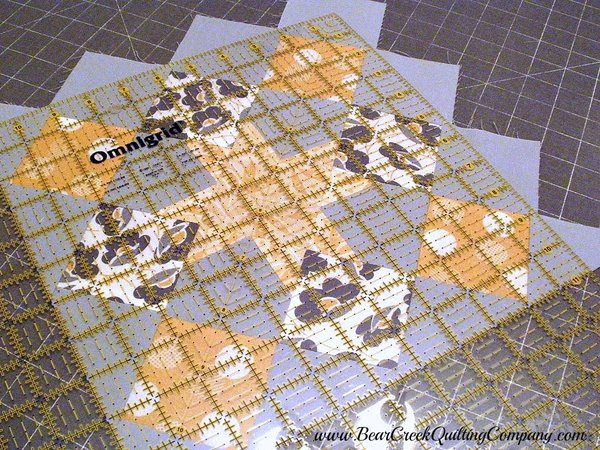 |
| Trim up the block to make a perfect square measuring 11" x 11". Make sure the 5 1/2" ruler lines cross the center of the block. |
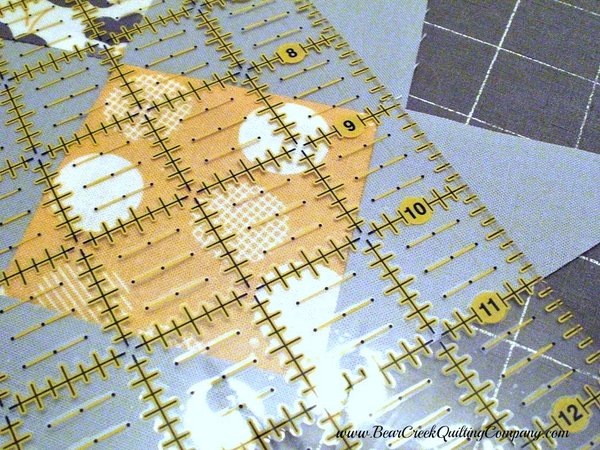 |
| There will be 1/4" of background fabric beyond each of the points, so they should not be chopped off when the borders are added. |
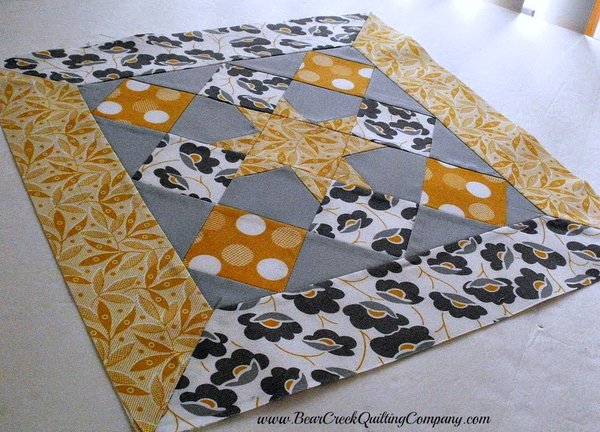 |
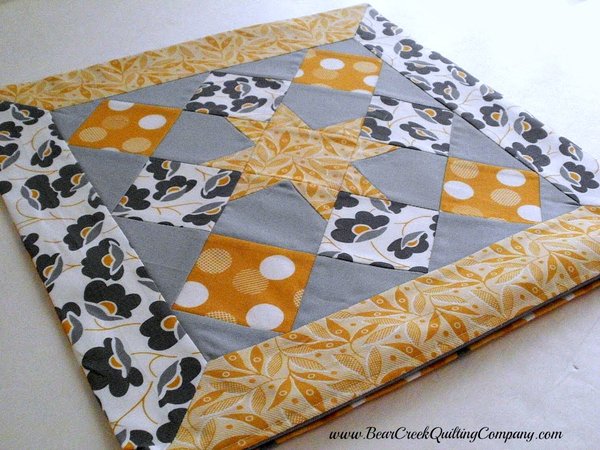
| Now add 3" borders to your pillow. Cut (2) 3" x 17" border strips from each of 2 different prints. Once the borders have been applied, trim your finished pillow top to 16" x 16". At this point, I lined the back of the block with a 16" x 16" piece of Pellon ShapeFlex SF101 fusible interfacing. It gives great shaping to the pillow and also keeps the seams from pulling apart. I chose to make mitered borders for mine. There are tutorials on the internet, and I used this one from Seams Likely blog. |
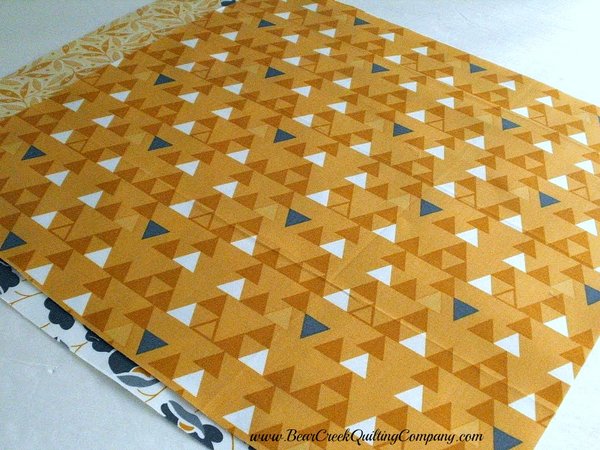 |
| For the pillow back, I selected another coordinating print from my fat quarter bundle. I cut this pretty triangle print to measure 16" x 16" and lined it with another piece of ShapeFlex SF101 fusible interfacing. |
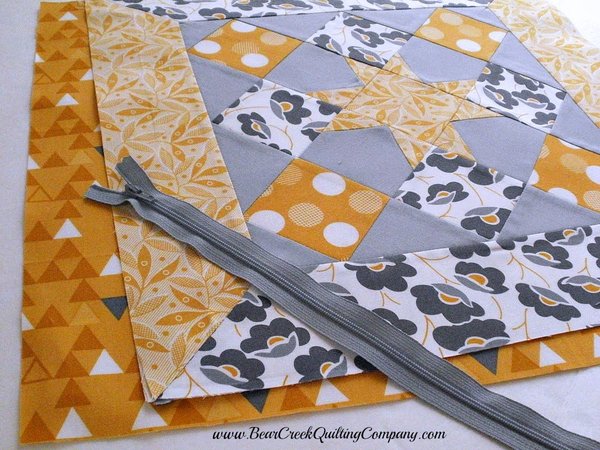 |
| I had a 14" soft gray zipper, that blended nicely with my finished pillow top and back. |
 |
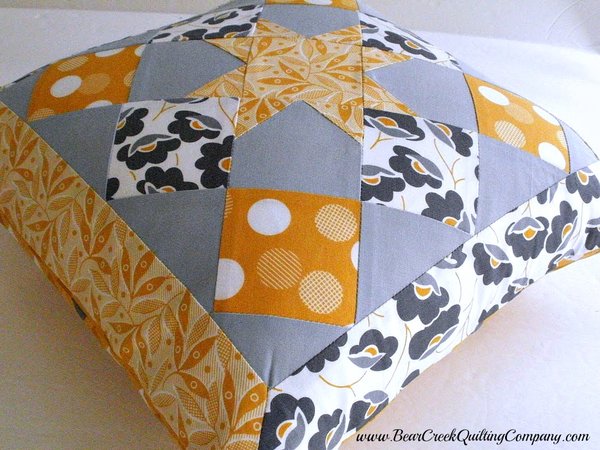
| I used the same process as described in Part 1, the Great Granny Star Pillow, applying the zipper to the bottom of the pillow. {I remembered to OPEN THAT ZIPPER before I stitched the other 3 edges together, using a 1/2" seam.} I turned the cover right side out, then pressed it neatly and admired it. |
 |
| I used a 16" square pillow form, and spent a couple of minutes stuffing and fluffing. |
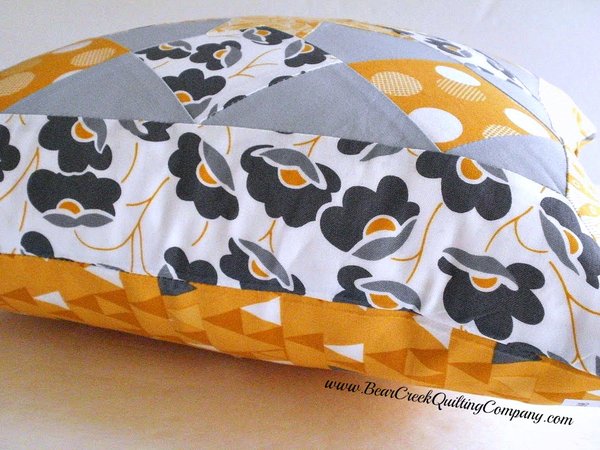 |
| That sweet old Granny Star cover fluffed up to become a pleasingly plump pillow. |
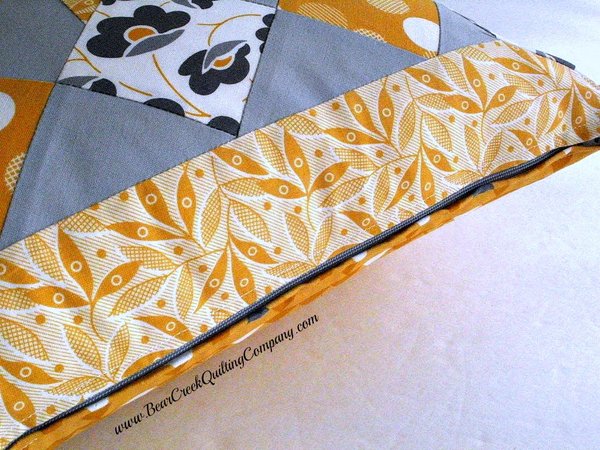 |
| Here's a glimpse of the zipper on the bottom of the cushion. |
 |
| It was fun spending an afternoon with my Granny Star Pillow project. I hope you'll join me again soon for the grand-baby-sized project, Part 3 of our Granny Star series! |
 |
| "Granny Star Pillow" Tutorial was designed and created for Bear Creek Quilting Company by Amy from Amy Made That by eamylove. |
| Fabric used in this tutorial is from Color Theory by V and Co. for Moda. |
| Do you love free fabric? Do you love to teach? Want to be a contributor on our blog? Send us an email at web@bearcreekquiltingcompany.com to get started! |


Comments