Posted by Shari on October 26th, 2014
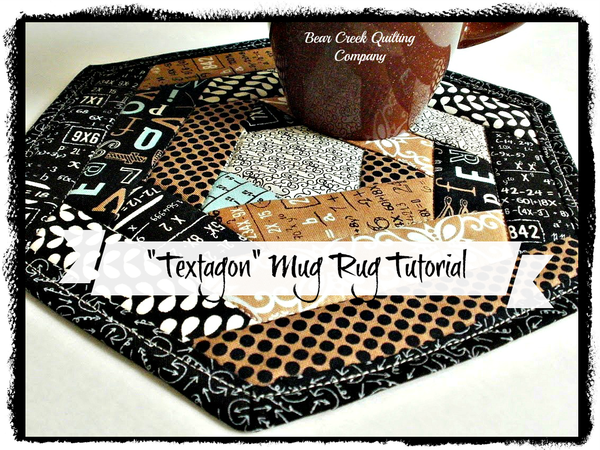
| "Textagon" Mug Rug Tutorial |
| Hello, Friends! I'm Amy from Amy Made That!, here to present Part 2 in the series featuring the Creative Grids Hexagon Trim Tool. |
 |
| Ready to get started? |
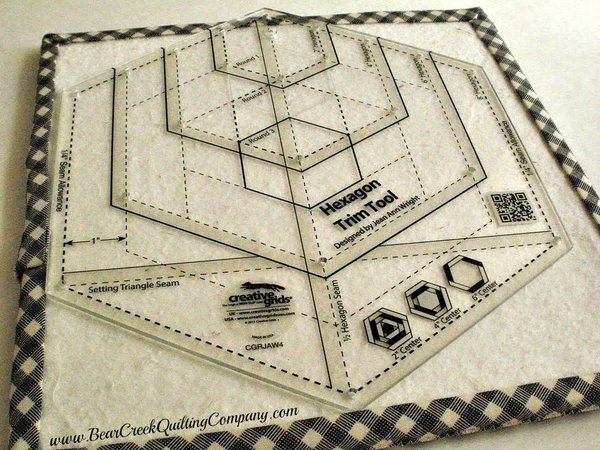 |
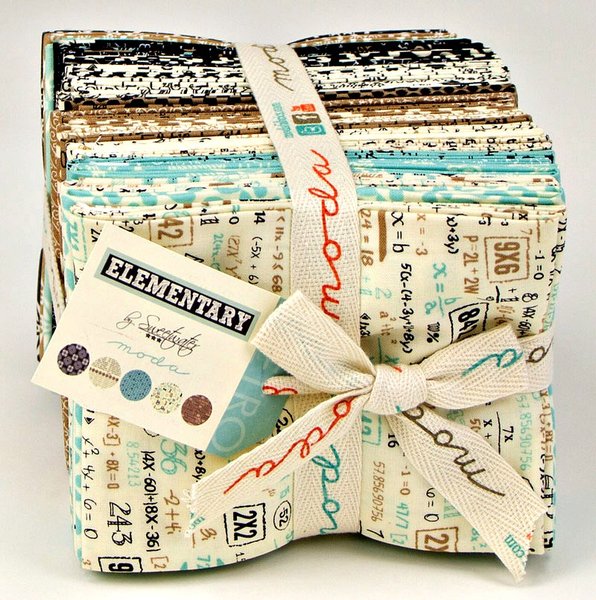
| In Part 1, I shared some fun hexagon blocks I made using this fascinating Hexagon Trim Tool by Creative Grids and some fat quarters of Elementary fabric, by Sweetwater for Moda. (You can find Part 1 here.) |
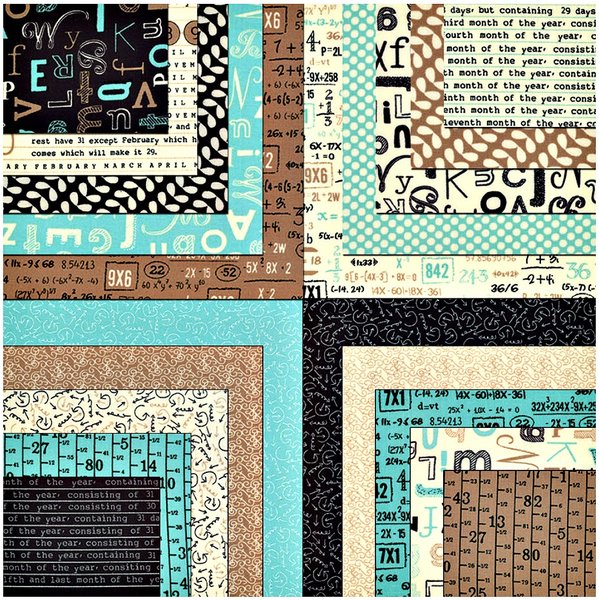 |
| There are so many fun text prints in the Elementary fabric collection. That's why I call my finished blocks "Textagons"! |
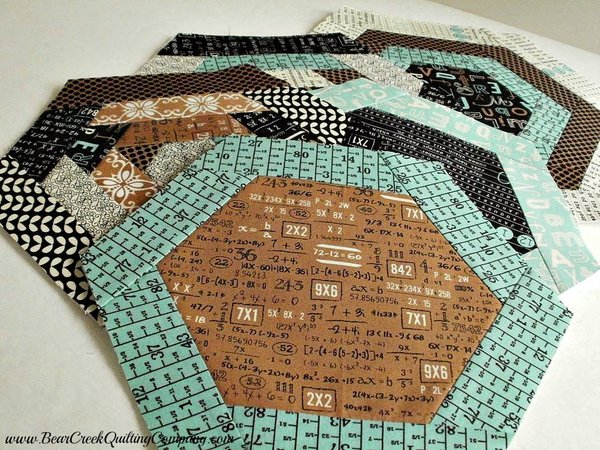 |
| Remember these? |
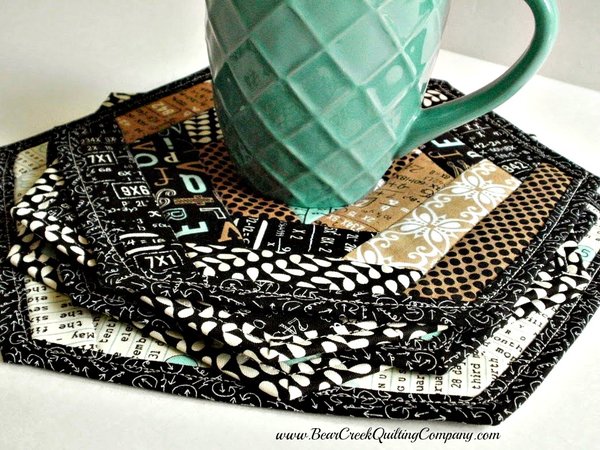 |
| Today I'll share how to make some "Textagon" Mug Rugs, using those pretty blocks. |
 |
| Once you have your hexagon blocks made, this project goes quickly, so let's warm up the iron and get started. |
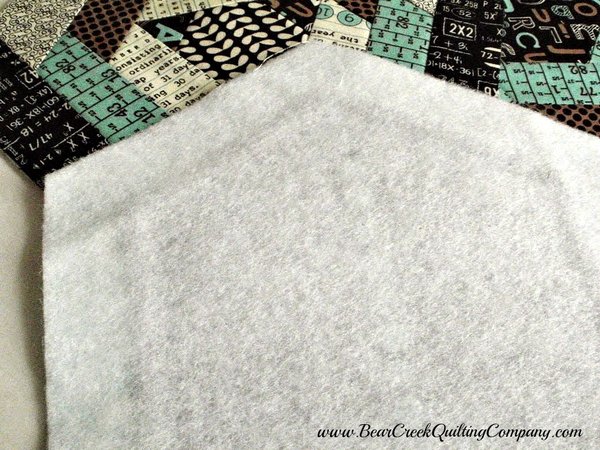
| First, you'll need a piece of Pellon 987F fusible fleece, cut to the same size as your hexagon block. Use the iron to fuse it in place, on the wrong side of the block, according to the manufacturer's directions. (Alternately you can use cotton batting and spray baste it.) |
| Next add a piece of fabric for the backing, cut just a bit larger than the hexagon block. Spray baste the wrong side of the backing to the fleece layer. |
| (Be sure to use an old sheet or newspaper to catch the stray spray, if you know what I mean!) |
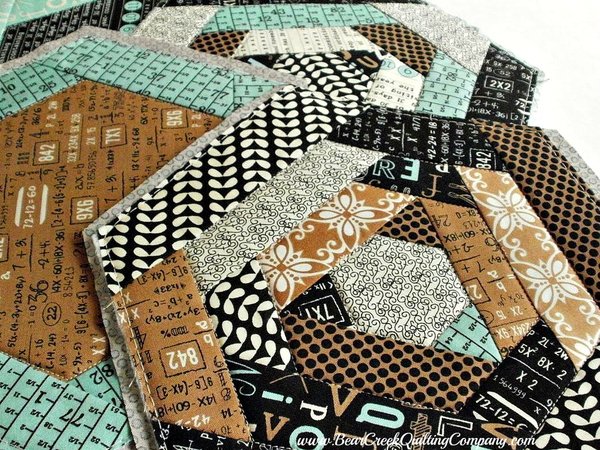 |
| Now you're ready to do a bit of quilting, in any way you like! |
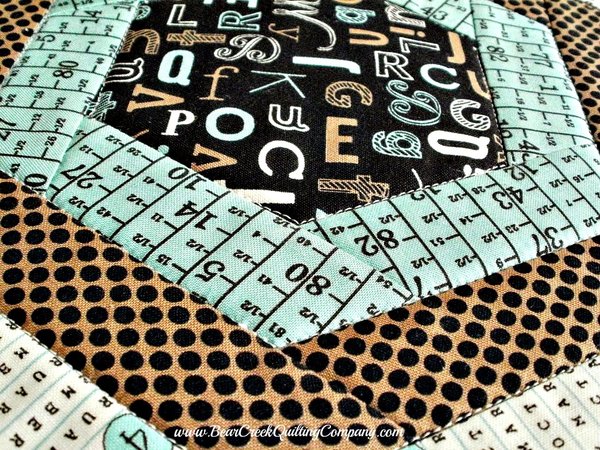 |
| I simply quilted in the ditch of my hexagons, whether they had just one round or many. |
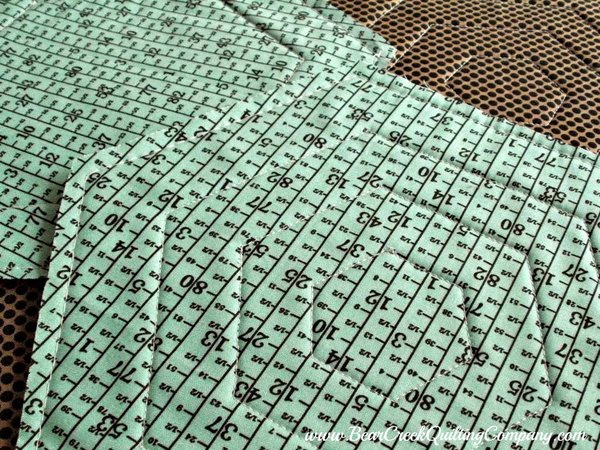 |
| Here's how a couple of them looked on the back... Use a large stitch to baste all around the exterior edges of the finished block, then trim the block neatly, to remove excess backing fabric. |
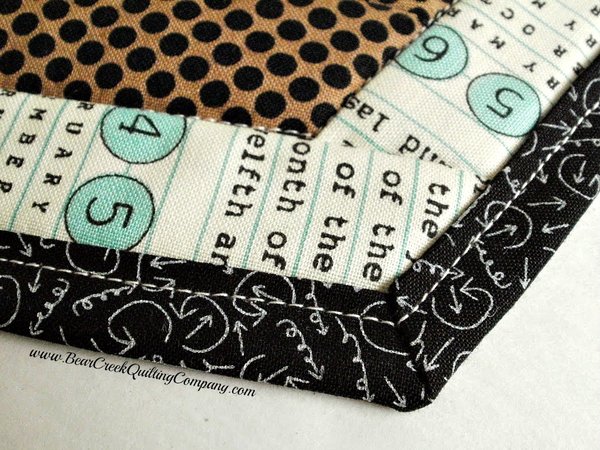 |
| And now...you knew I was going to make you do this, didn't you?...it's time to add the binding, to finish the mug rugs neatly. |
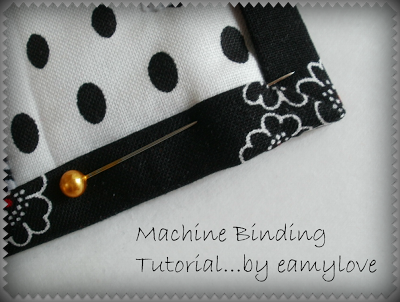 |
| Don't Panic!! This is not as difficult as you might think, especially if you refer to my free Machine Binding Tutorial for detailed instructions. |
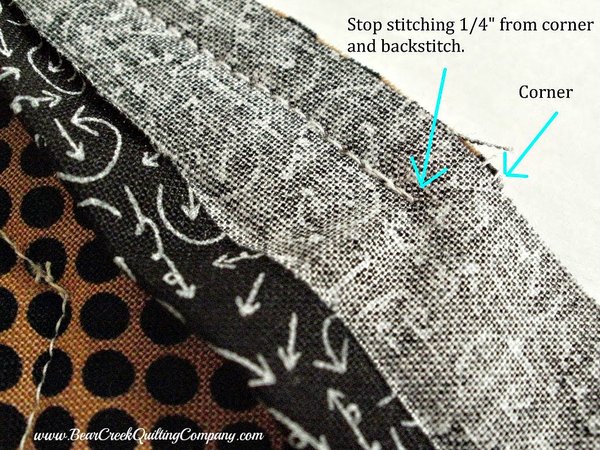 |
| Start with 1 1/2" binding strips that are about 40" long. If you are using fat quarters, like I did, you will need to piece two or more strips together. Follow the Machine Binding Tutorial for complete instructions; you will be pressing the binding strips in half, lengthwise. Also, press just one edge to the center, lengthwise. Because the hexagon sides are small, I just folded the short edge over by 1/4", at the beginning of the binding. Later, this fold will hide the raw edges at the end of the binding. Begin stitching the binding to the BACK of the hexagon a few inches away from one corner. Use a "good" 1/4-inch seam, as opposed to a "scant" one. When you come to the first corner, stop stitching 1/4" from the corner, taking a few backstitches to secure the seam. |
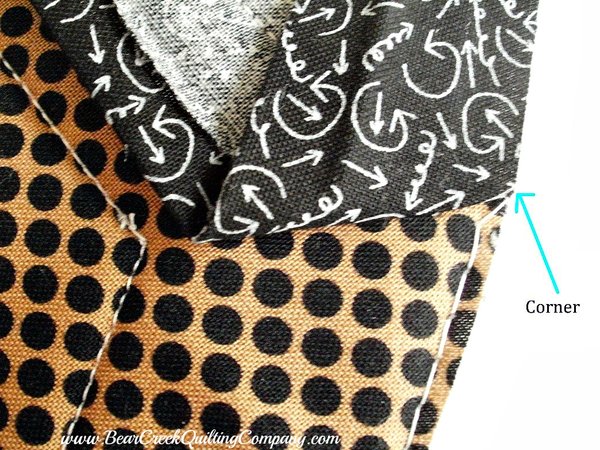 |
| Now, what have we here? Uh-oh. If you are used to sewing binding on right angles, this is a bit daunting, but actually the technique is similar. First fold away the binding, so that it looks like this photo. The binding bisects the angle of the hexagon. The corner is shown by the arrow. (Hee hee...the BLUE arrow above!) |
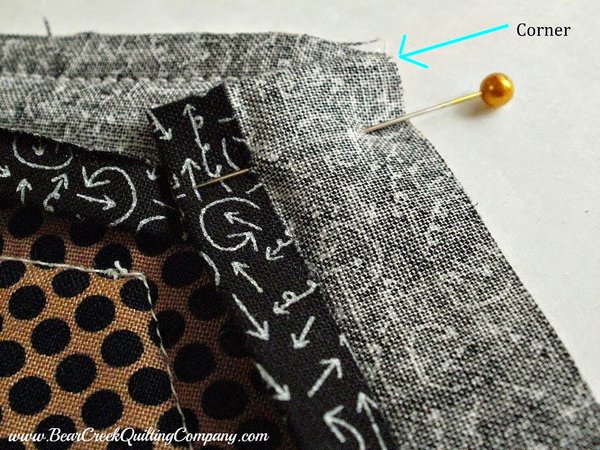 |
| Keeping that fold in place, bring the binding strip down to align it with the next side. You can pin it into place, if you need to. |
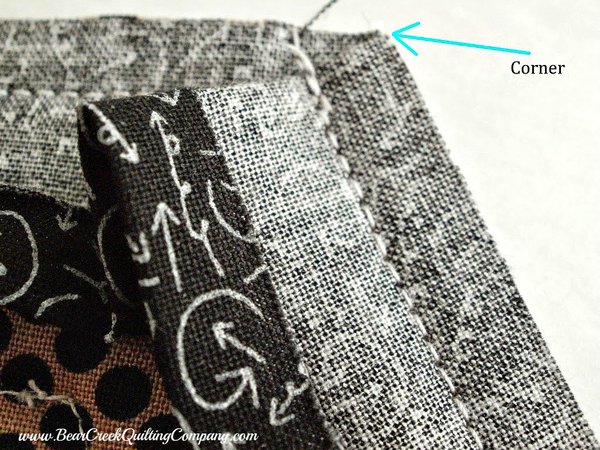 |
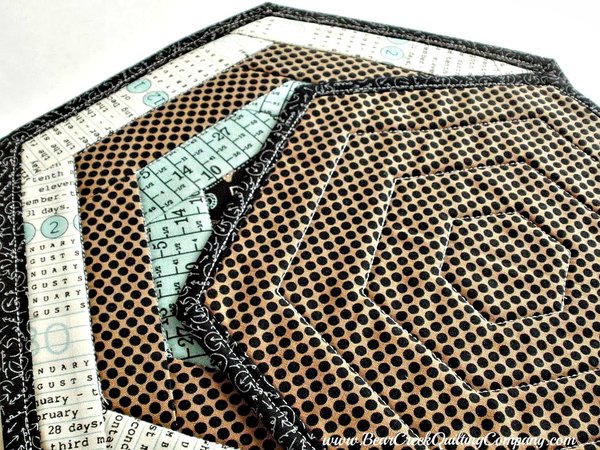
| Begin to stitch along this side, backstitch to secure, then sew along this side, stopping again 1/4" from the next corner. Repeat all around the six sides. As you near the end, just snip away the excess binding, tucking it under the fold you made at the beginning. Finish stitching the last side, adding just a few stitches on top of the ones where you started. |
 |
| Now you can easily bring the binding over to the front, steam it into place...the most important step...then stitch the front binding through all layers neatly. (Refer to the above Machine Binding Tutorial for full details.) This is also a great project to practice your hand binding, if you wanted. |
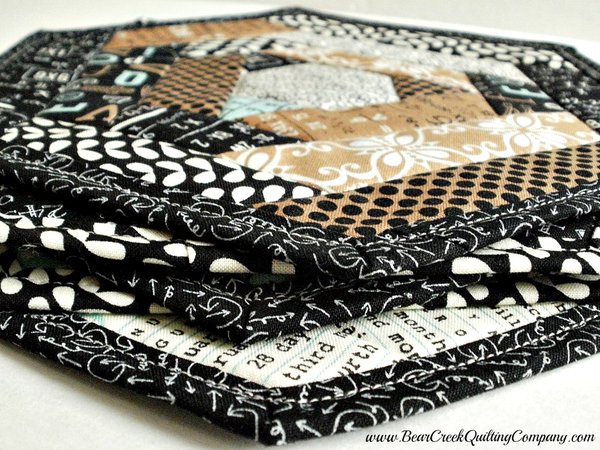 |
| I made up a whole stack of "Textagons", and I think they would make fabulous teacher gifts, for fabulous teachers! |
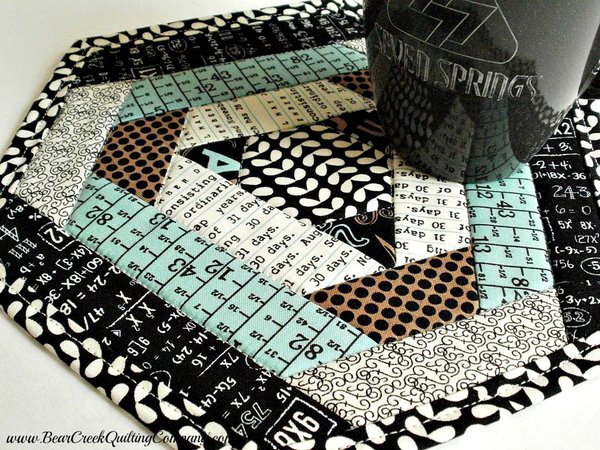 |
| I tried out many variations using the Hexagon Trim Tool video for inspiration and detailed instructions. (You can view the video here.) |
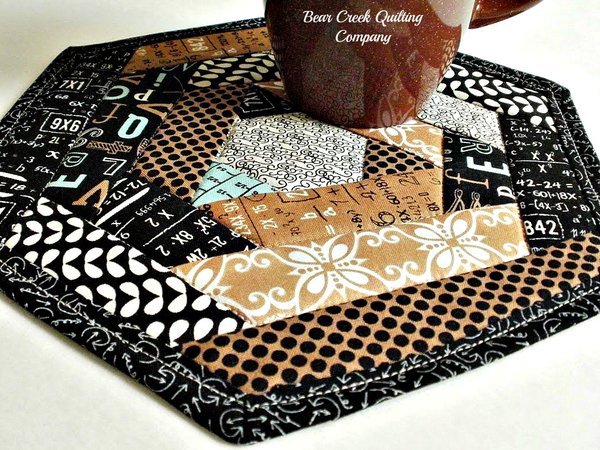 |
| This one was constructed in the same way, but with many different scraps for each round. I think it's my favorite one. |
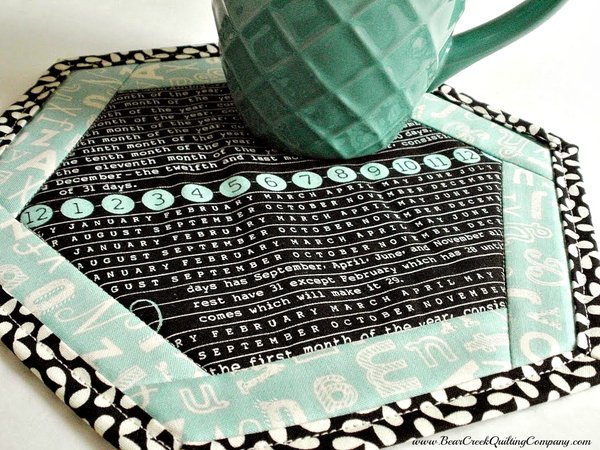 |
| Some of the easiest variations were still very impressive, I think. (I chose words and letters...perfect for an English teacher.) |
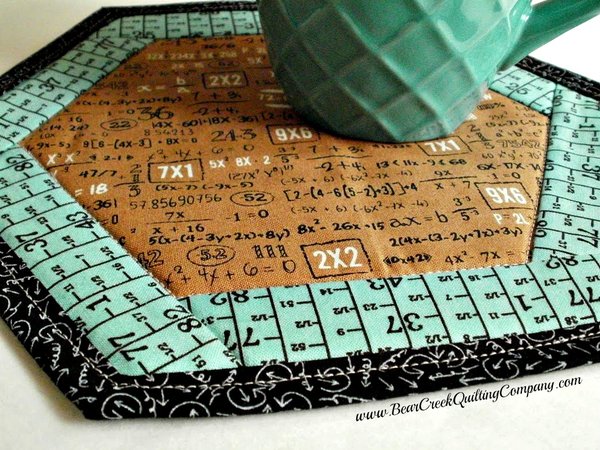 |
| This one was made the same way, but looks totally different in different prints! (This one would work for a Math teacher, right?) |
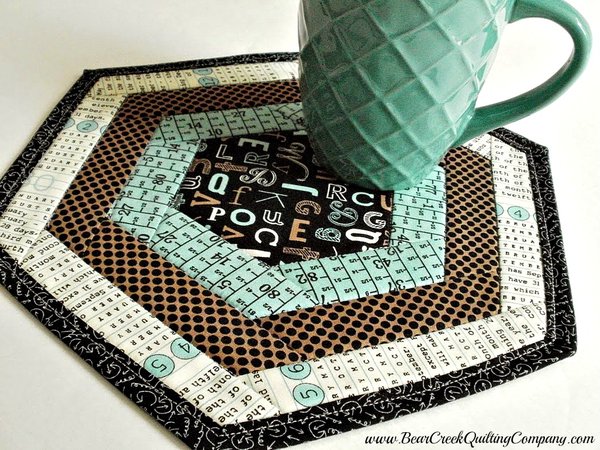 |
| I added an extra round, making this one larger. It would be a nice hot pad for a teapot. |
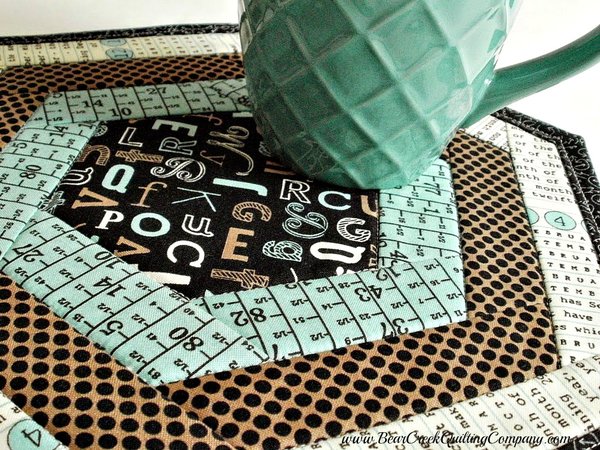 |
| Here it is, up close and personal. |
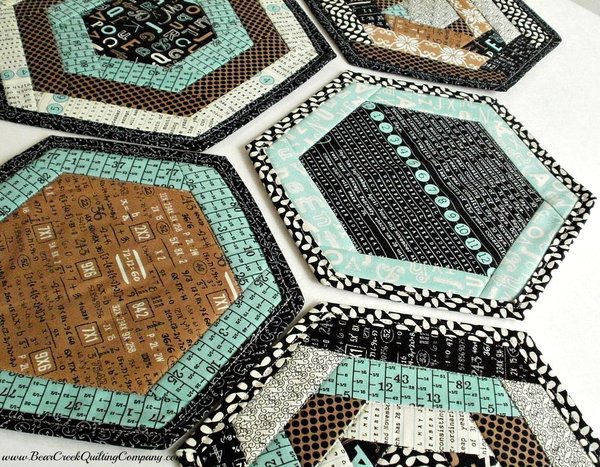 |
| One last look at the Elementary "Textagon" collection. I hope they'll inspire you to try making "Textagon" Mug Rugs! |
 |
| I still have plenty of fabric left from my Elementary fat quarter bundle, so stop by again for Part 3 for another project that's just perfect for back-to-school season and beyond. |
 |
 |
| "Textagon" Mug Rug Tutorial was designed and created for Bear Creek Quilting Company by Amy from Amy Made That by eamylove. |
| Fabric used in this tutorial is from Elementary by Sweetwater for Moda. |
| Do you love free fabric? Do you love to teach? Want to be a contributor on our blog? Send us an email at web@bearcreekquiltingcompany.com to get started! |


Comments