Posted by Shari on October 19th, 2014
| Creative Grids Hexagon Trim Tool |
| Hello, Friends...It's Amy from Amy Made That! and I'm delighted to be your guest blogger today with a fun product review. Allow me to introduce you to my new favorite sewing tool...the Hexagon Trim Tool from Creative Grids! |
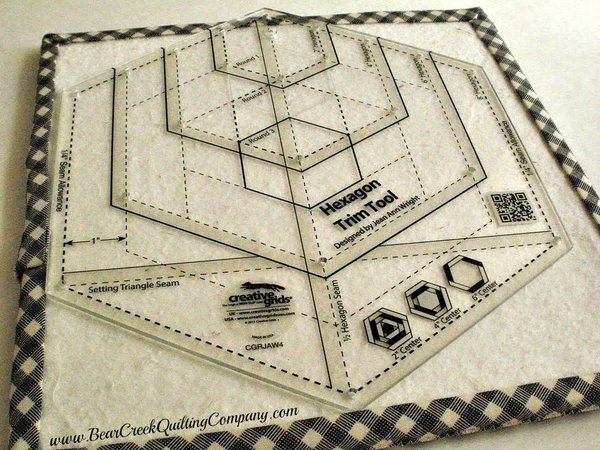 |
| If you've visited my blog, you'll know that I've got a "thing" for hexagons. When I watched the video from Creative Grids, showing just a few "hexagon things" you can do with this ruler, I knew just had to try it out. (You can find the Creative Grids Hexagon Trim Tool and video here.) |
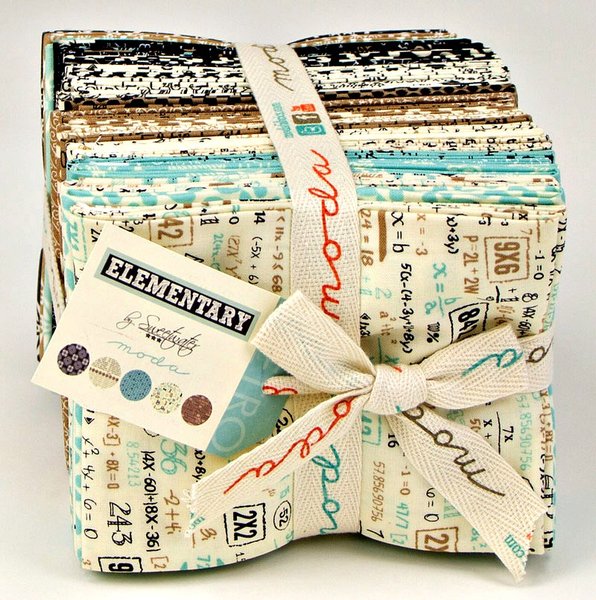 |
| I started with a bundle of fat quarters, in the awesome new line called Elementary by Sweetwater for Moda. You could use any fabrics that have great colors, contrast and interest, such as small prints or text. (Oh.Cool. This line has ALL of that!) |
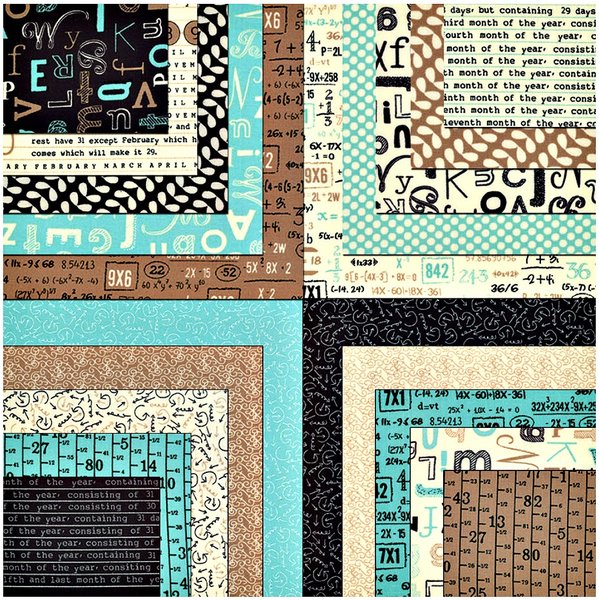 |
| I cut about 20 strips from the bundle, measuring 1 3/4" x 22" or so. I cut at least 2 strips from each print that I used. |
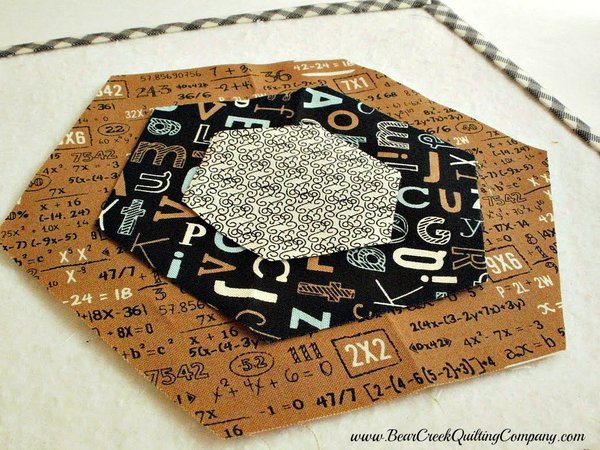 |
| I cut some pieces of fabric for the center hexagons, in 2", 4" and 6" sizes, using the ruler. I wanted to test a few variations, so I used all of these sizes, for different blocks. (Those are the "finished" measurements...they are cut 1/2" larger.) |
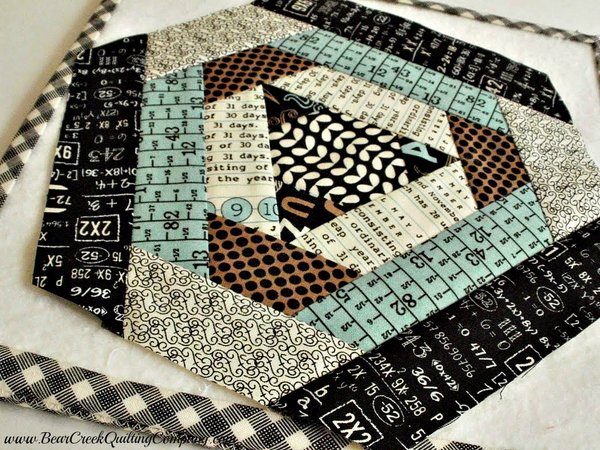 |
| The first method I tested was for the "Pineapple Hexagon" described in the video tutorial at 4 min 20 seconds. Here's the sweet block that appeared at the end, just by following those easy instructions. (I just chose my favorite fabrics and added them to every other side, in rounds.) |
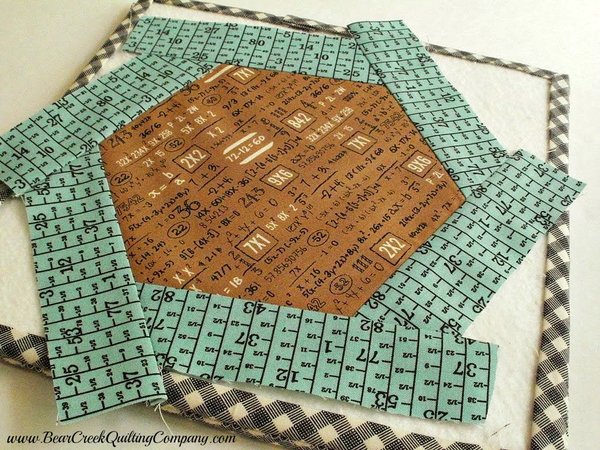 |
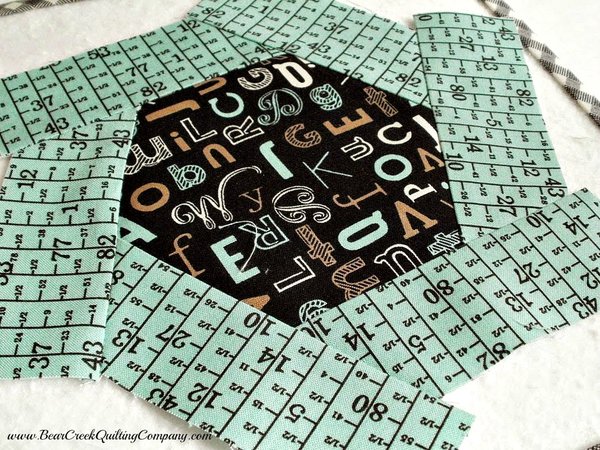
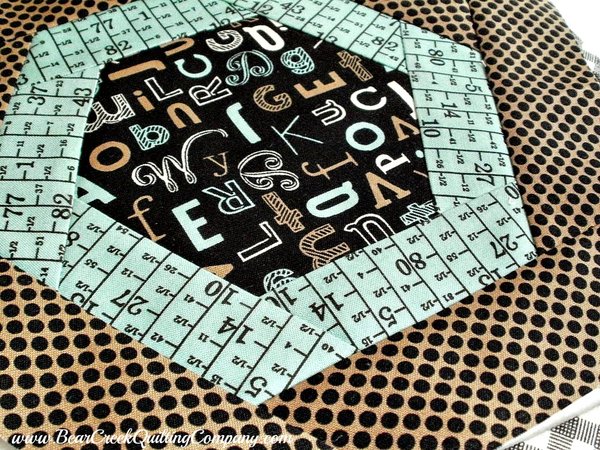
| For the next block, I decided to simply add a border to a large block. I used the partial seam technique that I learned in the Creative Grids video at 1 minute. Here's how it looked after adding the strips. |
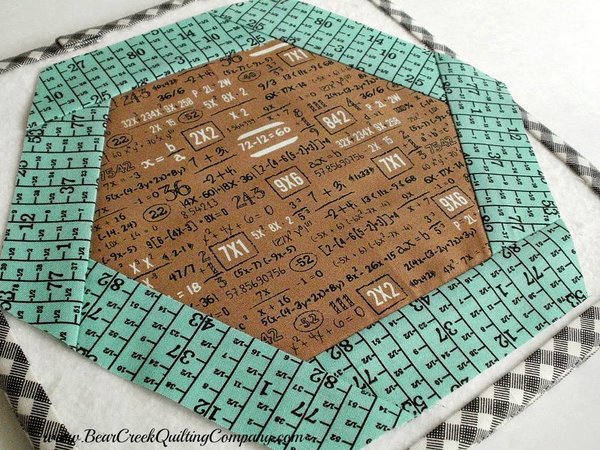 |
| After trimming, it really looks fabulous! |
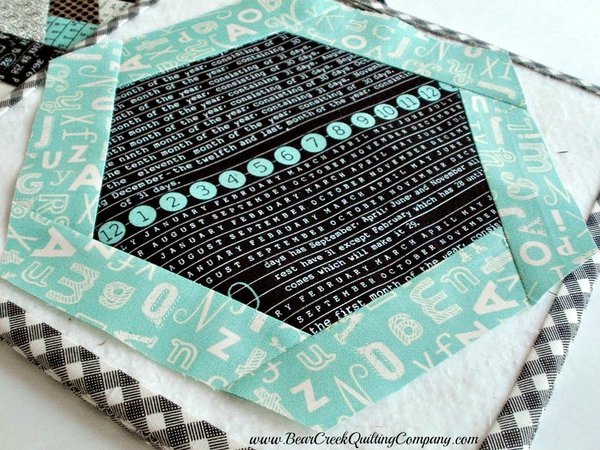 |
| This one was really quick to make...so I made another one! It was fun to fussy cut a big chunk of text print. |
 |
| I noticed a great quilt in the background of the video, starting at about 7 minutes 50 seconds, and I decided to add several rounds to a 4" finished center hexagon. |
 |
| So far, so good. I trimmed it and added the next round. What a dramatic change in the look! |
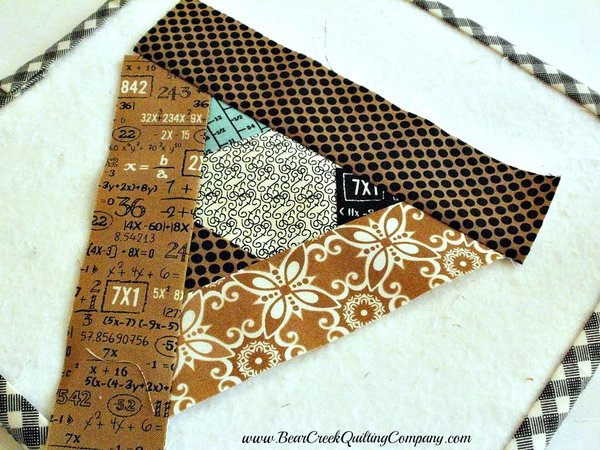 |
| I made one more Pineapple Hexagon, this time using random strips for a scrappy look. Have you ever tried paper piecing? The technique used with this ruler is similar, I think, because you add strips to existing shapes, then trim them into the final hexagon shape. |
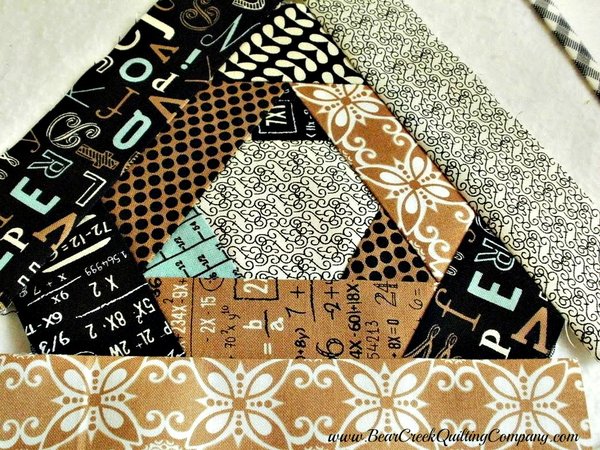
| The first step was to add a strip to every other side of a center hexagon...this one was only 2" finished. The next three strips were stitched to the remaining three sides. At this stage it really looks like a triangle, not a hexagon at all! |
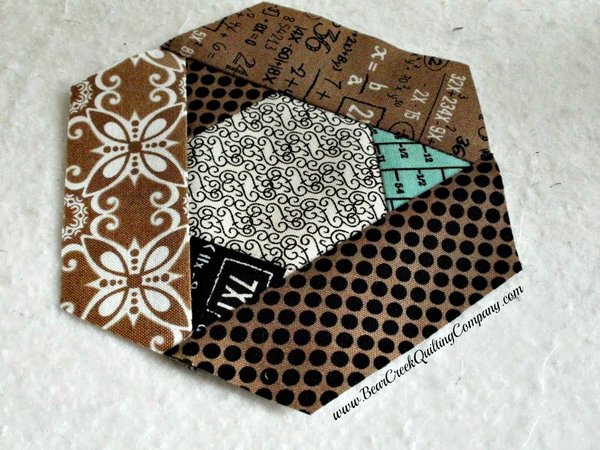 |
| I picked up the Hexagon Trim Tool and magically the block was turned into a hexagon! |
 |
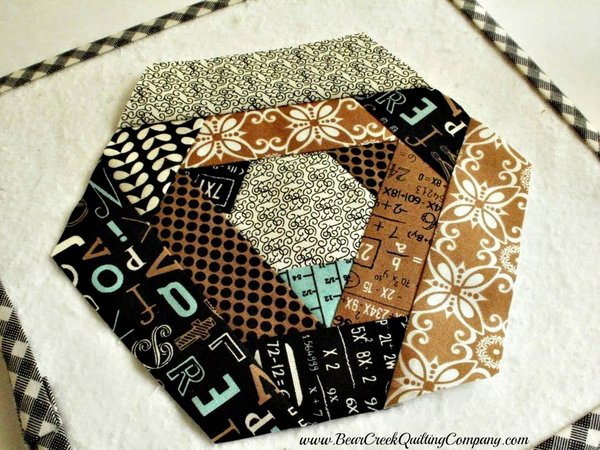
| The same steps were repeated for another round. I added the first three strips, to every other side. Now I filled in the remaining three sides... |
 |
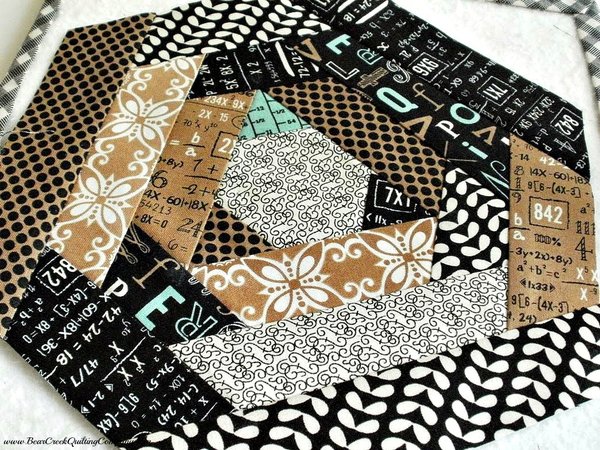
| ...and the larger hexagon shape was created after trimming. |
 |
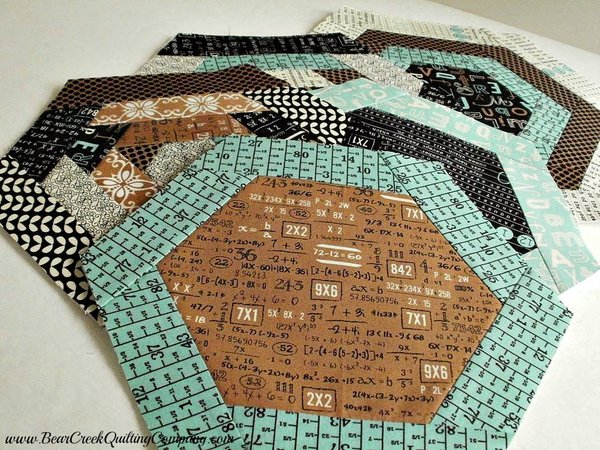
| Here's how it looked after the third round. |
 |
| So THAT was fun! Won't you stop by again soon for Part 2? I'm going to share a tutorial for making "Textagon" Mug Rugs using these fun blocks! |
 |
 |
| Creative Grids Hexagon Trim Tool post was designed and created for Bear Creek Quilting Company by Amy from Amy Made That by eamylove. |
| Fabric used in this tutorial is from Elementary by Sweetwater for Moda. |
| Do you love free fabric? Do you love to teach? Want to be a contributor on our blog? Send us an email at web@bearcreekquiltingcompany.com to get started! |


Comments