Summertime Pouches
Hello again! It's Amy here and I'm guest posting from Amy Made That!...by eamylove, offering up some fun ideas for making summertime pouches. Soon we'll be waving the flag in celebration of Labor Day, and these zippered pouches will look great with any red, white and blue outfit!
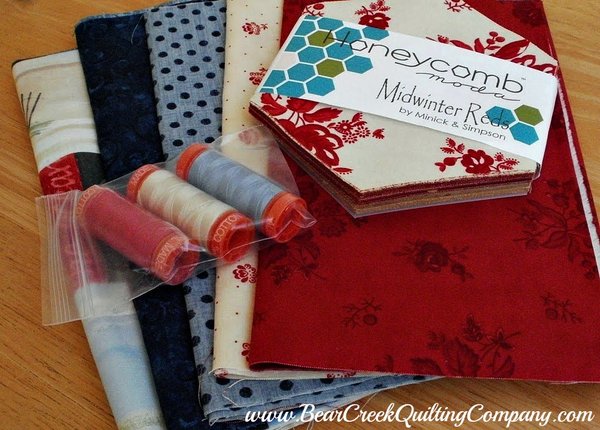
When I whipped these up, I truly didn't use a pattern or any particular tutorial. I honestly just used my imagination plus these pretty fabrics and threads...
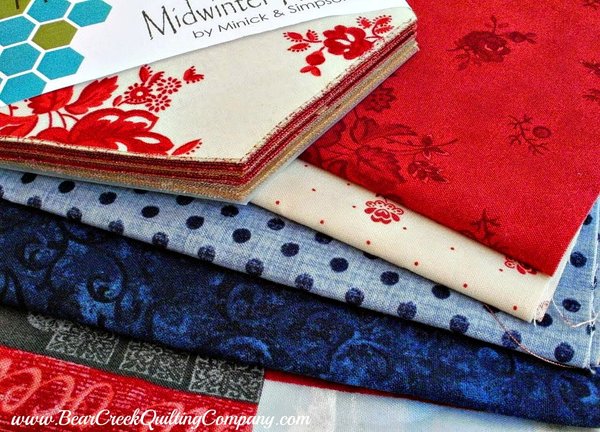
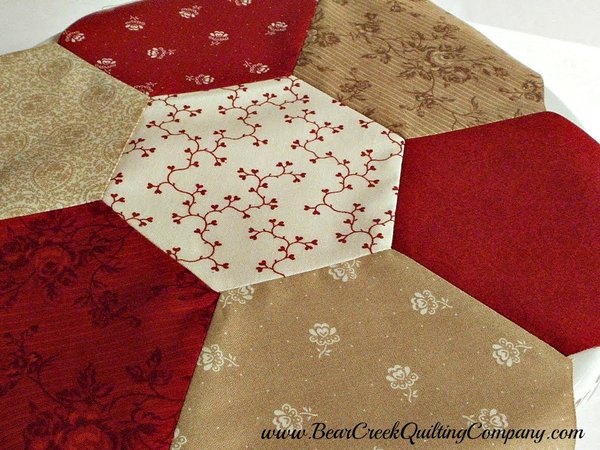
Shari from Bear Creek Quilting Company used her imagination, too, when she pulled together those beautiful tonals, dots, and even a collage print, to go with the Midwinter Reds honeycomb pack.
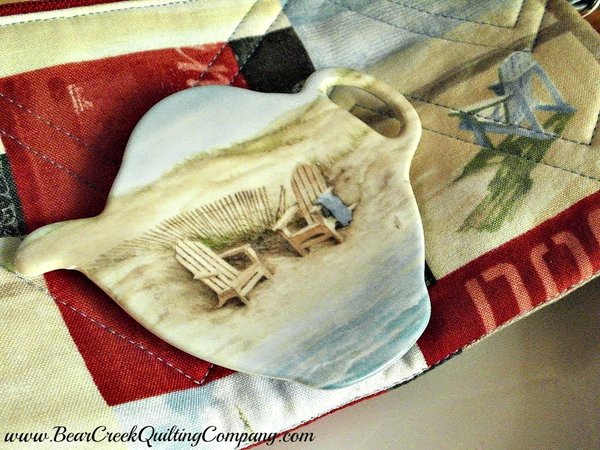
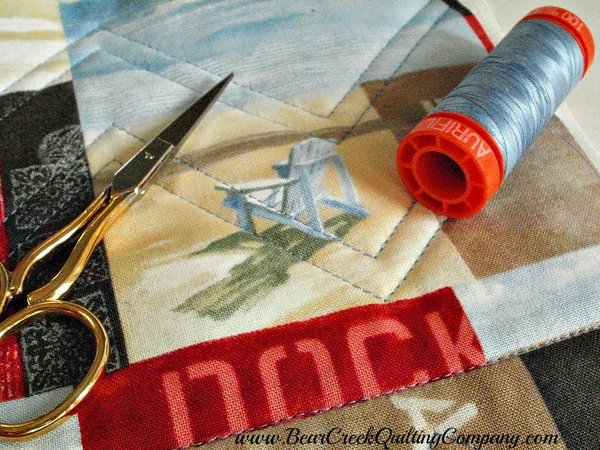
They were just so inspiring...the beachy collage print is from Coastal Breeze by Paul Brento for Moda.
{I just happened to have a little teabag holder that matches it perfectly!}
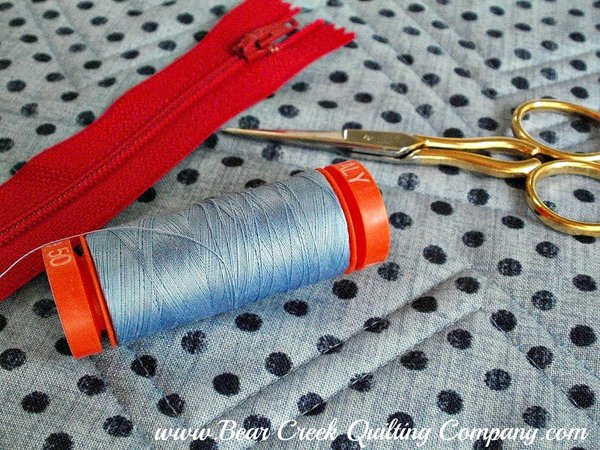
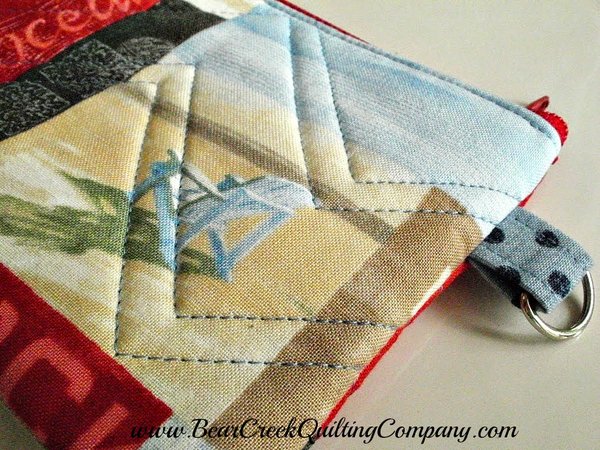
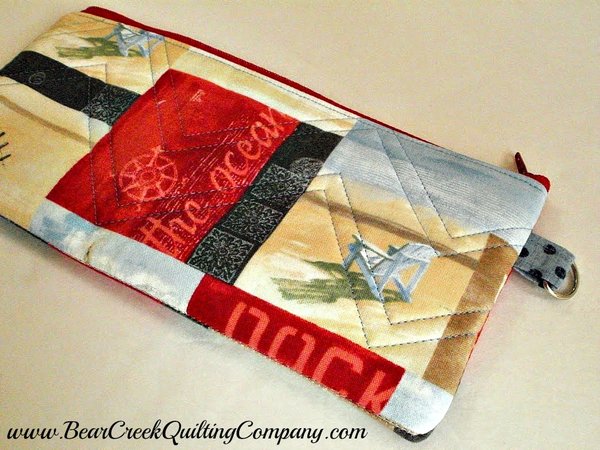
Since this collage print is directional, I split the main outer piece, then restitched it, so it would end up being right-sides-up on both the front and back. I used Pellon 987F fusible fleece as my "batting" and the polka dot print for lining. I chose some light blue Aurifil 50-wt thread, and I did a bit of quilting in a chevron design.
Here's the back, which became the interior lining.
{You can see how gorgeous the stitches are on both sides of the quilting, using these 50-wt threads from Aurifil.}
I simply attached that red zipper to the top edges, stitched up the sides while the pouch was still inside out, then zigzagged the raw edges. Oh, yes...I added that little tab with a D-ring, just for fun.
Oh, so simple...and quick. You can use this tutorial from Dog Under My Desk for making quick and easy pouches very similar to mine.
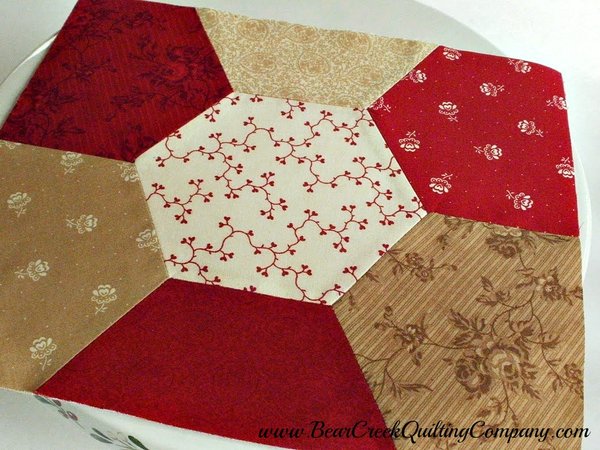
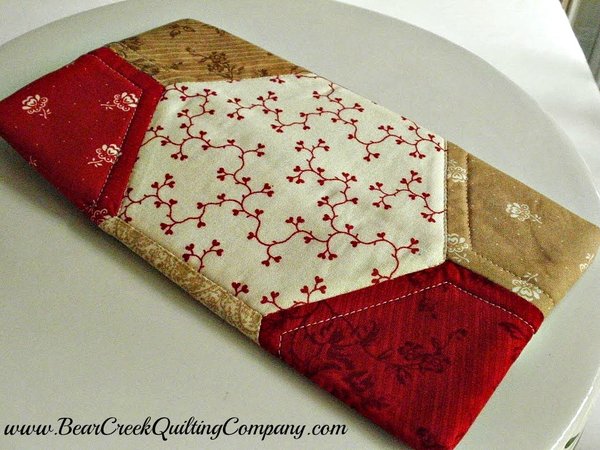
Next I decided to use some of the Midwinter Reds honeycomb hexies to create another quick pouch.
I began with 7 hexies, stitched into a pleasing design.
I trimmed the patchwork to about 9 1/2" x 11".
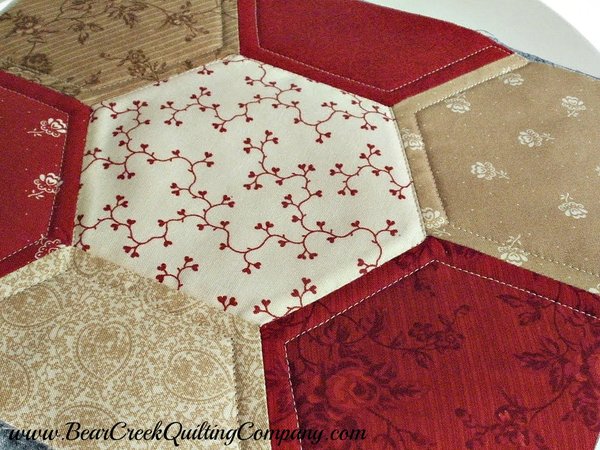
After making my quilt sandwich with the patchwork, Pellon 987F fusible fleece and lining, I stitched in the ditch of the center hexagon, and 1/4" from the seams of all of the other hexies.
I love the design it created...this time stitched in cream Aurifil thread.
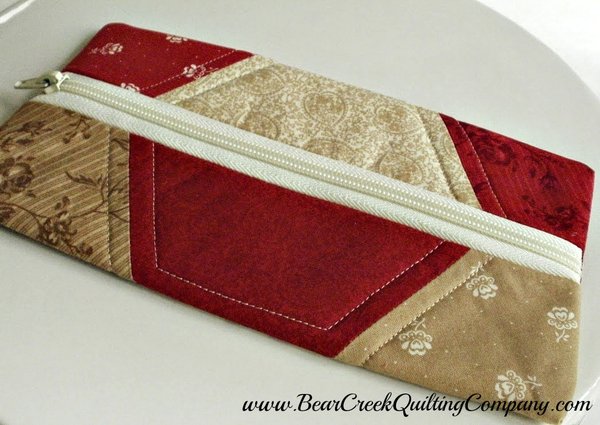
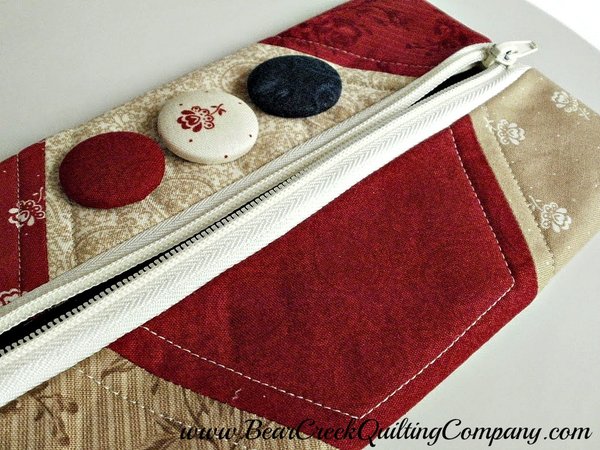
I squared up the quilted fabric to about 9 1/2" x 9 1/2". I finished off this bag in the same way as before, but this time I centered the zipper on the front of the bag.
Here's how it looks on the back!
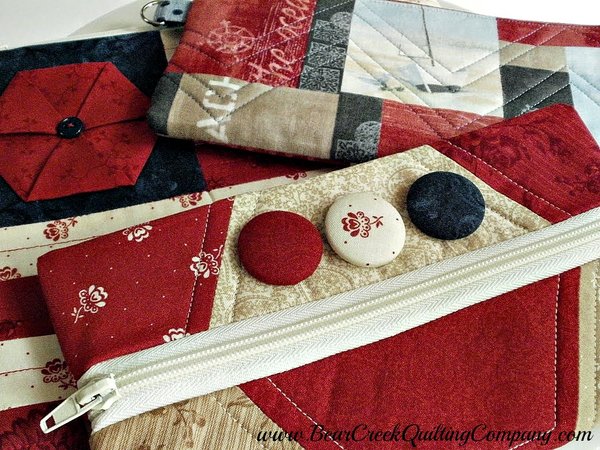
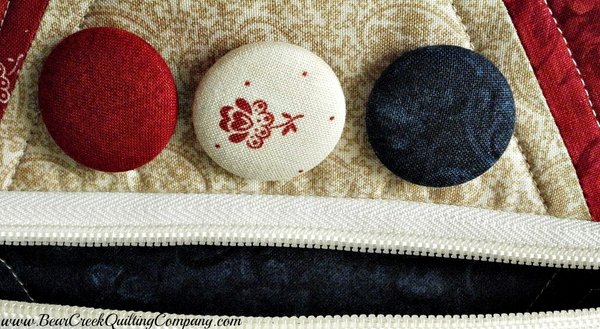
It looked "nice"...but I liked it even more when I'd added these covered buttons.
{Red...white...and blue!}
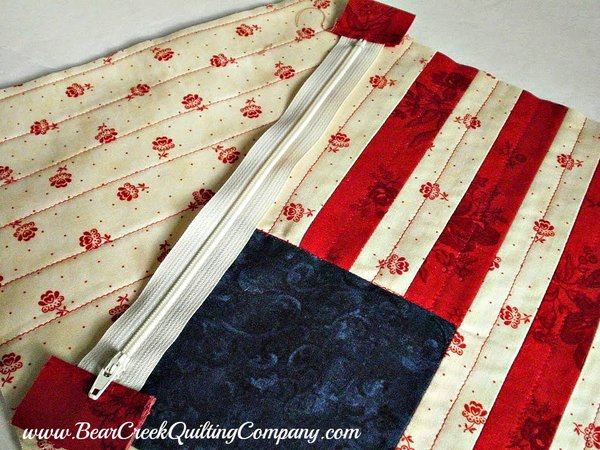
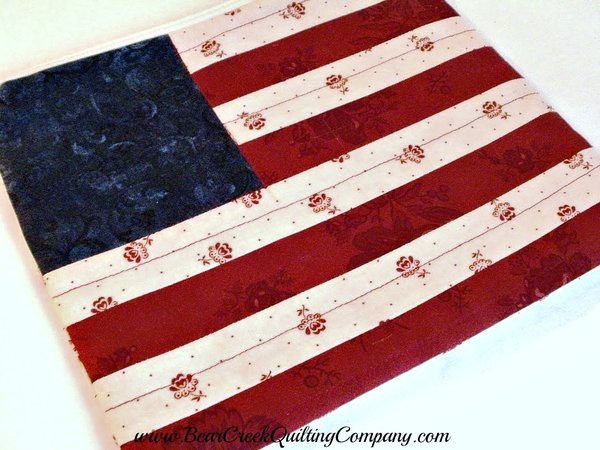
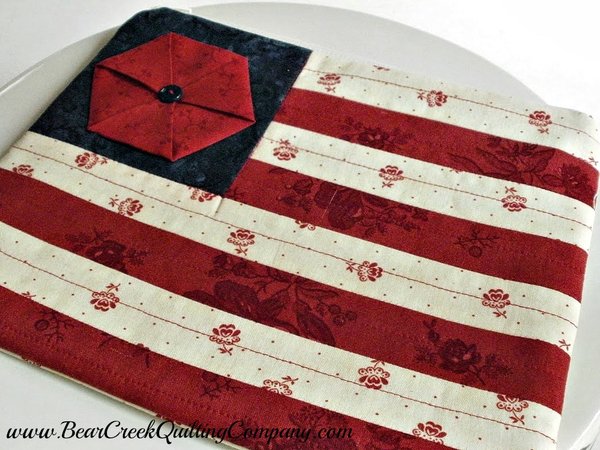
For my third pouch, I was inspired by Old Glory herself, and decided to create a Flag Pouch.
I started with 4 red and 4 cream fabric strips, cut 1 1/2" wide x 12" long. I pieced them into 2 strip sets. I cut one of the strip sets to 4 1/2" x 8" and added a 4 1/2" square of blue for the field. All I had to do was stitch this strip to the other strip set, and a flag was born.
I fused some more Pellon 987F to the back of the patchwork, and then added some quilting using my red Aurafil 50-wt thread...brilliant!
{For this pouch, I did not include the lining fabric for the quilting step...you'll see why later!}
I made a quilted backing piece, using this creamy Midwinter Reds print. It was about 9" x 12" before quilting.
{Don't let the name Midwinter Reds fool you...this line looks great in summertime, too!}
My cream zipper was a bit short, so I just added some red fabric tabs to the ends. This time I used a different technique for making my pouch, similar to this tutorial and many others you can find by searching the internet for zippered pouch tutorials.
After attaching the zipper, I stitched the lining pieces together, and the outer quilted pieces together. This way there are no raw edges in the interior of the finished pouch.
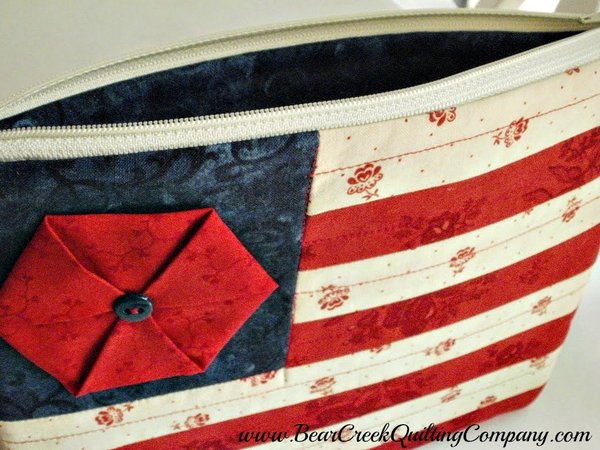
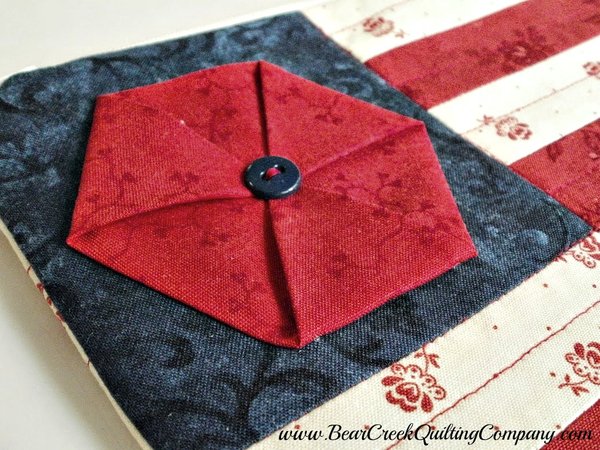
The finished bag was "nice", but I had one more honeycomb trick up my sleeve...a hexie flower, simply pressed into place, then finished off with a button.
Here's a view of the navy blue lining...
To make the hexie flower, just fold every other point of a hexagon to the center, pressing in place to form a triangle. Then fold each point of the triangle to the center, pressing in place again.
I tacked the flower onto the finished bag, with a few stitches under each folded flap. The button hides the points and adds a decorative touch, too!
I hope you'll find some inspiring red, white and blue prints to make something this summer!
Thanks for stopping by and checking out my tutorial!
♥♥♥♥♥
Patriotic Summertime Pouches were designed and created for us by Amy of Amy Made That!...by eamylove
Fabric used in this tutorial is from Coastal Breeze by Paul Brent for Moda and Midwinter Reds by Minick & Simpson for Moda and Indigo Nature by Daphne for Wilmington Prints.



Comments