Posted by Shari on March 30th, 2014
Scrappy Pincushions Tutorial
We are pleased to introduce our new blog contributor, Amy DeCesare! Follow along as Amy shares a cute new tutorial, just for you.
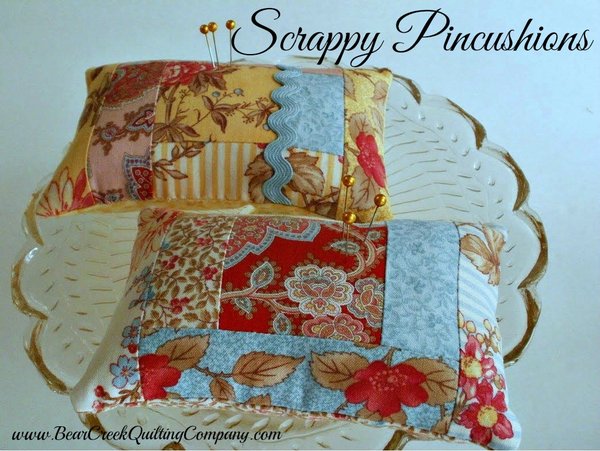
Hello to new readers and longtime friends! I'm Amy DeCesare, and I blog over at "Amy Made That!...by eamylove." I just love making pincushions, among other things, so I thought I'd share a scrappy pincushion tutorial!
Today I'm using a beautiful fabric line called Lario...by 3 Sisters for Moda. I started with a jelly roll and two 1/2 yard cuts from the same collection.
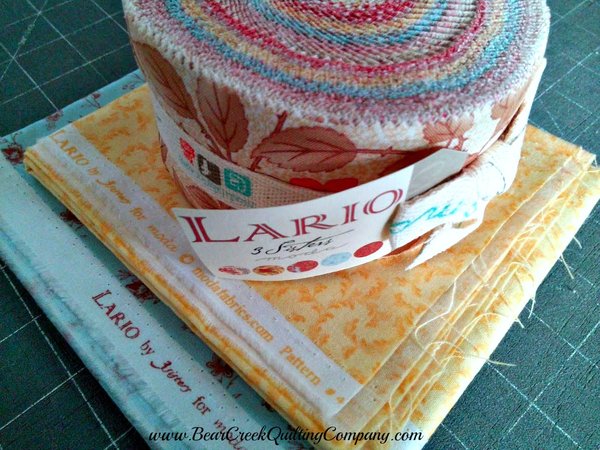
Because the jelly roll strips are 2 1/2" x 40", I knew they would make wonderful scrappy pincushions.
{The yardage gave me some selvages for extra details and also works nicely for backing.}
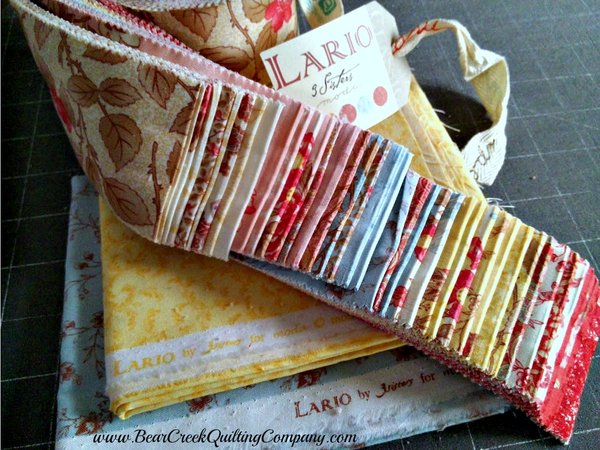
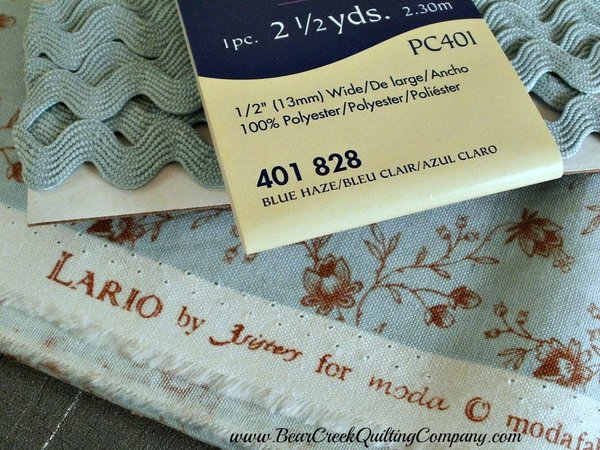
I also found a package of medium ricrac that was a perfect match for the Lario line!
{Blue Haze...what a fabulous name for a color shade!}
For the Scrappy Pincushion Front:
Begin with a 2 1/2" square for the center. I chose a variety of strips that I liked together, and from those I cut more strips:
Begin with a 2 1/2" square for the center. I chose a variety of strips that I liked together, and from those I cut more strips:
(1) 1 1/2" x 2 1/2"
(2) 1 1/2" x 3 1/2"
(3) 1 1/2" x 4 1/2"
Here is a sample photo,showing the order in which the strips are pieced together. Refer to it as you go.
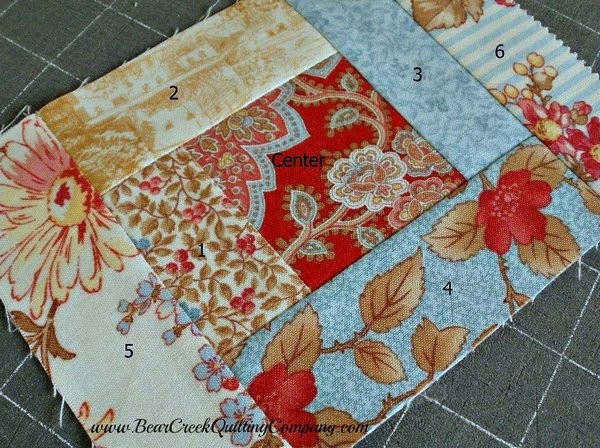
Start with the center square, and stitch the 1 1/2" x 2 1/2" strip to one edge, (#1 in the diagram), wrong sides together, with a scant 1/4" seam. Press seam to one side.
Add the first 1 1/2" x 3 1/2" strip (#2 in the diagram) to the strip section you have just pieced. Press seam to one side.
Add another 1 1/2" x 3 1/2" strip to the unit, (#3 in the diagram) next to the center square, so that you are working counterclockwise around the center. Press seam to one side.
Add a 1 1/2" x 4 1/2" strip (#4 in the diagram) to the last side of the center square. Press seam to one side.
There are two remaining strips that measure 1 1/2" x 4 1/2", (#5 and #6 in the diagram). Add each to one side of the pieced unit, and press the seams to one side. Your finished unit now measures 4 1/2" x 6 1/2". Trim if necessary.
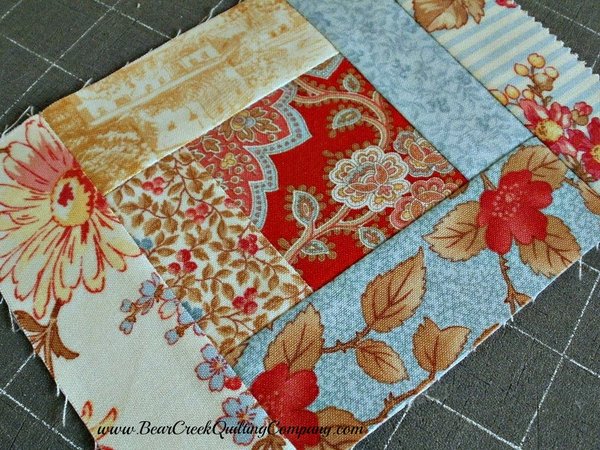
I always use Pellon ShapeFlex SF101 fusible interfacing, to stabilize my pincushions, once the patchwork design is completed. Just fuse a 4 1/2" x 6 1/2" piece of the interfacing to the wrong side of the finished patchwork, following manufacturer's directions.
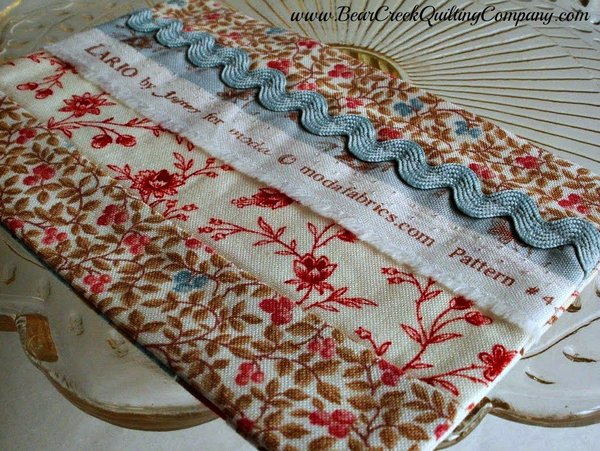
For this particular pincushion, I chose to create a decorative backing, so that the pincushion is actually reversible.
For the Selvage Accent Backing:
Use a piece of selvage that measures 1 1/2" x 7".
Cut (3) 2 1/2" x 7" strips. I chose to cut two of mine from the same jelly roll strip, for the top and bottom sections.
Insert the piece of selvage between the top and middle strips, and stitch together with a scant 1/4" seam. Press the seam to one side, and press the selvage so that it shows as a design detail.
If you desire, add a strip of ricrac, stitching it down across the selvage seam.
{I desired. That ricrac is too cute!}
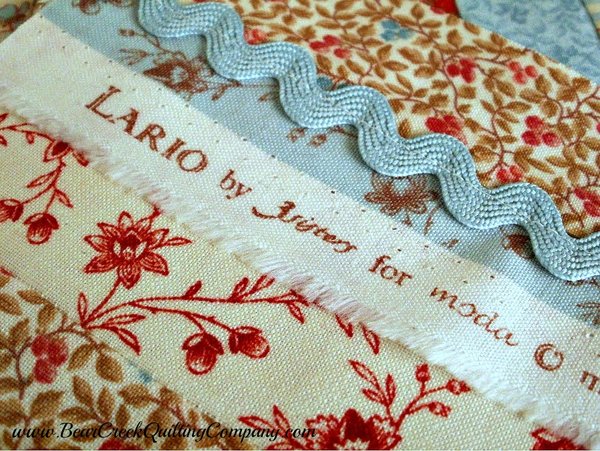
Add the bottom strip in the same fashion. Press the seam to one side. Trim the backing unit to 4 1/2" x 6 1/2", positioning the selvage area so that it is featured.
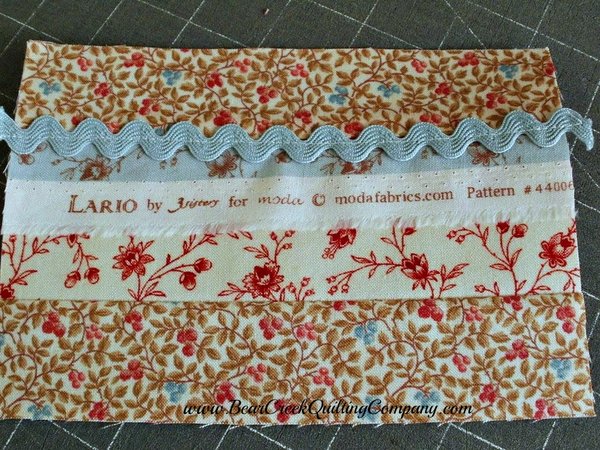
When the backing is done, fuse a piece of ShapeFlex SF101 interfacing to the wrong side of the backing, just as you had done for the other side.
Finishing:
With right sides together, stitch around the outer edge of the pincushion, leaving an opening for turning.
Here is a tip for stitching the edges for projects that will be turned and stuffed:
I always backstitch a tiny (1/4") seam that goes from the opening to the edge of the fabric, as shown in this photo.
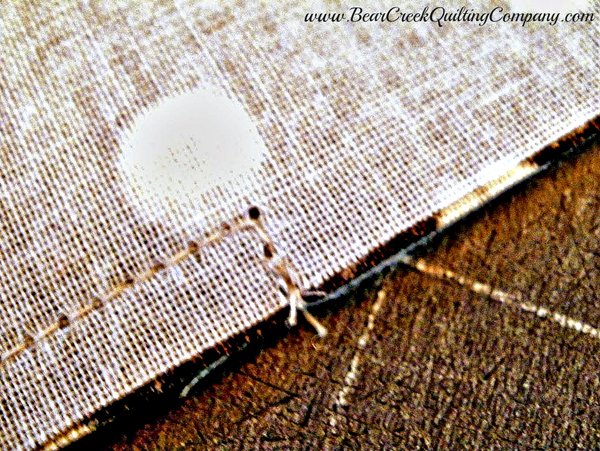
Trim the corners and turn the pincushion right-side-out. Press well. This is one of those finishing touches that will really give your project a professional look!
Stuff the pincushion using your favorite filling. I love a pudgy pinnie, crammed with polyfil. You can try crushed walnuts, too, for a wonderful weighty feel!
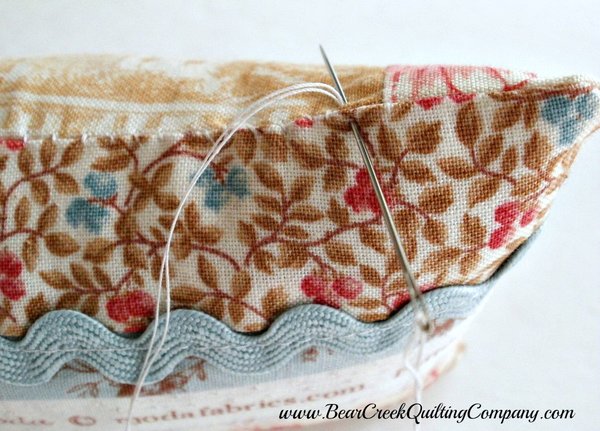
Once you've added enough stuffing, you'll need to hand stitch the opening closed, using a matching shade of doubled thread, as shown. The stitches may show a bit, but if you keep them neat, that's okay!
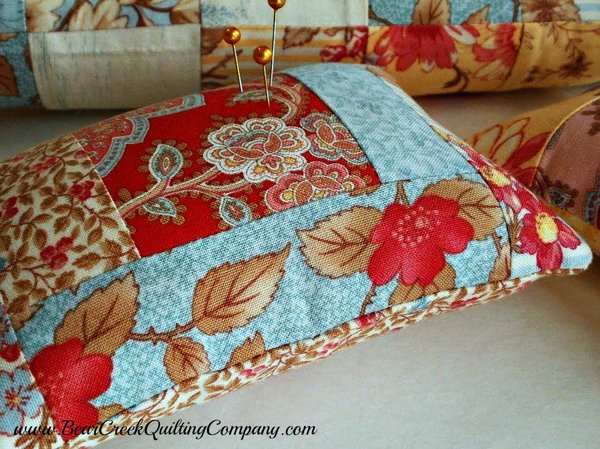
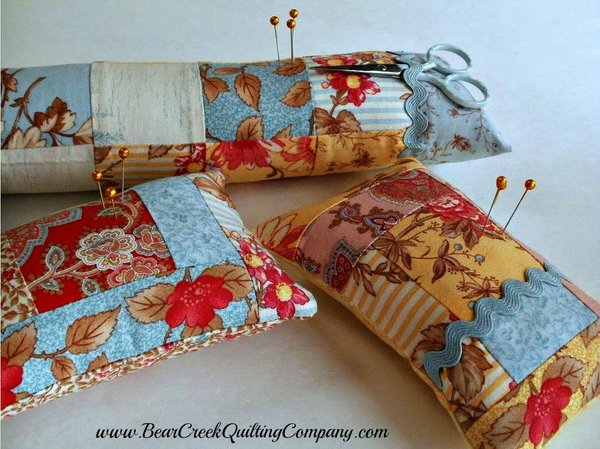
Now add a few pretty pins and admire your fresh new pinnie! These make lovely gifts for moms and friends who like to sew.
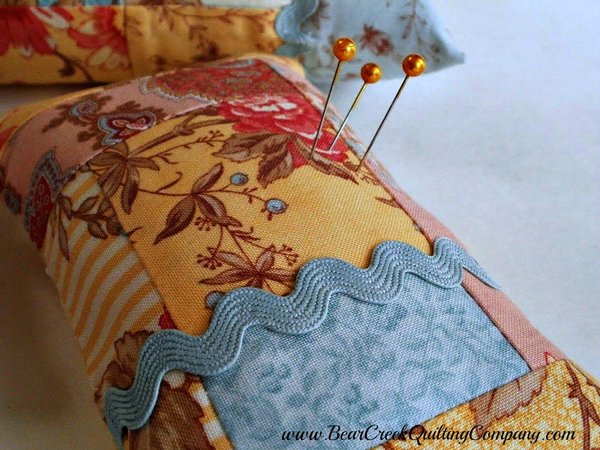
I had to laugh when I saw how much of my jelly roll and yardage remained, after making my pinnie! That's a GOOD thing...I made another pinnie right away!
This time, I used the same technique to create the patchwork design for the front, finishing at 4 1/2" x 6 1/2". I had some more of that lovely Blue Haze ricrac, and I basted it in place in the seamline, just over one side of the center square.
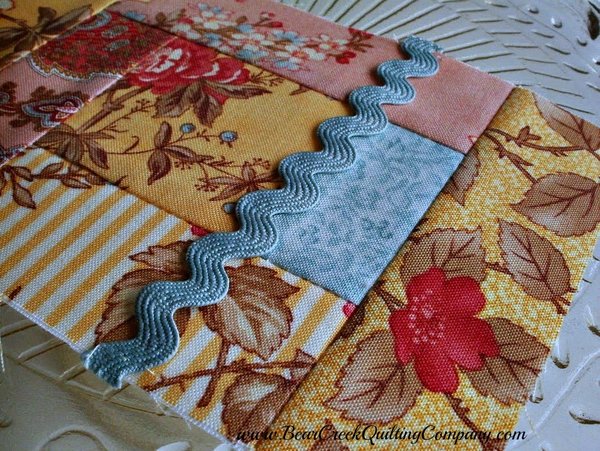
It's not stitched down, as I had done for the backing. This way, it can be used for holding a little pair of scissors!
{Yes, my little scissors are Blue Haze colored!}
{Yes, my little scissors are Blue Haze colored!}
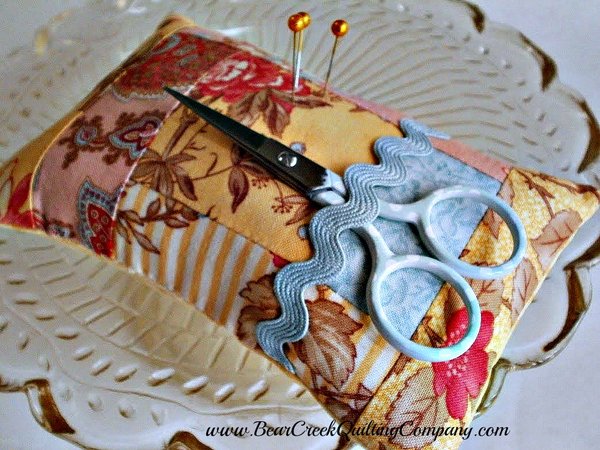
For the backing I just used a 4 1/2" x 6 1/2" piece of fabric from my yardage. I still added the ShapeFlex SF101 for stability.
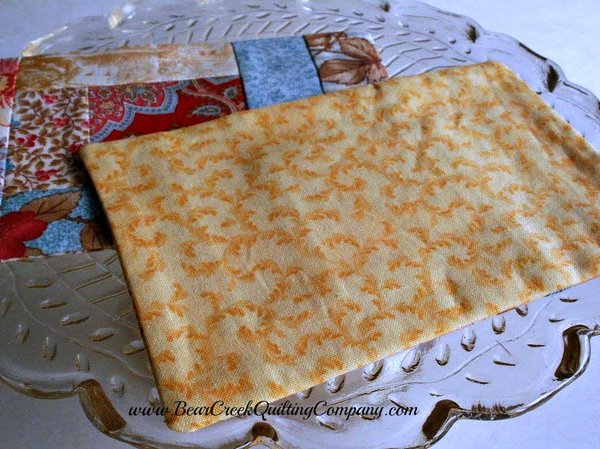
If you use your imagination...and a pretty jelly roll...you can make all sorts of patchwork pinnies!

Stop by my blog soon to find out what else I make from this lovely pile of Lario!

♥♥♥♥♥
Scrappy Pincushions were designed and created for us by Amy of Amy Made That!...by eamylove
Fabric used in this tutorial is from Lario by 3 Sisters for Moda.
Do you love free fabric? Do you love to teach? Want to be a contributor on our blog? Send us an email at web@bearcreekquiltingcompany.com to get started!



Comments