Posted by Shari on March 26th, 2016
| Bunny Garden Table Topper Tutorial |
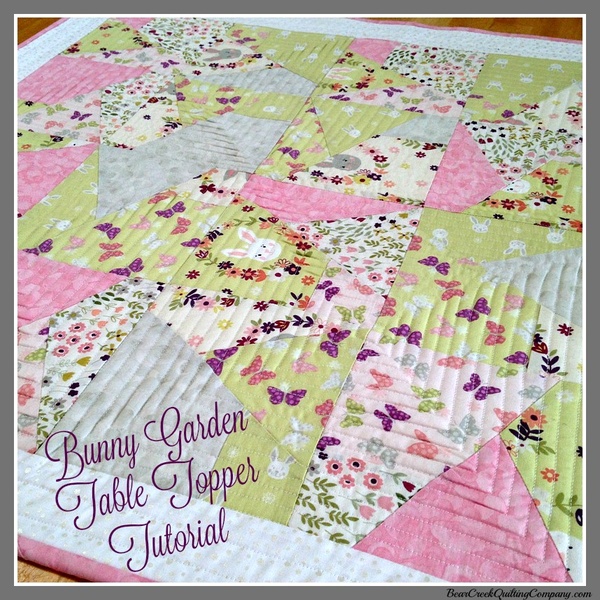
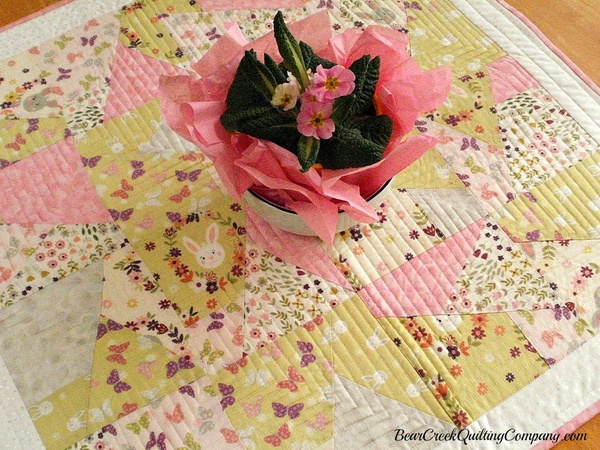
| Hello, Friends! I'm Amy DeCesare from the blog called "Amy Made That!...by eamylove." Today I'm here to share a tutorial for a fresh new Bunny Garden Table Topper, featuring fabrics from Bunny Garden by Lewis and Irene Fabrics. |
 |
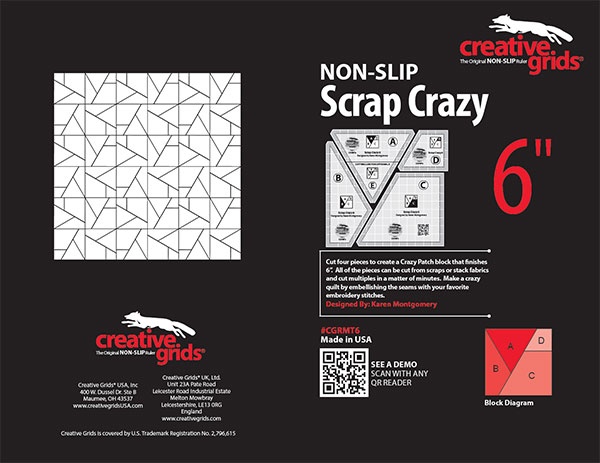
| When I made this project, I used the Scrap Crazy 6-Inch Templates by Creative Grids. |
 |
| Wait a minute...did I just say, "templates"??? On no!! I'm afraid of templates! You know why...they are difficult to cut and easy to mix up. (Raise your hand if you agree.) |
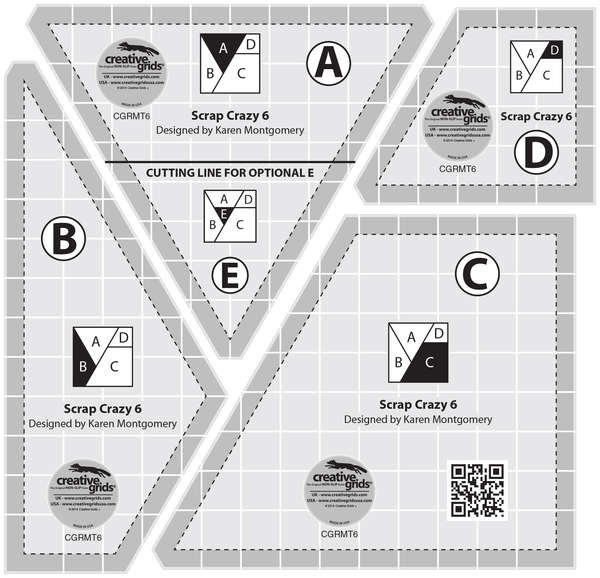 |
| Well, my friends...these templates are not at all like those templates I just described! I.Love.These.Templates! I read the printed instructions and watched this amazing video showing lots of ideas for using this particular template set. (That convinced me this would be fun and easy. Yay!) |
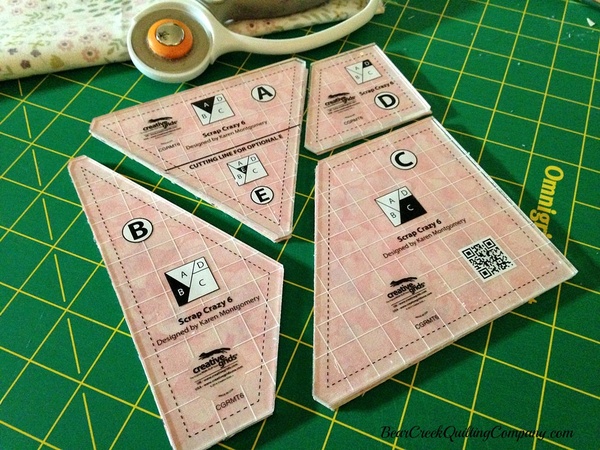 |
| One evening, after a long day at work, I cut all my fabric pieces for my table topper. I love the way these non-slip templates grip the fabric, to make my cuts perfect. I was finished cutting the whole project in no time! Later, when I had time for sewing, the blocks went together lickety-split. |
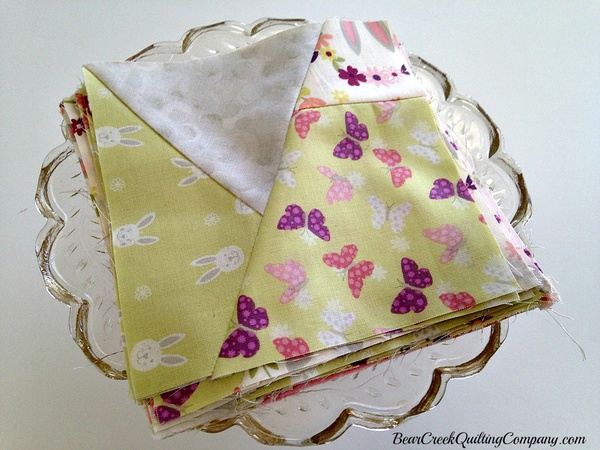 |
| The pieces line up perfectly and there are no seams to match. This would be a great project for a new quilter! |
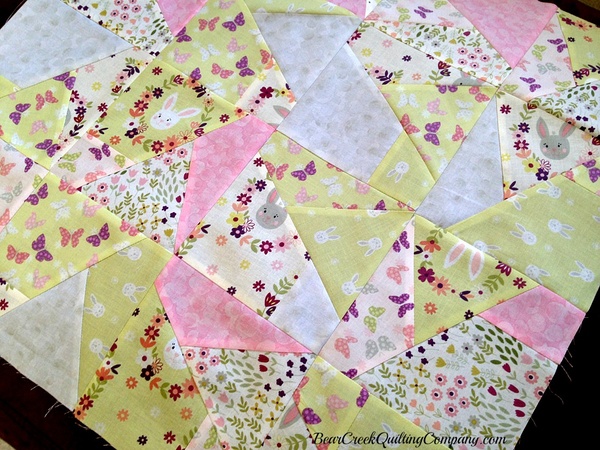 |
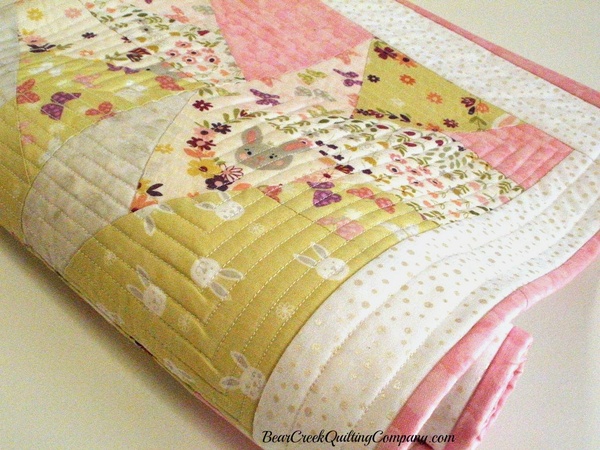
| I bordered the squares with a pretty tonal white fabric, Pearl Essence Dot from Maywood Studio. You have to see this beautiful fabric in person...I think it brought fresh light to these soft colors. |
 |
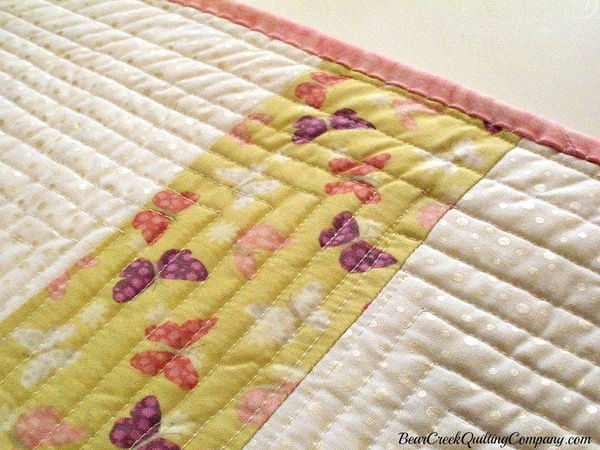
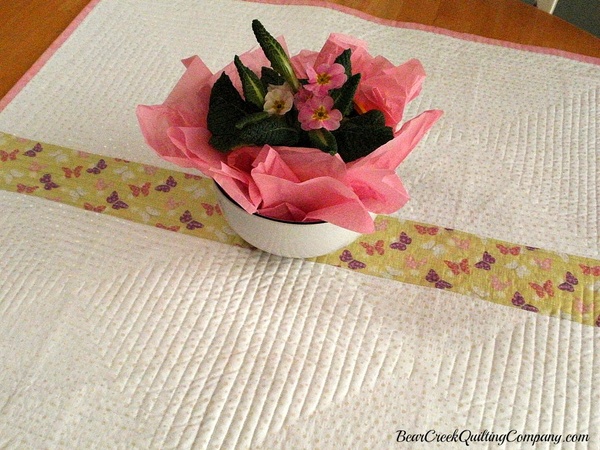
| I didn't have quite enough of the Pearl Essence for the backing, so I added a 3" strip of Bunny Garden Butterflies to the middle of the backing. |
 |
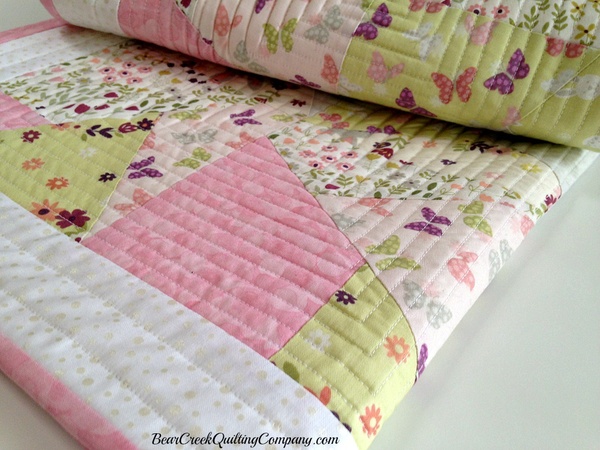
| I quilted this project much more heavily than I usually do with a "straight line" echo quilting. I'm not sure I love it, but I do like it. |
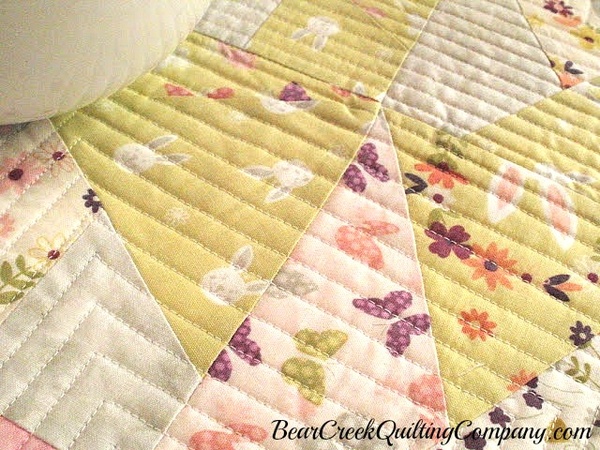 |
| All of that quilting makes the project rather stiff. I pressed it into submission, and it does lie nice and flat, but it gave me a scare at first! |
 |
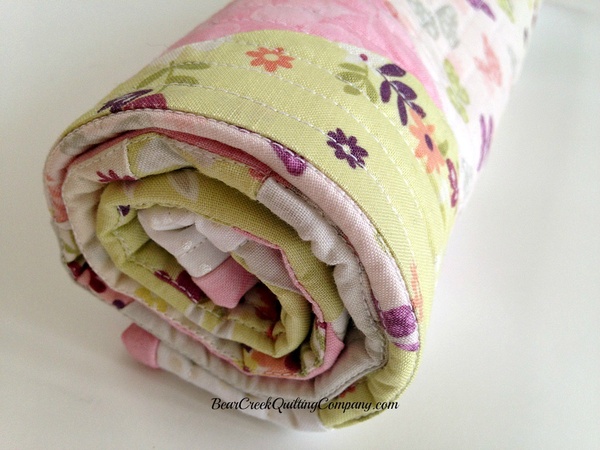
| It belongs on a table, but I really love this rolled up view! Scrumptious...and sweet. These prints are just.so.adorable. |
 |
| I used some Lewis and Irene Bumbleberries blenders in my project, in Cloud (gray) and Light Flamingo (pink). They really look good with the Bunny Garden prints. |
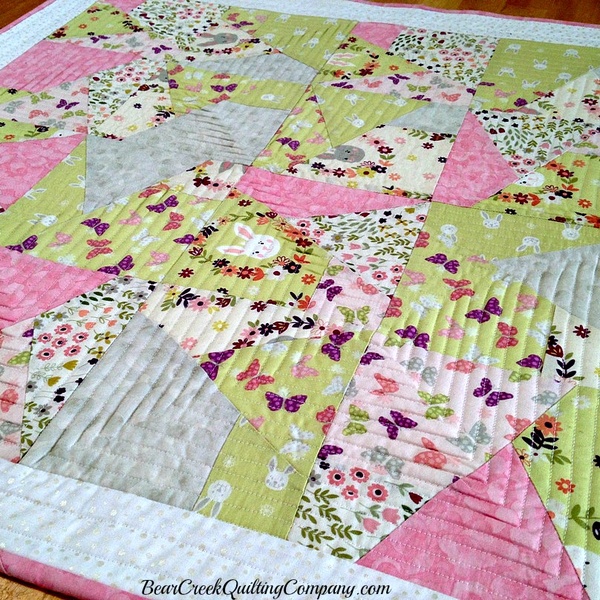 |
| For the binding, I chose Light Flamingo Bumbleberries. |
 |
| And now...I'm pleased to present my tutorial, so you can have fun making a table topper of your own! |
| Bunny Garden Table Topper Finished size: 27" x 27" |
SUPPLIES:
|
| CUTTING: Center Blocks:
TIP: If cutting through more than one layer of folded fabrics, take care to keep the templates cut from the "right side" separate from the "wrong side" cuts. Mark the sets A and B, so they will not get mixed. |
Borders:
|
Binding:
|
Backing:
|
Batting:
|
| STITCHING THE BLOCKS FOR THE CENTER: Assemble the pieces for a total of 16 blocks for sewing, making sure to use four different prints for each block. Position the pieces as they will be sewn, to make sure you have one of each template, cut in the correct direction. Once each block is planned, pin or clip the four pieces together to keep them organized until they are stitched. Keep the sets in order, for chain piecing the blocks. Following the recommended instructions for the template set, first stitch A to B for every block. Then stitch C to D. Finally add the A+B piece to the C+D piece for every block. If necessary, square each block to the same size. My finished blocks measures 6 1/4" square. |
| CREATE THE CENTER OF THE TABLE TOPPER: Arrange the 16 finished blocks in 4 rows of 4 blocks each, until you are satisfied with the layout. Stitch each row. Press seams of rows 1 and 3 toward the end of the row. Press seams of rows 2 and 4 towards the first block of the row. Stitch row 1 to row 2, nesting seams to match them. Stitch row 3 to row 4, nesting seams. Finally stitch the second row to the third row to finish the center. Square the center. Mine measures 23 1/2" by 23 1/2" |
| CREATE THE BORDERS: Measure the center of the patchwork, from top to bottom. Use this measurement to cut (2) side border strips. Stitch one border to the left side of the patchwork, and one border to the right side. Press seams toward the borders. Measure the center of the patchwork, from left to right. Use this measurement to cut (2) top and bottom border strips. Stitch one border to the top edge of the patchwork, and one border to the bottom edge. Press seams toward the borders. (The finished center should now measures about 28" square. Yours may vary, depending on how large the pieced blocks were after squaring them up.) |
| QUILTING: Layer the backing (right side down), the batting, and the quilt top (right side up) and quilt as desired. After quilting, press well and square up the table topper to measure about 27" x 27". |
| FINISHING: Add the binding to finish the table topper, by hand or machine. Enjoy your fresh spring table topper! |
 |
| I invite you to share photos of your own table topper, using #bunnygardentabletopper or #amymadethat on Instagram. Hop on over to my blog for more photos and to see what else I'm making! |
 |
| Hippity Hop, Hippity Hop...Happy Easter! Enter to win a $50 Gift Certificate to our online store: Give-Away is Closed 1. Subscribe to our newsletter (You can subscribe HERE) 2. Leave a comment telling us what kind of sewing machine(s) you have. Details, details-
|
| Bunny Garden Table Topper Tutorial instructions can be printed here. |
| "Bunny Garden Table Topper" Tutorial was designed and created for Bear Creek Quilting Company by Amy from Amy Made That by eamylove. |
| Fabric used in this tutorial is from Bunny Garden by Lewis and Irene Fabrics, Bumbleberries by Lewis and Irene Fabrics and Pearl Essence by Maywood Studio. |



Comments