Posted by Shari on April 26th, 2015
| Airmail Envelope Quilt - Part 3: Piecing the Top |
| Hello and Welcome back! Did you get your 30 blocks created? Now comes the fun part...let's put this quilt together! |
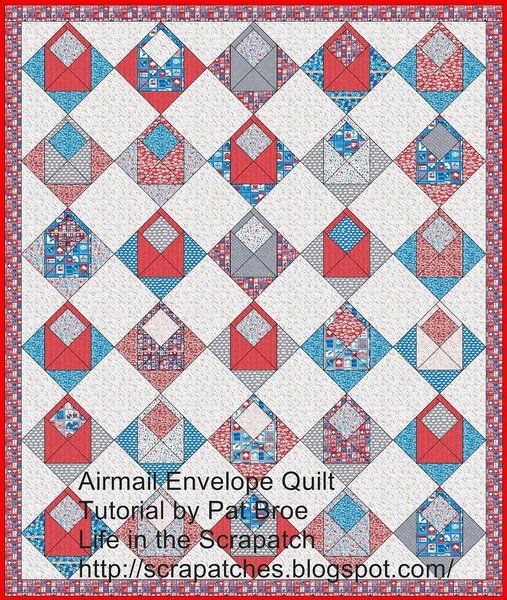 |
| Time to piece the top! You can find Part 1 and Part 2 here. |
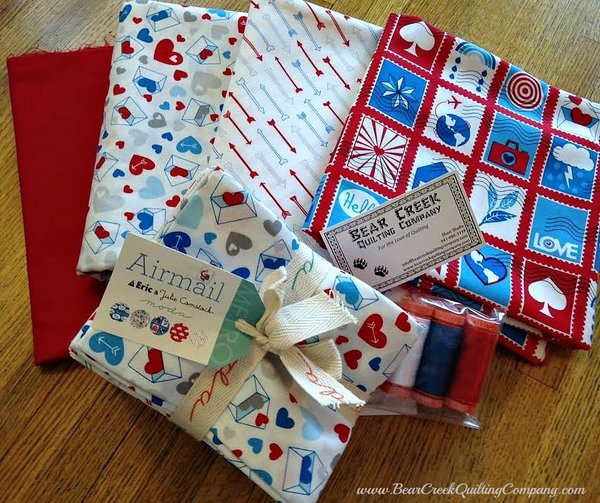 |
| From these lovely Airmail fabrics from Moda Fabrics. |
| Background Fabric: |
| General Cutting Instructions for Background Fabric: |
|
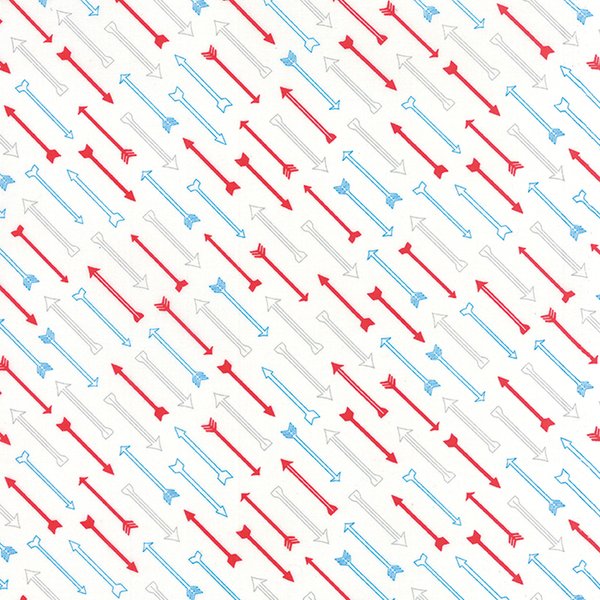 |
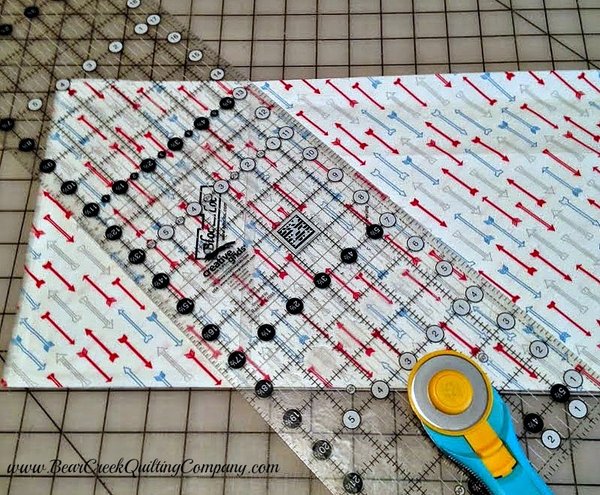
| This is the background fabric I chose for my quilt; Airmail Cupid Arrows Multi. Since this is a directional fabric and my blocks are set on point in my quilt, this took some creative cutting to keep the arrows moving on the diagonal as in the fabric swatch. (These instructions are detailed below in highlighted yellow.) |
| Cutting the Setting Squares from Directional Fabric: |
 |
| I cut 9 1/4 inch width of fabric (WOF) strips to cut my 6 1/2 inch squares... |
 |
| Then I cut my blocks on the diagonal... |
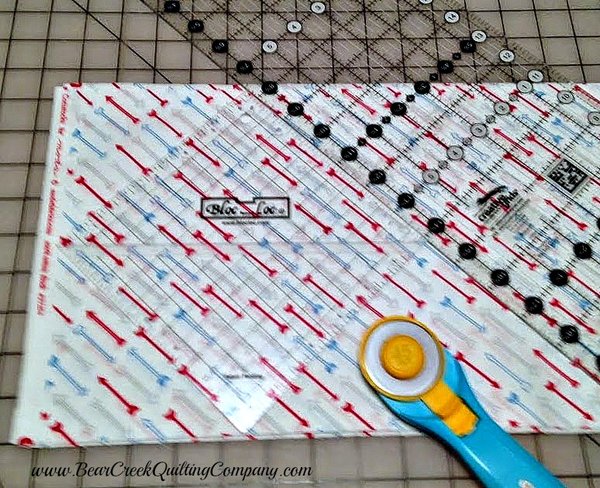 |
| ...as shown. |
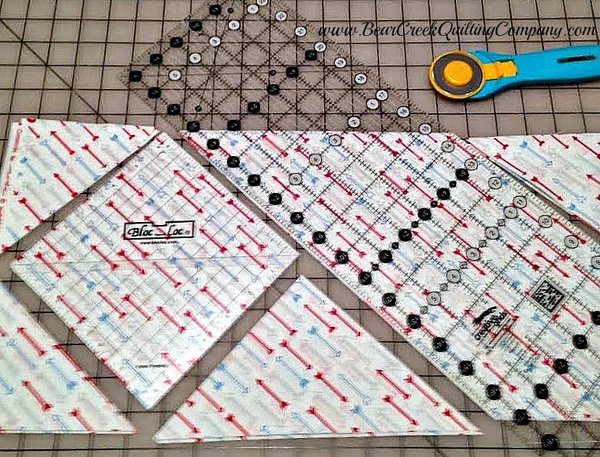 |
| This did yield extra triangles that I saved for another project as they are NOT the correct size for the setting triangles. There are TWENTY - 6 1/2 inch setting squares in this quilt. |
| Cutting the Setting Triangles from Directional Fabric: |
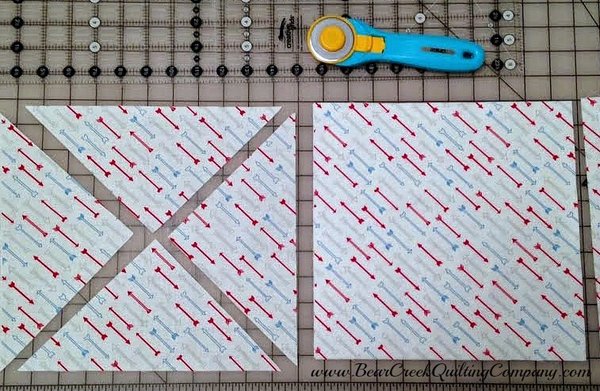 |
| I cut FIVE - 10 inch squares and then cut TWICE on the diagonal as shown. I had TWO extra triangles. There are EIGHTEEN setting triangles in this quilt. |
| Cutting the Corner Triangles from Directional Fabric: |
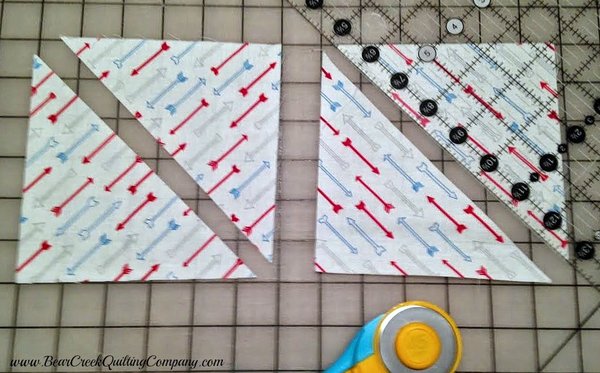 |
| Cut TWO - 5 1/2 inch squares and cut ONCE on the diagonal. There are FOUR corner triangles in this quilt. |
| Note how these are cut in opposite directions. This allows the arrows in the corners to point in the same direction as the setting squares. |
| Sewing the Center of the Quilt: |
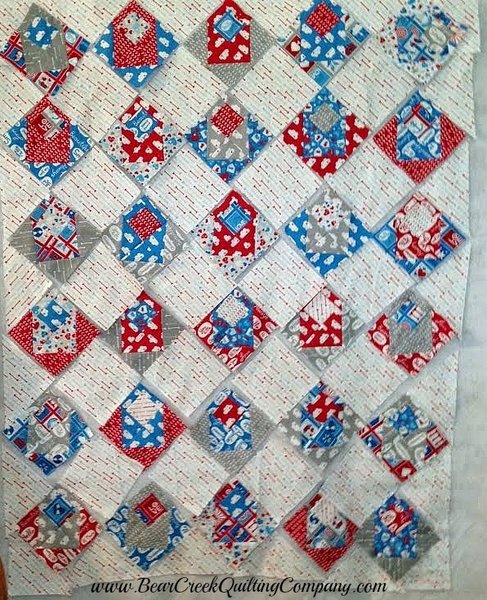 |
| Layout the blocks on point on your design wall, on a flat table or the floor and add the Setting Triangles and Corner Triangles. I set the blocks at random and then moved one or two to more evenly distribute the colors. Notice how all the arrows in the background fabric are pointing in the same direction, on the diagonal. This does require extra care and effort but I feel the result provides more interest and movement in the finished quilt. Sew the TEN rows together, starting at the upper left hand corner and moving diagonally downward toward the lower right corner. Add the Corner Triangles and trim square the center of your quilt as needed. |
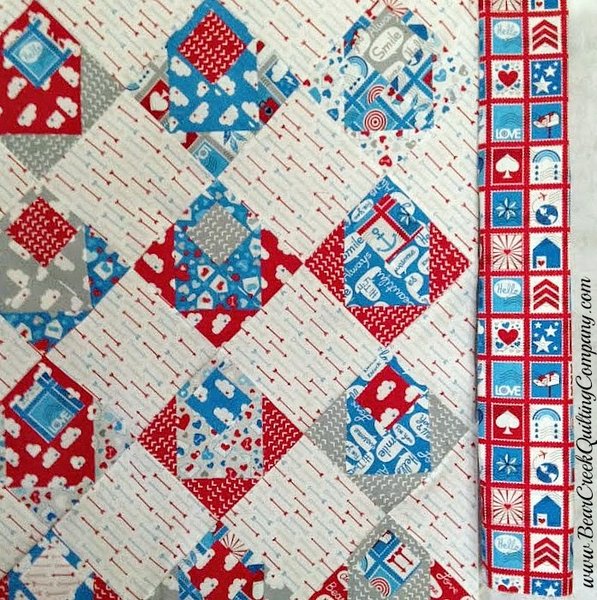 |
| Here is the center of my pieced quilt and ready to add the border fabric. |
| Border Fabric: |
| General cutting instructions for the Border Fabric: |
|
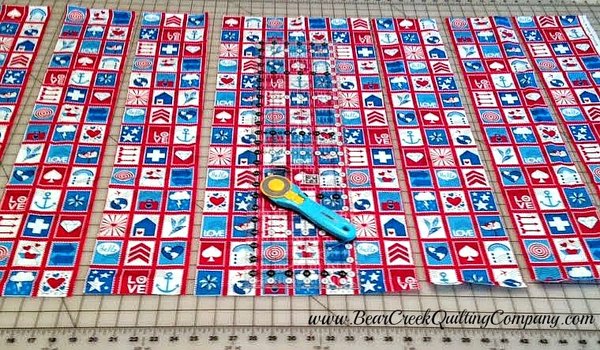 |
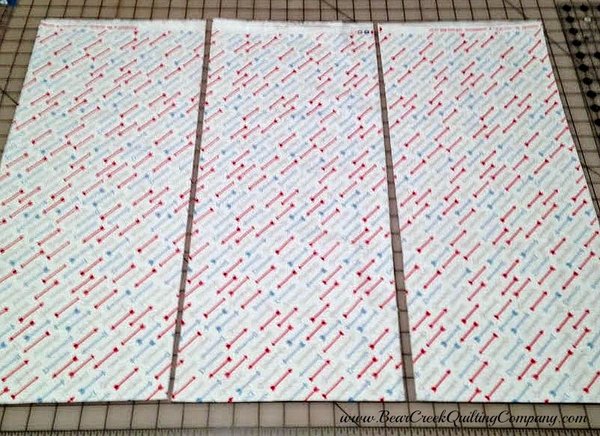
| Here is my pretty border fabric. This, too, is a directional fabric and requires specialized cutting and sewing. I cut the top and bottom border strips by length of fabric (LOF). I first cut off the selvages. Then I cut TWO - 5 inch length of fabric strips. For the side borders, I laid the remaining fabric, single width. I cut THREE width of fabric (WOF) 5 inch strips from the left side and THREE width of fabric strips from the right side. By cutting the fabric this way, I could allow for my 1/4 inch seam allowance using the red stripe in the fabric and keep the cute postage stamp motifs whole on the inside edge of my border. (The wide center strip, under the ruler, is extra fabric.) |
| Sewing on the Borders: |
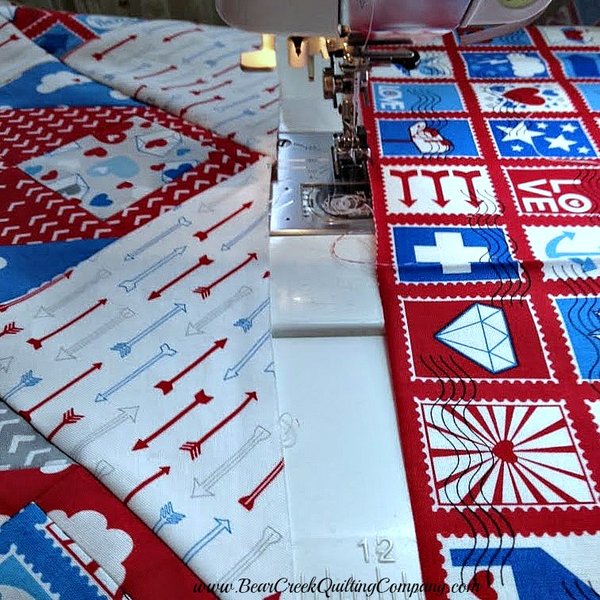 |
| Sew the top border strip to the top of the quilt, paying careful attention to the direction of the fabrics. |
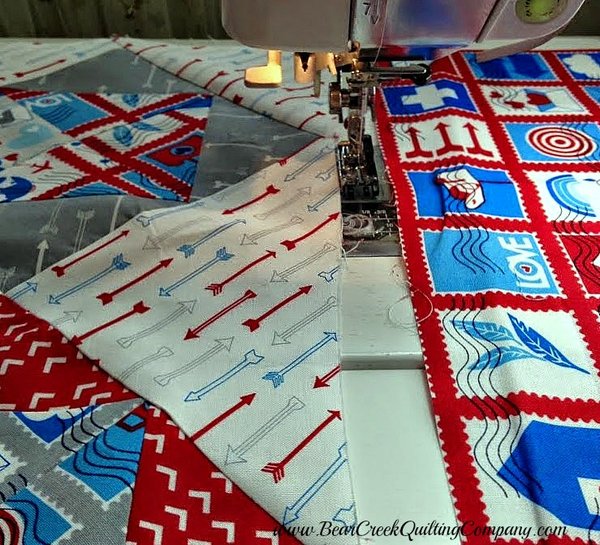 |
| Sew the bottom border in the same manner. Press the top and bottom border seams outward. |
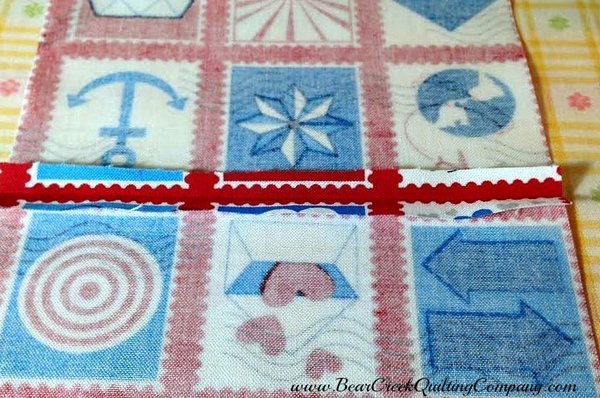 |
| Piece the side borders together carefully to match the red lines. |
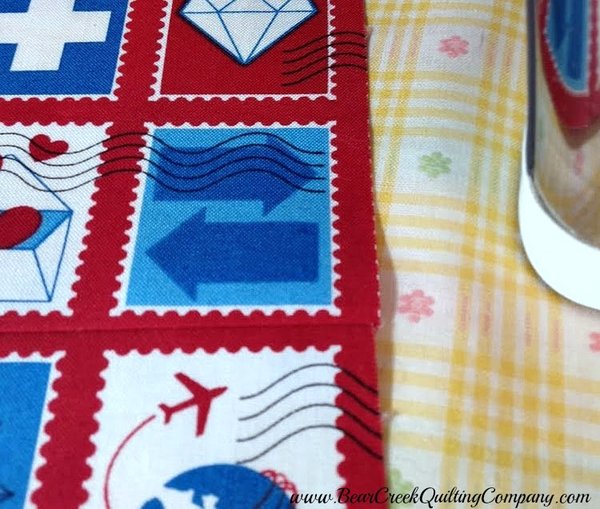 |
| Press seams open to lay flat. |
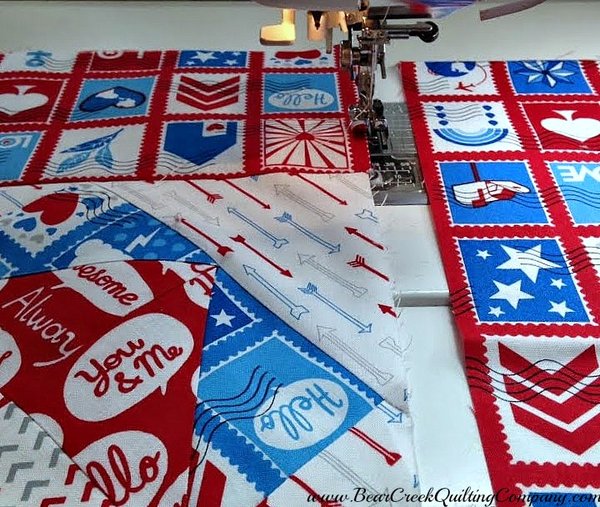 |
| Sew on the side strips, matching the red lines wherever possible. This is one of the bottom corners of my quilt. Notice how my fabrics line up and will look "upright" in my quilt. Press outward toward the borders. |
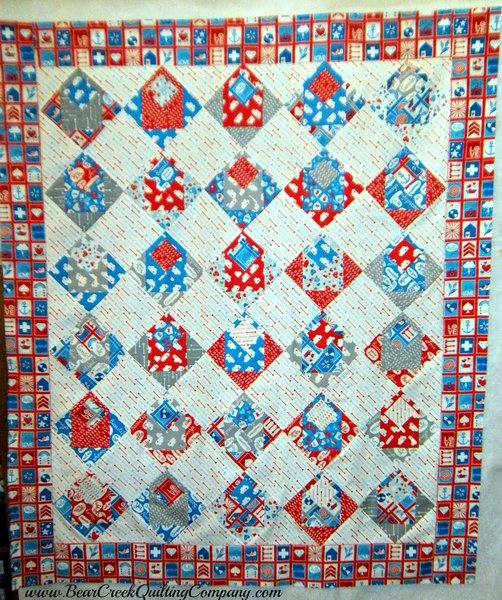 |
| Here is my completed quilt top! I really like the way this looks with all the directional fabrics aligned. |
| Coming Soon - Part 4: Quilting And Binding **Due to several requests, a PDF file for this pattern will be available in the final Part 4 post.** If you have any questions, please email me at scrapatches@gmail.com and I will do my best to help. Happy Quilting! |
 |
| GIVE-AWAY TIME! |
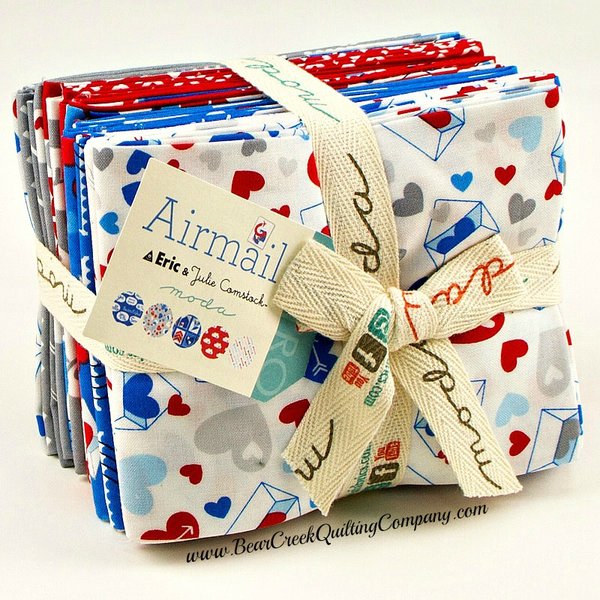 |
| We have the beautiful Airmail Fat Quarter Bundle by Eric & Julie Comstock for Moda up for grabs. "Love should be bold and never rushed! That is the inspiration behind Airmail. Love letter icons, cupid arrows and postage stamps hint at a time when snail mail was the only option and was totally worth the wait. In this collection, red and white meet up with the chambray blues to create fun, conversation and head over heals emotion. It's the makings of any good date or quilt project." ~Eric & Julie |
| GIVE-AWAY: Give-Away Closed - Winner will be announced in the 05/3/2015 blog post. 1. Refer a friend to sign up for our newsletter. 2. Leave a comment telling us how many years have you been quilting/sewing. |
Details, details-
|
| Thank your for participating and good luck! |
| "Airmail Envelope Quilt" Tutorial was designed and created for Bear Creek Quilting Company by Pat from Life in the Scrapatch. |
| Fabric used in this tutorial is from Airmail by Eric & Julie Comstock for Moda. |
| Do you love free fabric? Do you love to teach? Want to be a contributor on our blog? Send us an email at web@bearcreekquiltingcompany.com to get started! |



Comments