| Library Book Bag Tutorial and Give-Away! |
| Hello, Friends! I'm Amy of Amy Made That! and it's time to present Part 3 in the Creative Grids Hexagon Trim Tool series. {Click here for Part 1 and Part 2 of this three part series.} |
 |
|
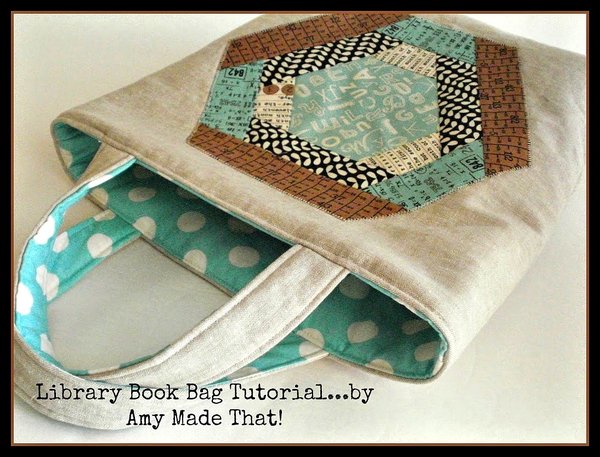
LIBRARY BOOK BAG
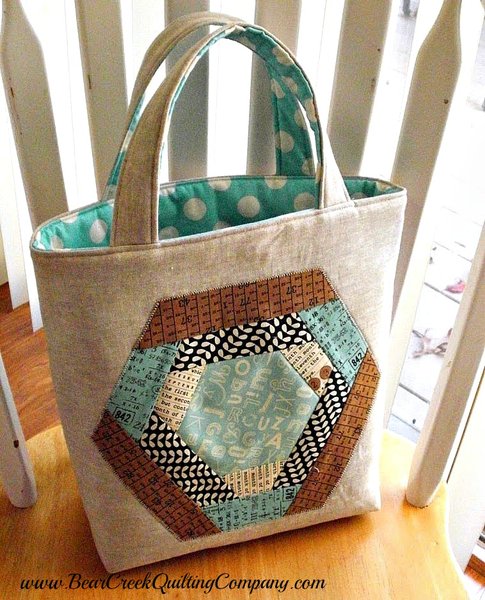
{The finished tote measures about 11" x 11" x 4".} |
|
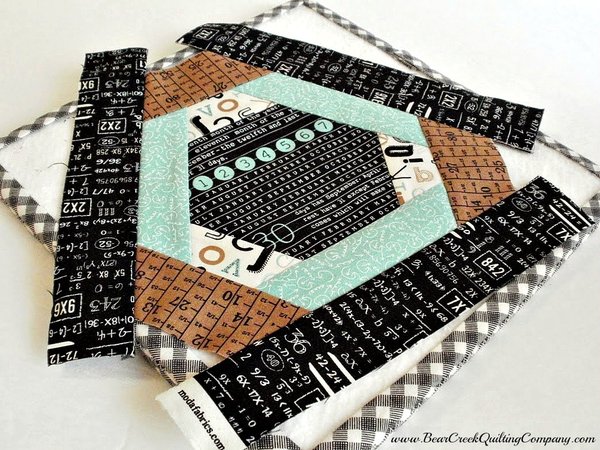
Supplies:
|
 |
|
PREPARE HEXAGON APPLIQUES:
Begin by making 2 hexagons, using the Creative Grids Hexagon Trim Tool... except don't trim the block into the final hexagon yet. I began with the 4" center hexagons. |
 |
|
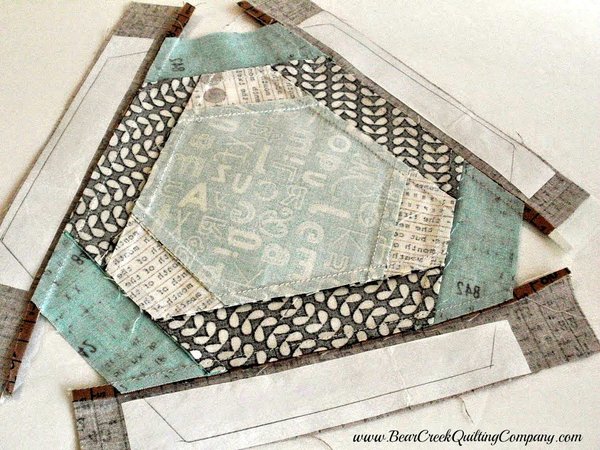
Cut fusible web strips:
Follow manufacturer's directions to fuse 3 longer strips of the fusible web to the back of each untrimmed hexagon, as shown above.
Be sure to cover the fabric past the final trimming marks that are shown in the photo. |
 |
|
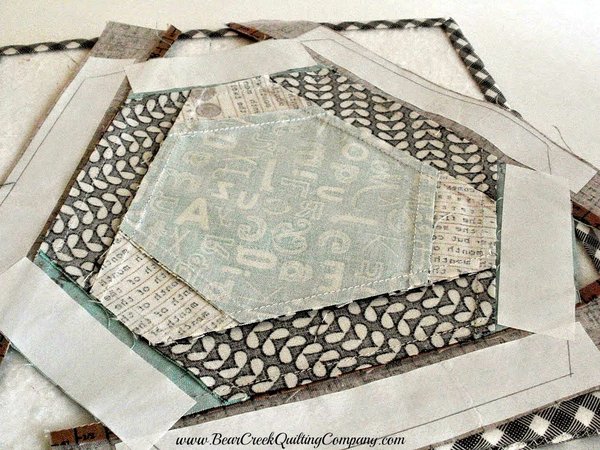
Leave the paper backing in place, and add the 3 shorter pieces of fusible web to the back of each hexagon, as pictured. It's okay if there is a bit of overlapping of the fusible web.
|
 |
|
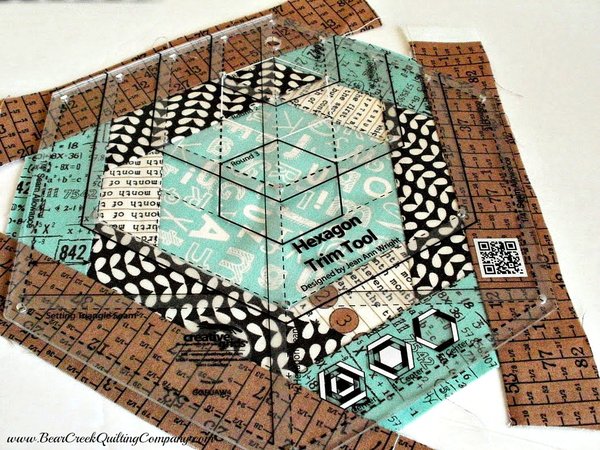
Now use the Creative Grids Hexagon Trim Tool to cut the finished hexagons.
|
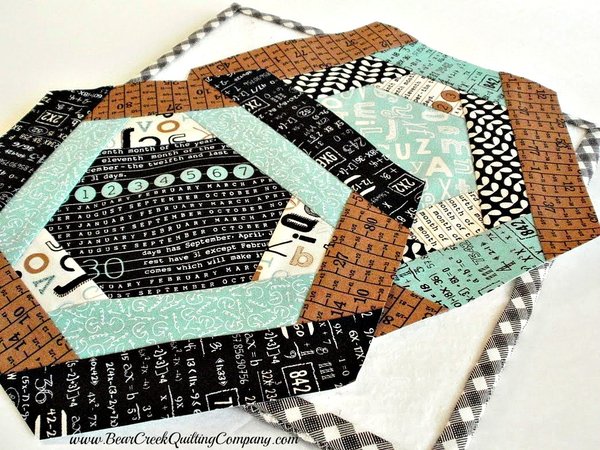 |
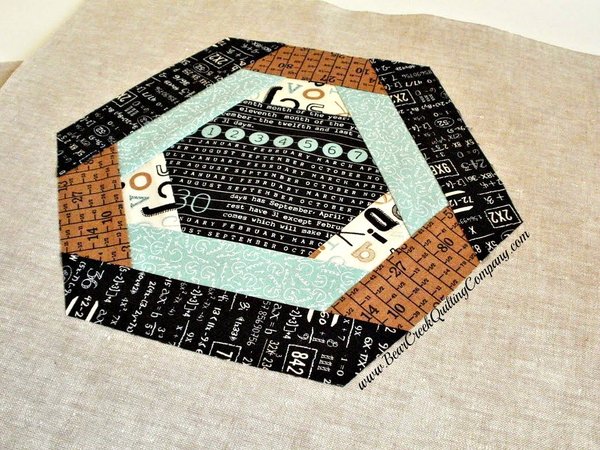
| Here are my two Elementary hexagons, ready for applique. |
 |
|
CREATE EXTERIOR BAG PIECES:
Cutting:
Follow manufacturer's directions to fuse the fleece to the wrong side of both exterior pieces. Remove paper backing from hexagon appliques. Fuse hexagons in place on each exterior piece, centering the hexagons from side to side, but placing them 2" from the top. |
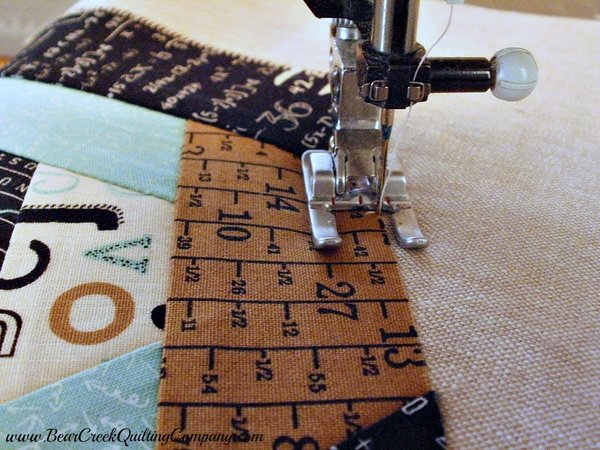 |
| Applique the hexagons to the exterior pieces. |
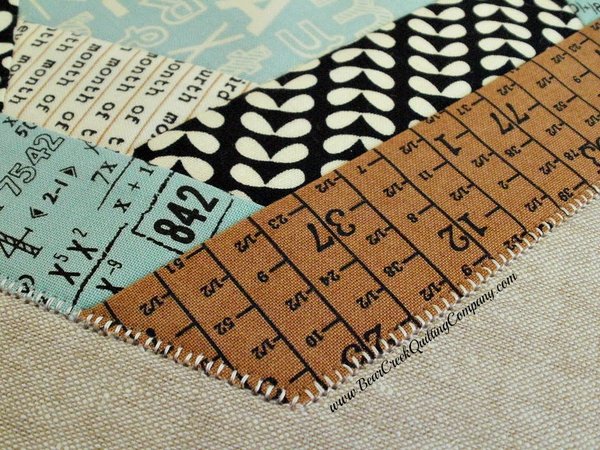 |
| I love the blanket stitch on my sewing machine. |
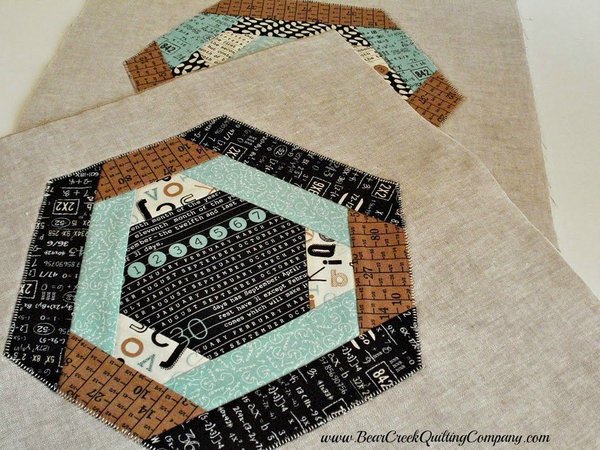 |
| {If you prefer you could sew the blanket stitch by hand, or use a zigzag or straight stitch on your sewing machine.} |
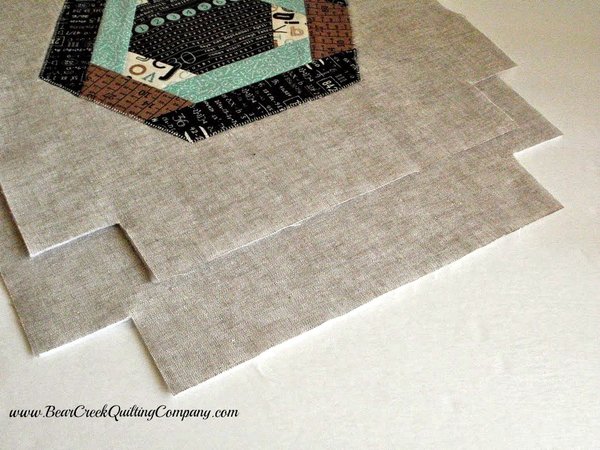 |
| Cut a 2" x 2" square from both bottom corners of each exterior piece. Set exterior pieces aside. |
 |
|
CREATE HANDLES:
Cutting:
For the two-toned handles, pair one exterior piece with one lining piece, and pin along one long edge.
Stitch with a 1/4" seam and press seam to one side. Repeat for the second handle. |
 |
|
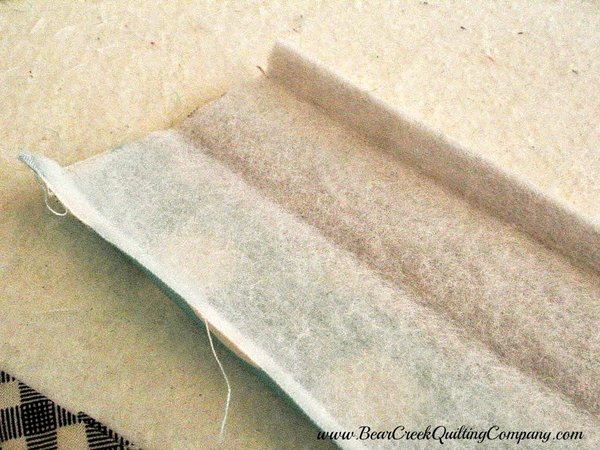
Follow manufacturer's directions to apply fusible fleece to the wrong sides of the handle strips.
Press each handle in half along the lengthwise seam. Press each long edge under by 1/4". |
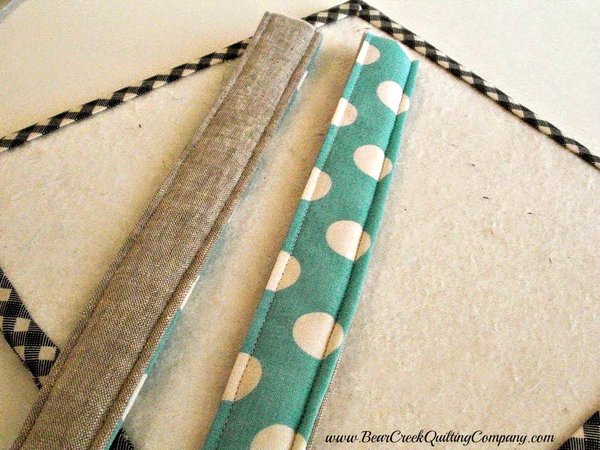 |
| Pin the folded edges together, with raw edges enclosed. Stitch about 1/8" from each long edge, making sure to catch all layers. Repeat for the second handle strap. |
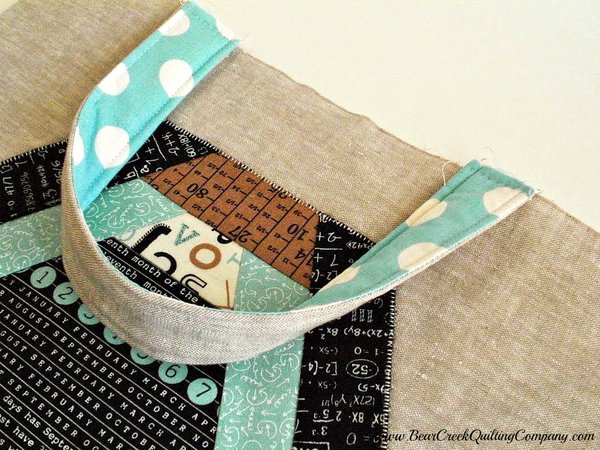 |
| Position handles on the exterior bag pieces, with raw edges toward the top. Place each handle 3 1/2" from the sides, with about 5" between handles. Baste into place about 3/16" from top edges. |
 |
|
STITCH EXTERIOR BAG TOGETHER:
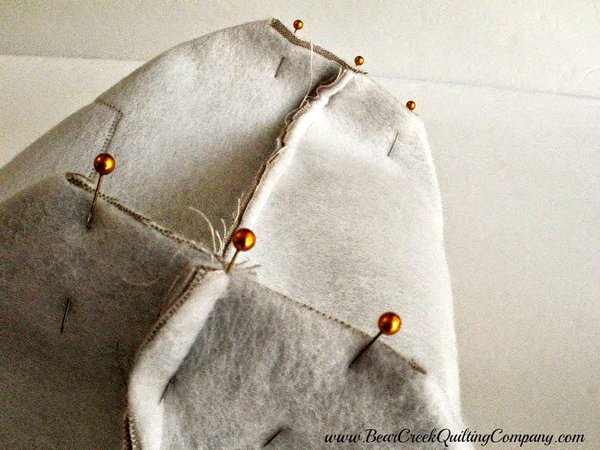
Place front and back exterior bag pieces, right sides together, and pin in place. {Handles will be inside the layers.} Stitch the sides and bottom with a 1/4" seam, backstitching at beginning and end. Re-stitch to reinforce seams.
|
 |
|
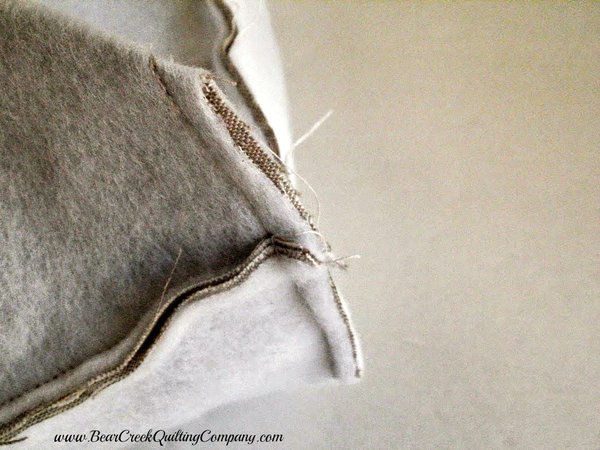
Create boxed bottoms by pinning the cut-away areas, with side seams and bottom seams matched.
|
 |
|
Stitch 1/4" from raw edges, backstitching at beginning and end of seams. |
 |
|
CREATE LIBRARY CARD POCKET:
Cutting:
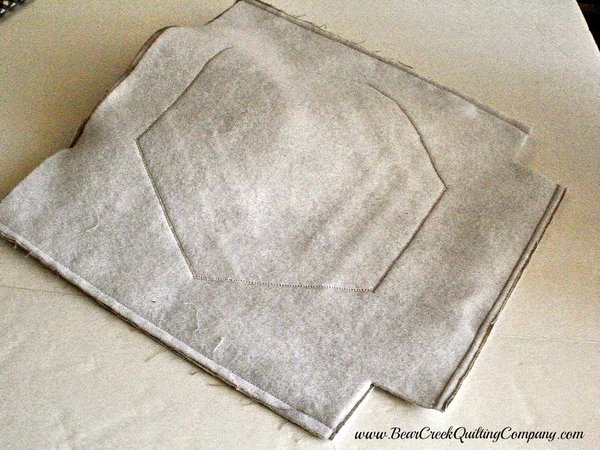
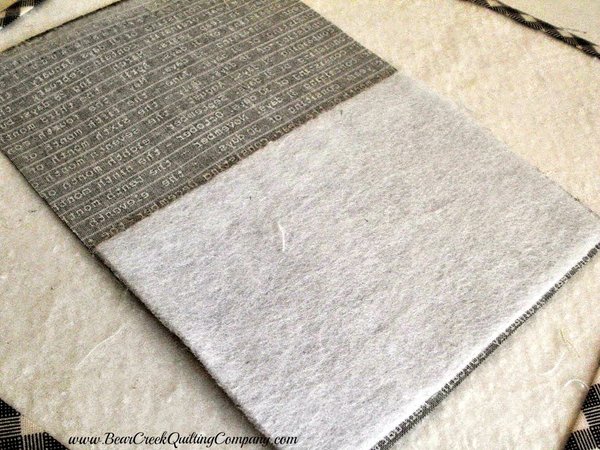
Follow manufacturer's directions to fuse the fleece to the wrong side of the pocket, as shown.
|
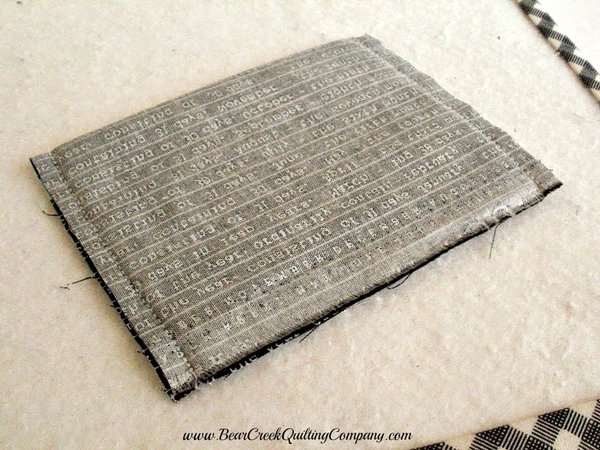 |
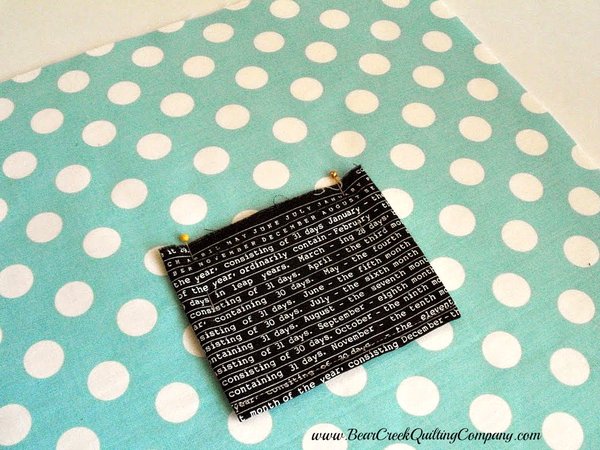
| Fold pocket in half, right sides together, where the fleece ends. The pocket piece now measures 5" x 3 1/2". Stitch 1/4" seams along each side, backstitching at beginning and ends of seams. Turn and press the pocket piece. Topstitch along the folded edge, which will become the top of the pocket. Set pocket aside. |
 |
|
CREATE LINING:
Cutting:
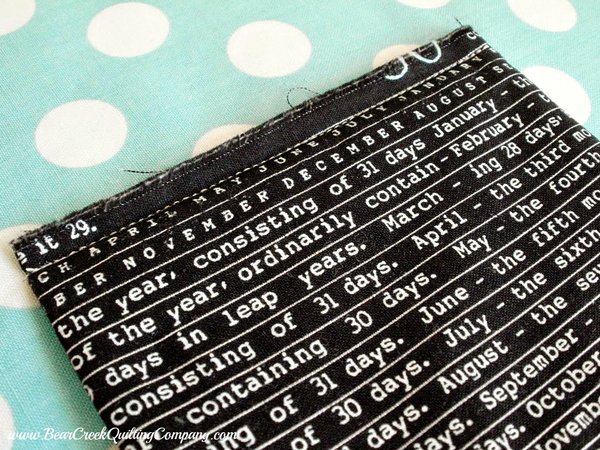
Position library card pocket with raw edges toward top, 6" from the top edge of one lining piece, and 4 3/4" from each side. Pin into place. |
 |
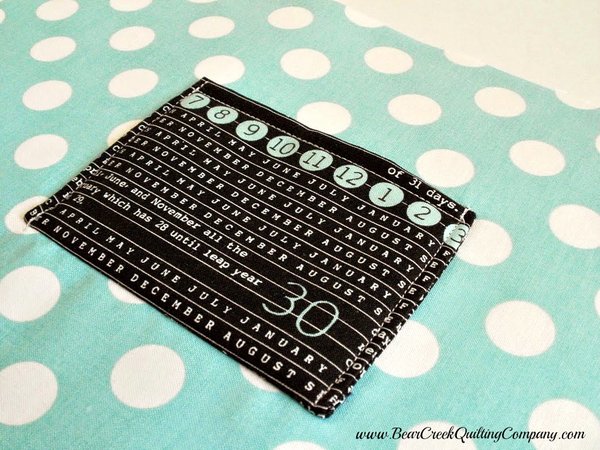
| Stitch 1/4" from raw edge of pocket, backstitching at start and end. |
 |
|
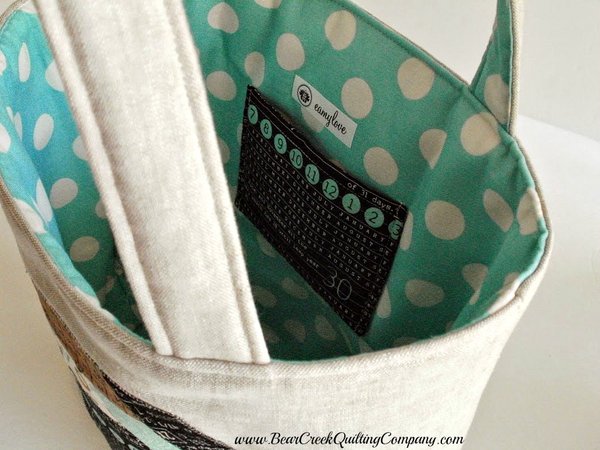
Flip the pocket up and press into place. Topstitch the sides to secure the pocket to the lining. Be sure to backstitch, especially at the top side edges of the pocket. {Leave the top open, of course.}
|
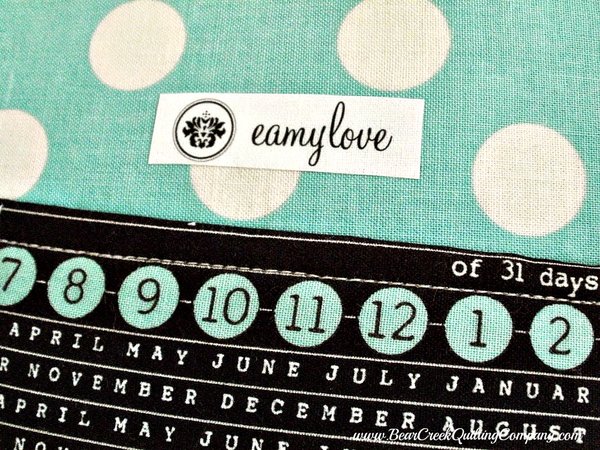 |
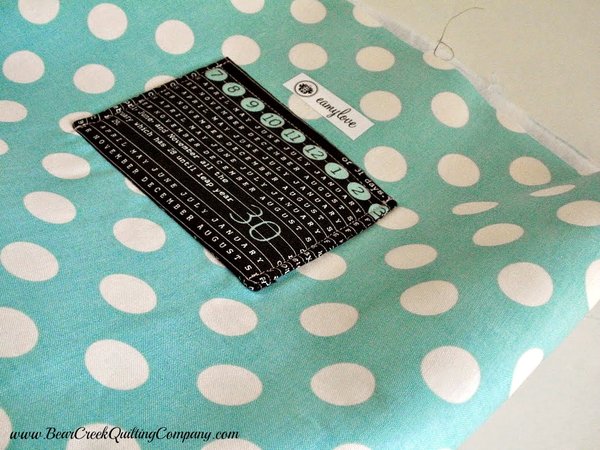
| If you have a cute label, apply it now, just above the pocket. |
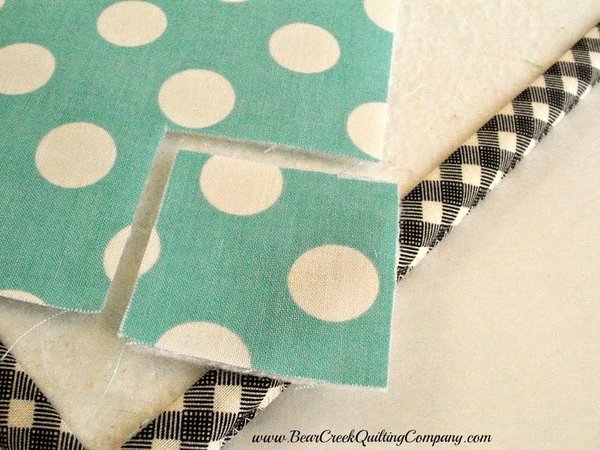 |
| Cut a 2" x 2" square from both bottom corners of each lining piece. |
 |
| STITCH LINING:
Place front and back lining pieces, right sides together, and pin in place. Stitch the sides together with a 1/4" seam, backstitching at beginning and end.
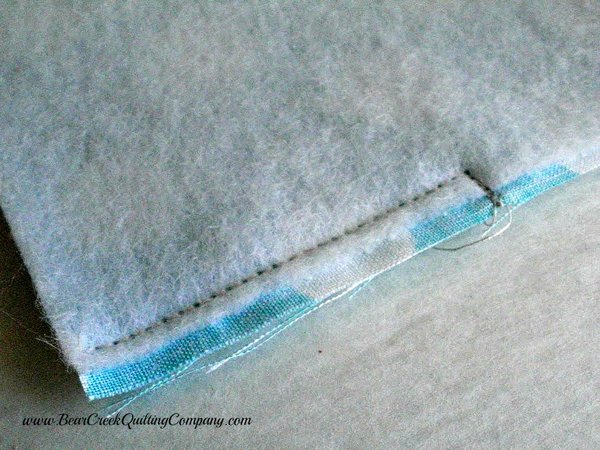
Stitch the bottom edges of the lining together, but leave a 6" opening, for turning the bag right sides out. {I always add backstitching from the edges of my opening to the raw edges. This strengthens the opening seam when I'm turning the finished project right-sides out.} |
 |
|
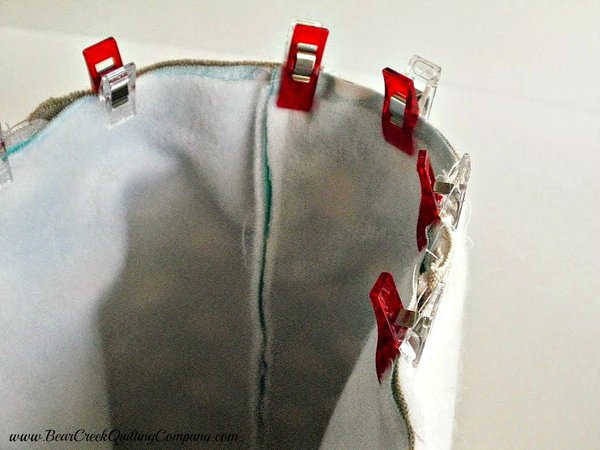
Create boxed bottoms by pinning the cut-away areas, with side seams and bottom seams matched. Stitch 1/4" from raw edges, backstitching at beginning and end of seams.
Turn the lining right sides out. |
 |
|
ATTACH THE LINING TO THE EXTERIOR BAG:
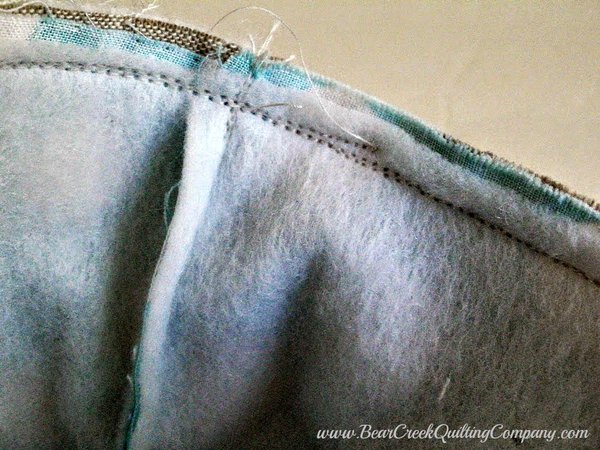
Place the lining inside the exterior bag, right sides together. |
 |
|
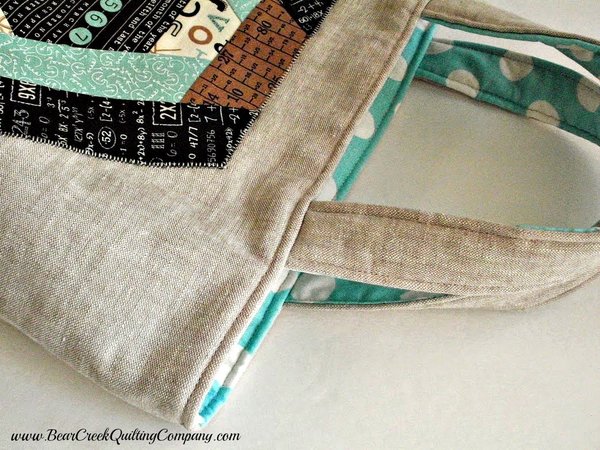
Stitch the top with a generous 1/4" seam, catching the handles between the layers. Re-stitch all around the top, to reinforce.
|
 |
|
Turn the bag right sides out, carefully pushing the outer bag through the opening in the bottom of the lining. Take your time...you can do it!
Neatly stitch the opening in the lining closed, by machine or by hand. Push the lining into the exterior, and press the bag into shape with lots of steam. Finally, add topstitching along the top edge to finish the bag.
|
 |
| Now fill your bag with some great library books and magazines. |
 |
|
Prepare to convince people that you made your very own Library Book Bag!
|
 |
|
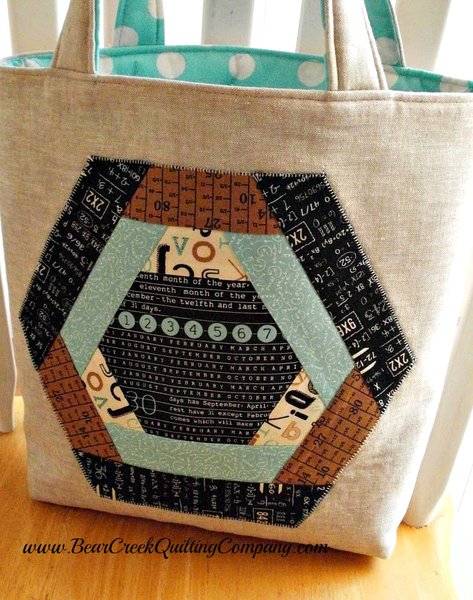
I love the front, with the text print about the months of the year.
|
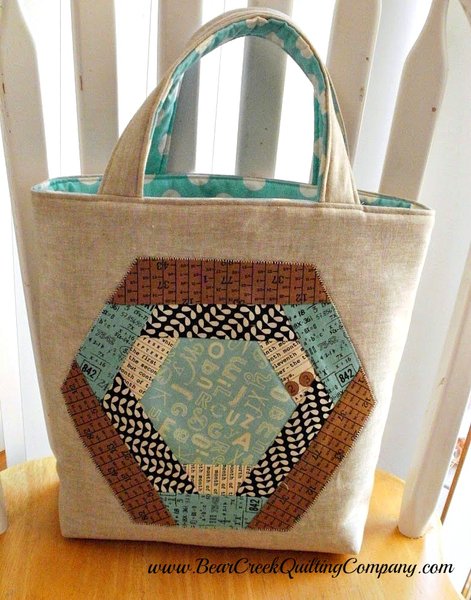 |
| I call this the back, but I love it as much as the front side. The lighter colored hexagon looks lovely against the wheat-colored linen exterior. The aqua polka dot interior adds pizzazz! |
 |
|
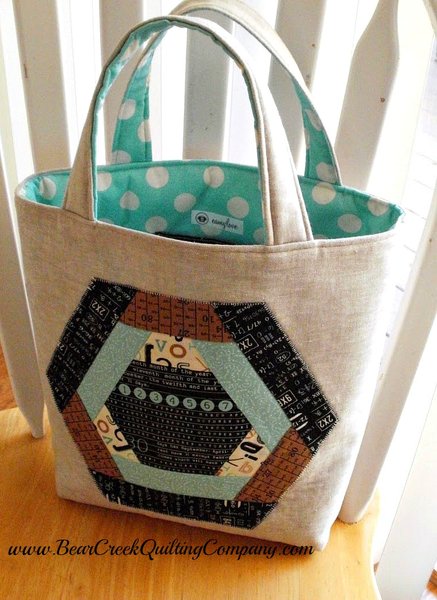
I can keep my library books accessible in this sharp-looking bag. No excuses for overdue books! I hope you'll try making a Library Book Bag, too!
|
 |
| GIVE-AWAY! |
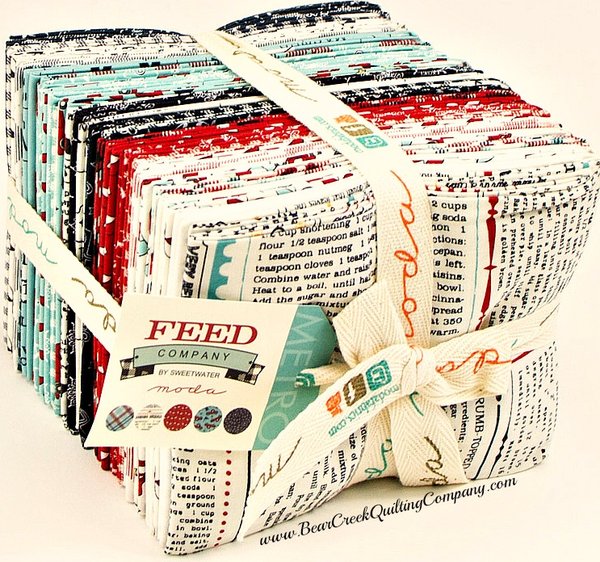
| Celebrating being back from International Fall Quilt Market and as appreciation for following along with Amy's beautiful tutorial series, we have a pre-release Moda Fat Quarter bundle by Sweetwater called "Feed Company" that needs a new home. |
 |
|
How to enter the Give-Away: Give-Away Closed 1. Leave a comment telling us what you would make with this pretty new fabric bundle. That's it! Sweet and easy! Want an additional entry?? Refer a friend to our site and leave an additional comment you did. |
Give-away fine print:
|
| Thank you for participating and good luck! |
 and The BCQC Team and The BCQC Team |
| "Library Book Bag" Tutorial was designed and created for Bear Creek Quilting Company by Amy from Amy Made That by eamylove. |
| Fabric used in this tutorial is from Elementary by Sweetwater for Moda. |
| Do you love free fabric? Do you love to teach? Want to be a contributor on our blog? Send us an email at web@bearcreekquiltingcompany.com to get started! |


Comments