Laptop Bag Tutorial
Hi, I'm Rebecca from OurBusyLittleBunch. I'm a wife, mom of four, and I work from home doing part-time bookkeeping. In my spare time, I love to sew and quilt and I'm excited to be sharing this laptop bag tutorial with you today!
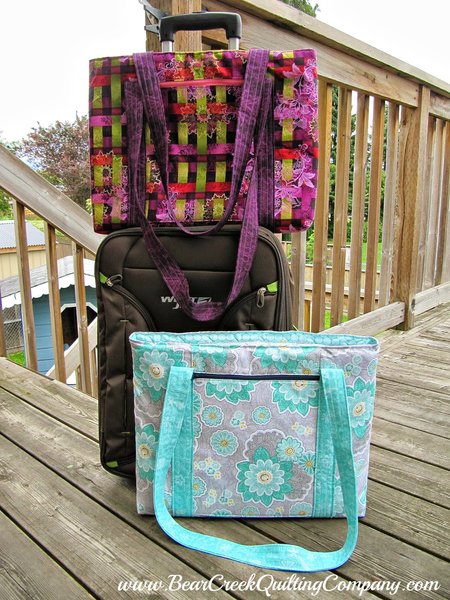
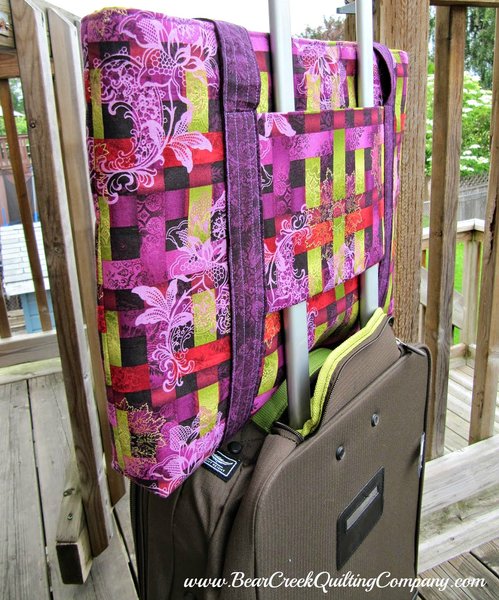
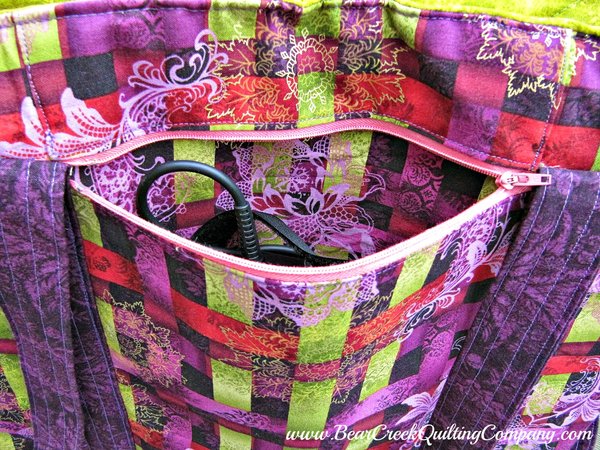
This bag has a top zipper that opens up nice and wide, a zippered front pocket for your charger, back slip pocket with a hidden bottom zipper which allows it to be slipped onto the handle of your luggage, an interior slip pocket that can fit papers and files, a one-piece handle which makes it extra strong and secure and extra padding to protect your laptop.

Finished measurements of this bag are 15.5" (width) x 12" (height) x 2" (depth). My laptop measures 15.25" x 10.5" x 1" and it fits with a bit of room to spare.
You will need:
- 1 yard exterior fabric
- 1 yard interior/lining fabric
- 2/3 yard fabric for straps
- 28" x 18" piece of fusible fleece
- some lightweight or medium iron-on interfacing
- scrap pieces of regular fleece or batting - cut four pieces at 13.5" x 18"
- 17" sport zipper for top of bag (or larger, cut down later)
- 2 - 9" zippers for exterior pockets (or larger, cut down later)
Cutting instructions for main fabric:
- Exterior main piece - 30" x 20" - interface with fusible fleece (cut fleece 28" x 18" and center on main piece to avoid bulk in seams)
- Outside front pocket - 9.5" x 11" - iron-on interfacing to wrong side
- Outside front pocket strips for zipper - 2 of 9.5" x 3"
- Exterior back slip pocket - 9.5" x 13" - iron-on interfacing to wrong side
- Exterior back slip pocket strip for zipper - 9.5" x 2"
- Strips for top zipper closure on bag - 2 of 3.5" 16"
- Tabs for top zipper closure on bag - 2 of 4" x 2"
Cutting instructions for interior/lining fabric:
- Lining for exterior front pocket - 9.5" x 11"
- Main pieces of interior/lining - 2 of 15.5" x 20"
- Interior slip pocket - 14" x 21" - iron-on interfacing to one half of wrong side (cut at 14" x 10.5")
Cutting instructions for strap:
- Cut 3 strips width of fabric x 6"
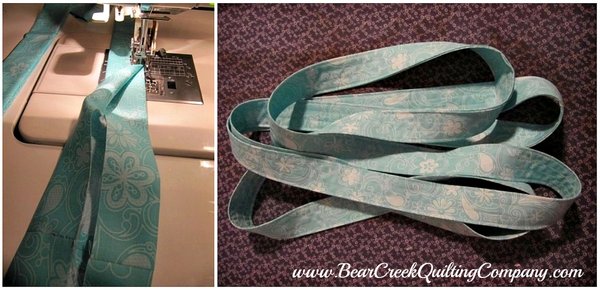
Okay, let's get started! First, take your three strips of fabric for the straps, sew the short ends together into one long strip and then sew the two ends so it's a continuous loop (make sure it's not twisted!). Iron the three seams, then press the whole strip in half and then open and press the ends in so it's now in quarters. Give it another good press and you should have a long loop that is now 1.5" wide. Make sure you start with a good amount in your bobbin, and sew close to the two long edges, and then two more lines down the center spaced evenly.
Your strap is done! Put this aside for now.
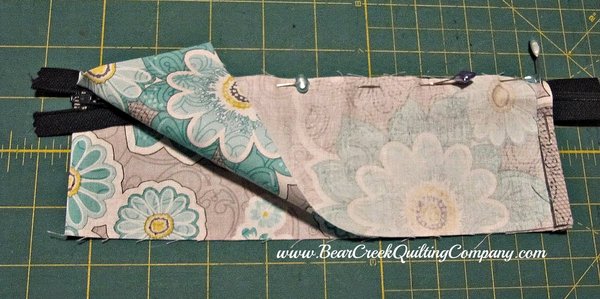
Now let's get the exterior bag sewn up. Take your two outside front zipper strips (9.5" x 3" each). Fold and press the two short ends on each 1/4". Now sandwich one of the 9" zippers between the strips. Sew close to zipper using your zipper foot and make sure to stop and move the zipper pull out of the way when getting close to it (Tip: I like to use my walking foot for bags, and they run nicely over a zipper. But, it's almost impossible to get the zipper pull out of the way sometimes. I just stop stitching, cut my threads, move the zipper pull, and start again where I stopped). Press the two strips of fabric away from the zipper, make sure the zipper can move back and forth easily, and topstitch close to the zipper.
Now take your exterior and lining pieces for your exterior front pocket. Put them right sides together, sandwich the other side of the zipper in between just like you did above (make sure the zipper pull is right side against the exterior fabric). Stitch close to zipper, and check that the zipper moves nicely back and forth, but then put the pieces right sides together again and sew the bottom seam of the pocket. You now have a tube - turn it right side out, give it a good press, and topstitch close to the zipper bottom edge.
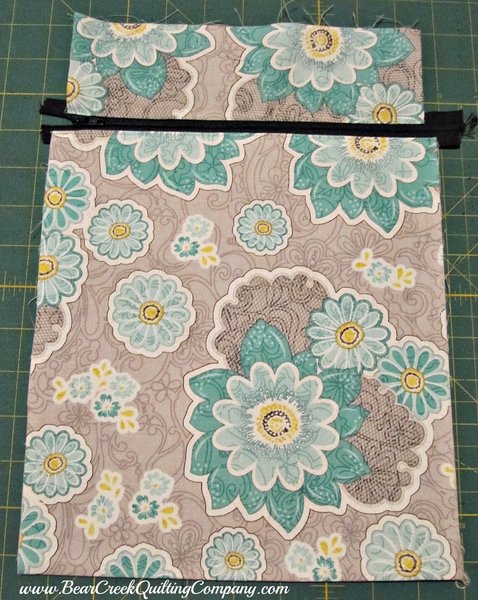
Your exterior front pocket is assembled! Now let's attach it - take your main exterior bag piece, and center the pocket along one short edge. Make sure to measure along the sides, so that it's centered all the way to the bottom. Pin in place and stitch close to the edges - along the top edge of bag, the two small sides above the zipper that were ironed in 1/4" earlier, and the three sides of the lower pocket piece. Don't sew along either edge of the zipper! Trim excess zipper edges if needed.
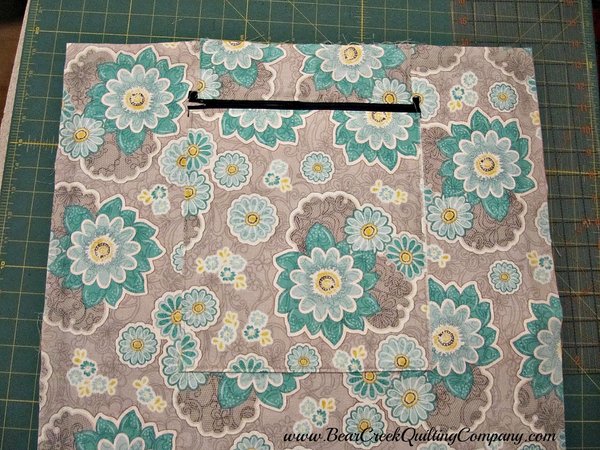
Now let's attach the exterior back slip pocket! This is a special hidden zipper pocket - and the zipper goes on the bottom. Why? Because it serves as a slip pocket for everyday, but when traveling - just unzip the bottom zipper and it slides onto the handle of your rolling carry-on bag.
So let's get started with the 9.5" x 2" zipper strip. Just like you did with the handles, press it in half lengthwise, and then press the two edges to the center crease, and again press the whole strips so it's now 1/2" wide. Sandwich one side of the zipper in this strip, pin, and sew close to the zipper teeth. Make sure it opens and closes easily.

Now take the 9.5" x 13" back slip pocket piece, fold it right sides together so it now measures 9.5" x 6.5", and sandwich the two ends along the edge of the other side of the zipper. Turn right side out, and make sure zipper moves freely.
It should be looking like this right now:
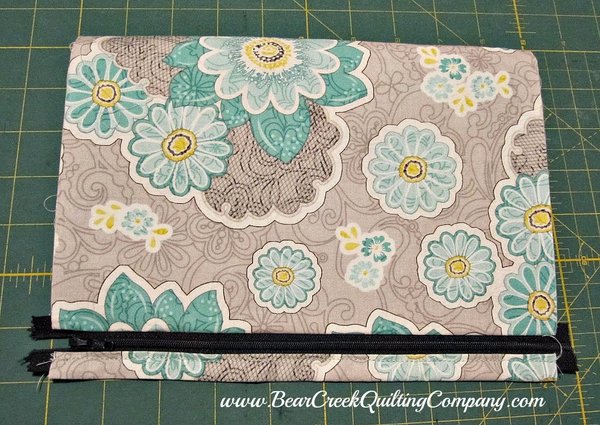
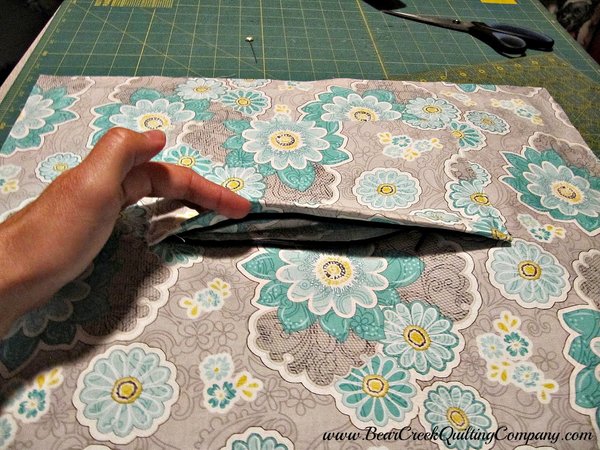
But, because we want this to be a hidden zipper, we're going to off-center the zipper from the bottom, so it's concealed behind the pocket. So fold the pocket with zipper to back and a 1/2" of extra fabric below the zipper, and give it a good press.
It should look like this:
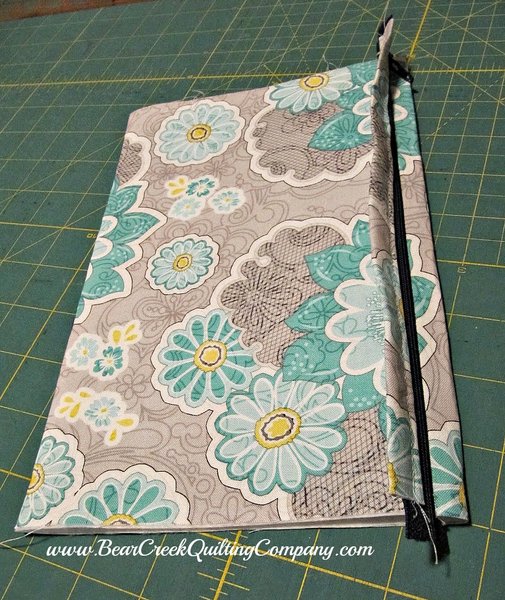
Now, we want to sew the zipper strip to the back of the bag first. Take you main bag piece, and measure down 8" from the top of the back of the bag. Center the zipper strip, and stitch close to long edge of strip.
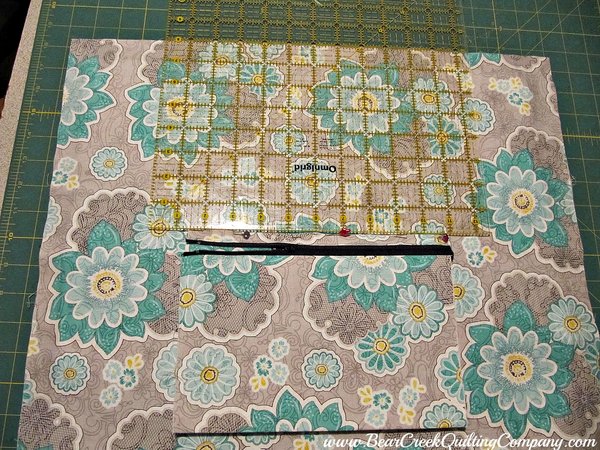
Now flip the pocket up so it covers the strip, make sure it's still centered, and stitch close to the two side edges to secure. You should now have the slip pocket attached, with hidden zipper on the bottom.
Now, we need to take that long strap, and attach it to the bag. First, find the two opposite ends of the strap and mark them - double check! Find the center of the bag, and start pinning the two ends of the strap there - they should be 8.5" apart. Make sure the strap isn't twisted anywhere! Pin the strap and mark 2.25" from the top of the bag on the four strap tops. Sew along each long edge of the straps on the previous stitching line that's closest to the edge, across the 2.25" line, and back down the other side. All raw edges should be concealed in the strap, including the two zipper ends on the exterior front pocket.
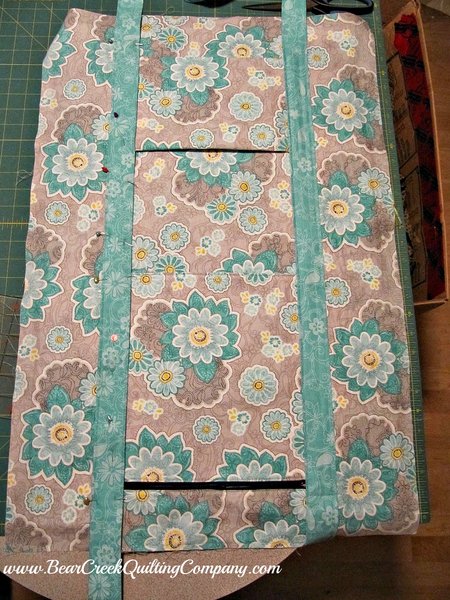
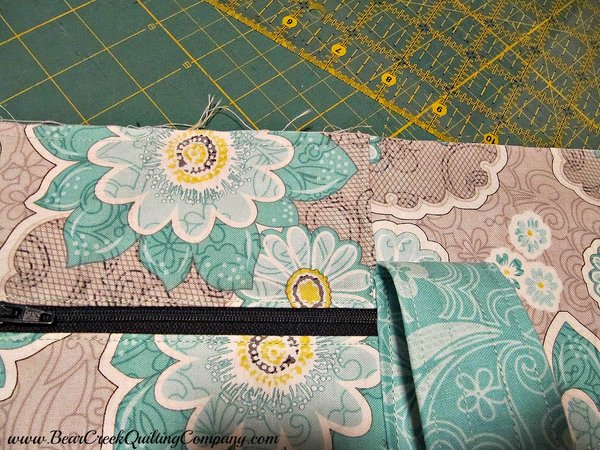
Here you can see the top of the front of the bag where the zipper ends are now concealed:
Let's finish up the exterior bag! Sew the two sides with a 1/2" seam right sides together. While the bag is still inside out, push out the two bottom corners, center the bottom seam, measure 2" across, sew on this line, and cut off excess fabric. Turn bag right-side out and put aside.

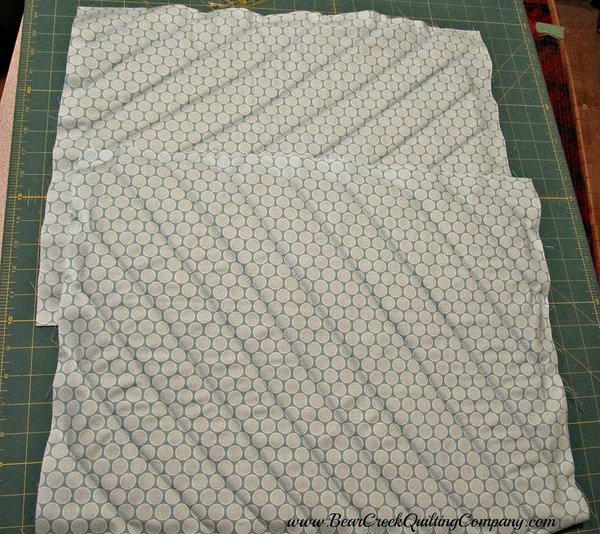
Now let's get the interior of the bag assembled! First, take your four scraps of 13.5" x 18" fleece or batting (I prefer fleece because I have loads of it, it doesn't need as dense of quilting, and it's thicker). Center and baste two layers to the wrong side of each main lining piece. I used a spray adhesive for this.
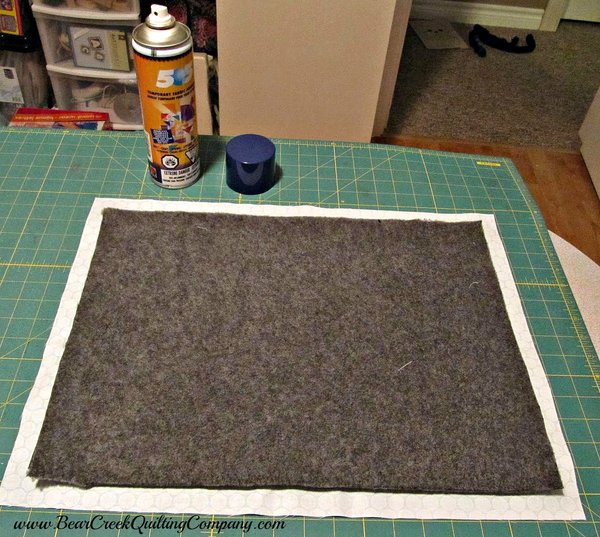
Quilt as desired. This will be inside your bag so it doesn't have to be perfect. I just eyeballed some diagonal lines on mine.
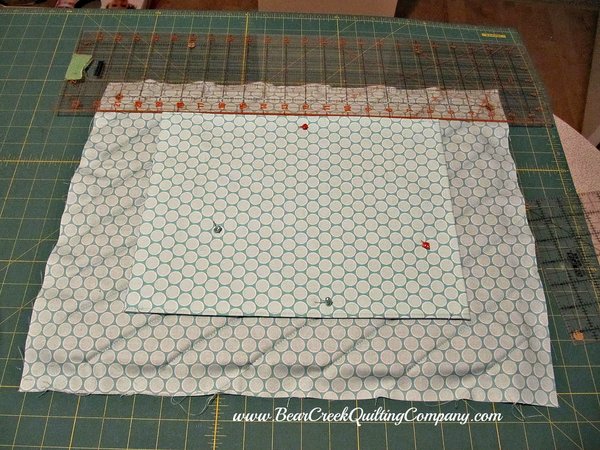
Now take your 14" x 21" interior slip pocket - fold it in half right sides together so it now measures 14" x 10.5". Sew the two sides with a 1/2" seam. Turn right side out, push out corners, give a good press, turn bottom edge in 1/2" and stitch edge closed. Center the pocket 2.25" from the top of the bag. Stitch along both sides and bottom to secure to bag.
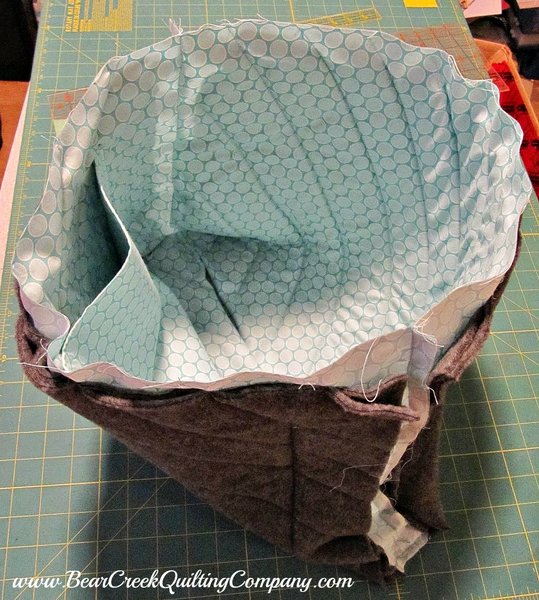
Now, with the two lining pieces right sides together, sew the side seams and along the bottom edge with a 1/2" seam (BUT, leave an 8" opening along the bottom center for turning the bag through later). Push out the bottom corners, and box them 2" across just like you did with the exterior bag earlier.
Your interior bag should now look like this:
Now we just need to attach the top zipper. First, make sure your zipper is cut down to 17" size. Then take your two 4" x 2" end tabs. Press them in half so they measure 2" square, then press the two edges to center so it measures 1" x 2". Fold so the right-sides are together and stitch the two side seams with a 1/4" seam length. Flip right sides out, push out corners, and press. Slide them over the two ends of the zipper, pin, and topstitch close to edge all around the sides (Tip: when sewing over the zipper teeth, use your hand to manually turn the handle on your machine to stitch over them).

Now take the two 3.5" x 16" zipper strips, press the two short edges on them in a 1/4". Press again in half lengthwise, and then long edges into center, so you now have two strips that are approx 0.9" x 15.5". Take these two strips and pin to either side of the zipper, centered,and sandwiching the zipper sides inside the strips. Sew along all four edges, and make sure the zipper can move freely.

Center one of the zipper strips on the lining of the bag, 1.25" from top edge of bag. Sew close to edge of zipper strip. Repeat for other side.
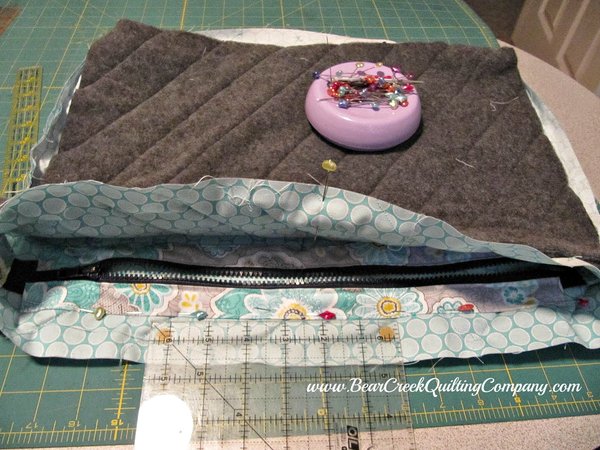
Your interior bag is now complete and should look like this:
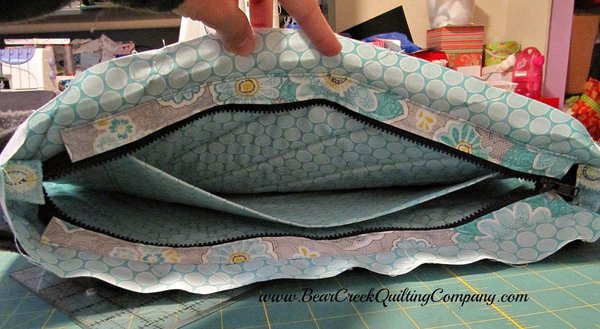
Now let's put the bag together!
Open up zipper nice and wide, tuck in zipper ends, and place main bag piece inside of lining (also make sure that straps are tucked in and out of the way). Match side seams and centers, and pin top edge. Carefully sew top edge of bag on machine with 1/2" seam allowance (Tip: I sew from the inside of bag to avoid bulk, and adjust regularly to avoid puckers).
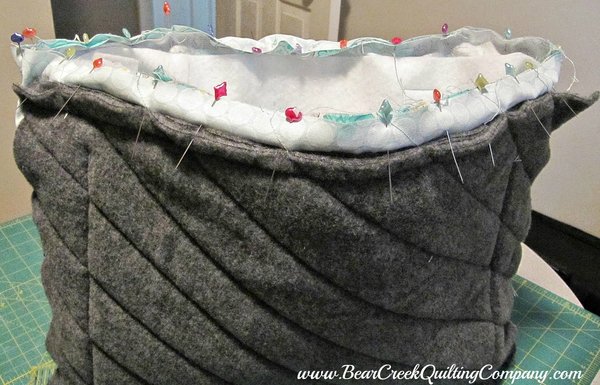
Turn bag right side out through opening in lining - make sure top seam is neat, and close opening in lining by machine. Push lining back into bag, making sure to push out corners. Give top of bag a good press, and topstitch close to edge (Tip: I use a longer stitch length for this, and make sure to take my time - this is your last step!).
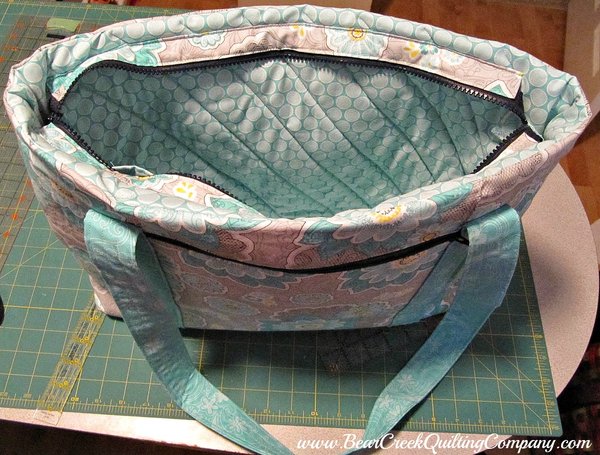
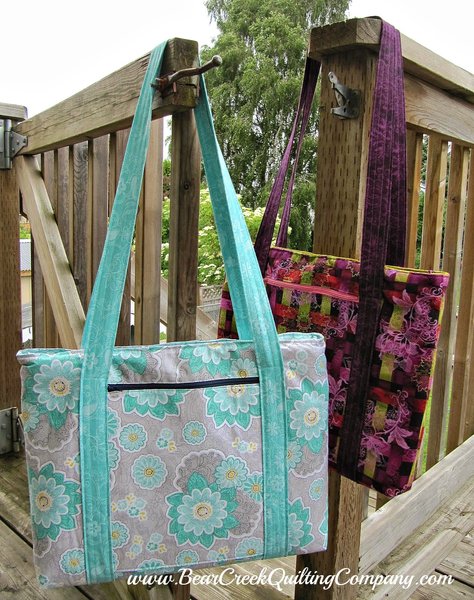
And there you have it! A finished laptop bag!
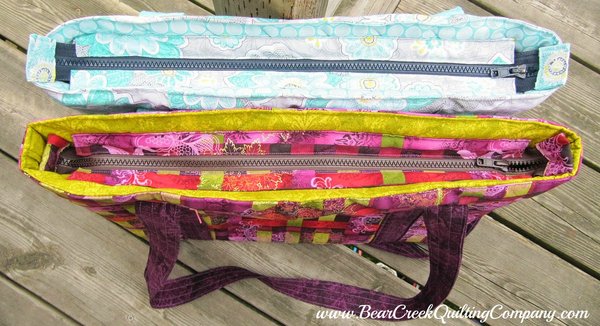
Thanks for stopping by and checking out my tutorial!

Laptop Bag was designed and created for Bear Creek Quilting Company by Rebecca of Our Busy Little Bunch.
Fabric used in this tutorial is from Sweet Harmony by Amy Hamberlin for Henry Glass Fabrics and Joyful Blooms by Jen Brinley for Studio E Fabrics.


Comments